Mia Bella Passions: Two Little Christmas Trees...❥

I never told ya all here at Mia Bella Passions Blog -
but...


in October I said goodbye to my little white dog.
She was very sick.
And I could not make it better.
It was the hardest thing.
And since then...
Even though Mia Bella Passions rocks on in all it's creative glory,
I am numb with the grief of losing her.
And it has had an impact on Christmas.


Because...
 she is not here.
Because...
 she was a huge part of Christmas.

So I thought that this year ,
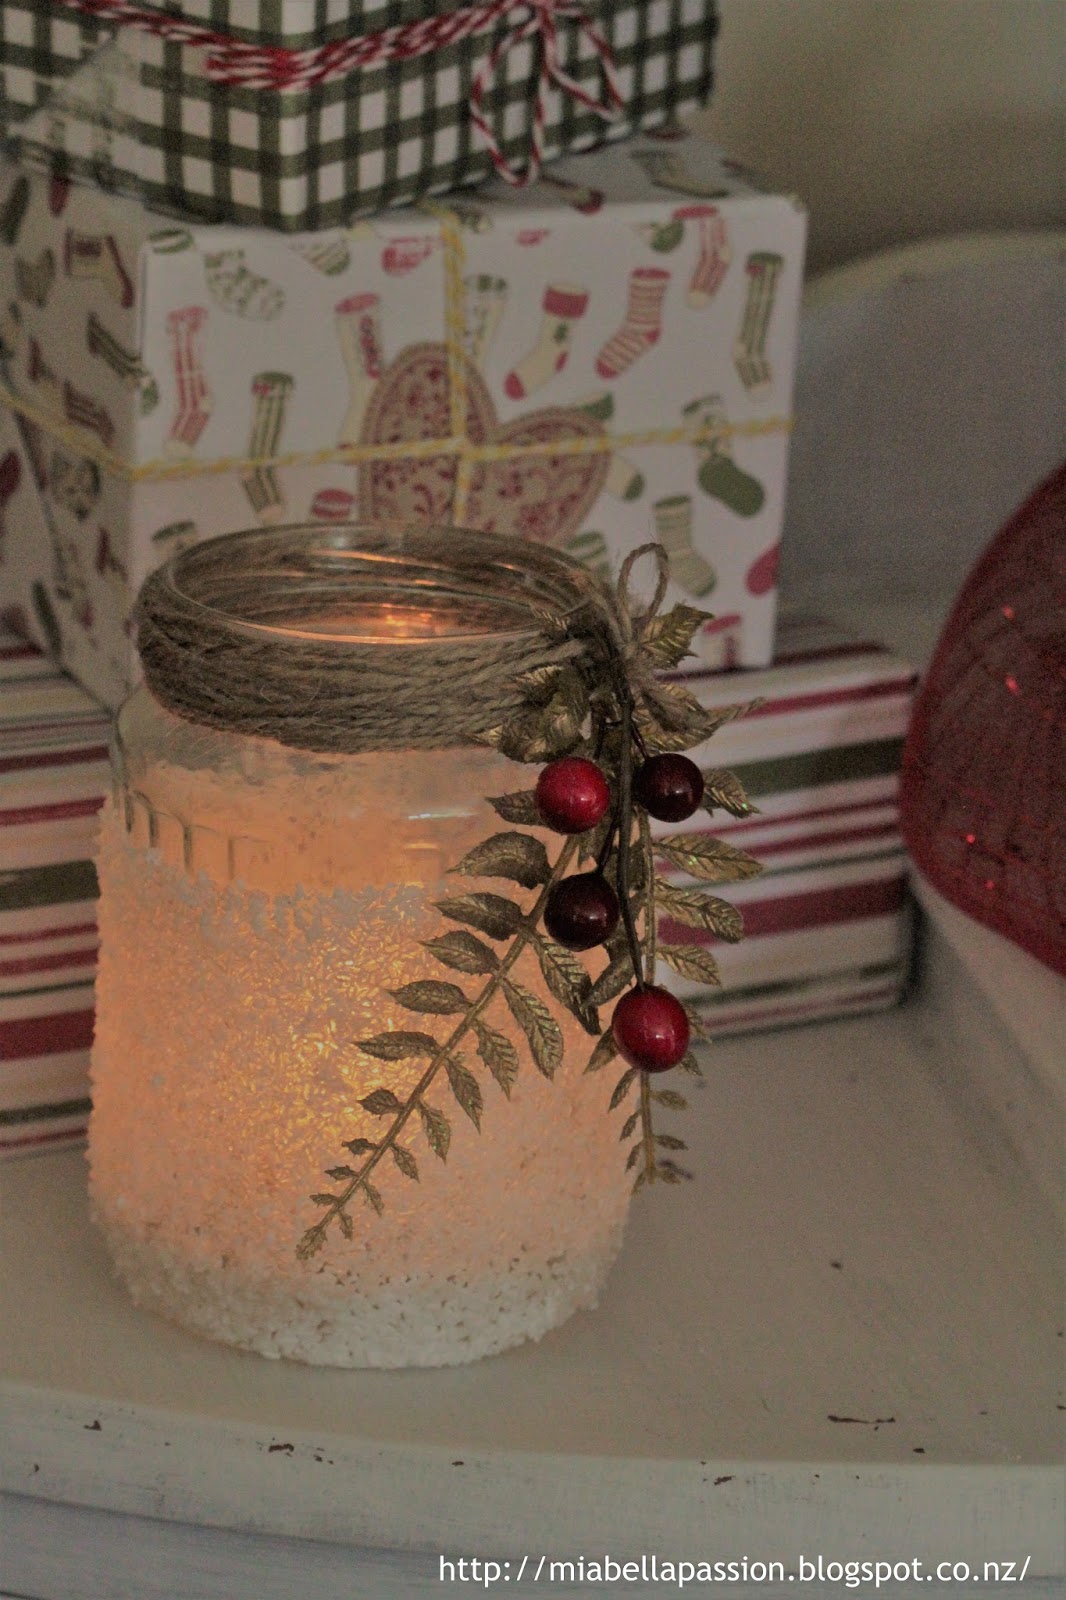
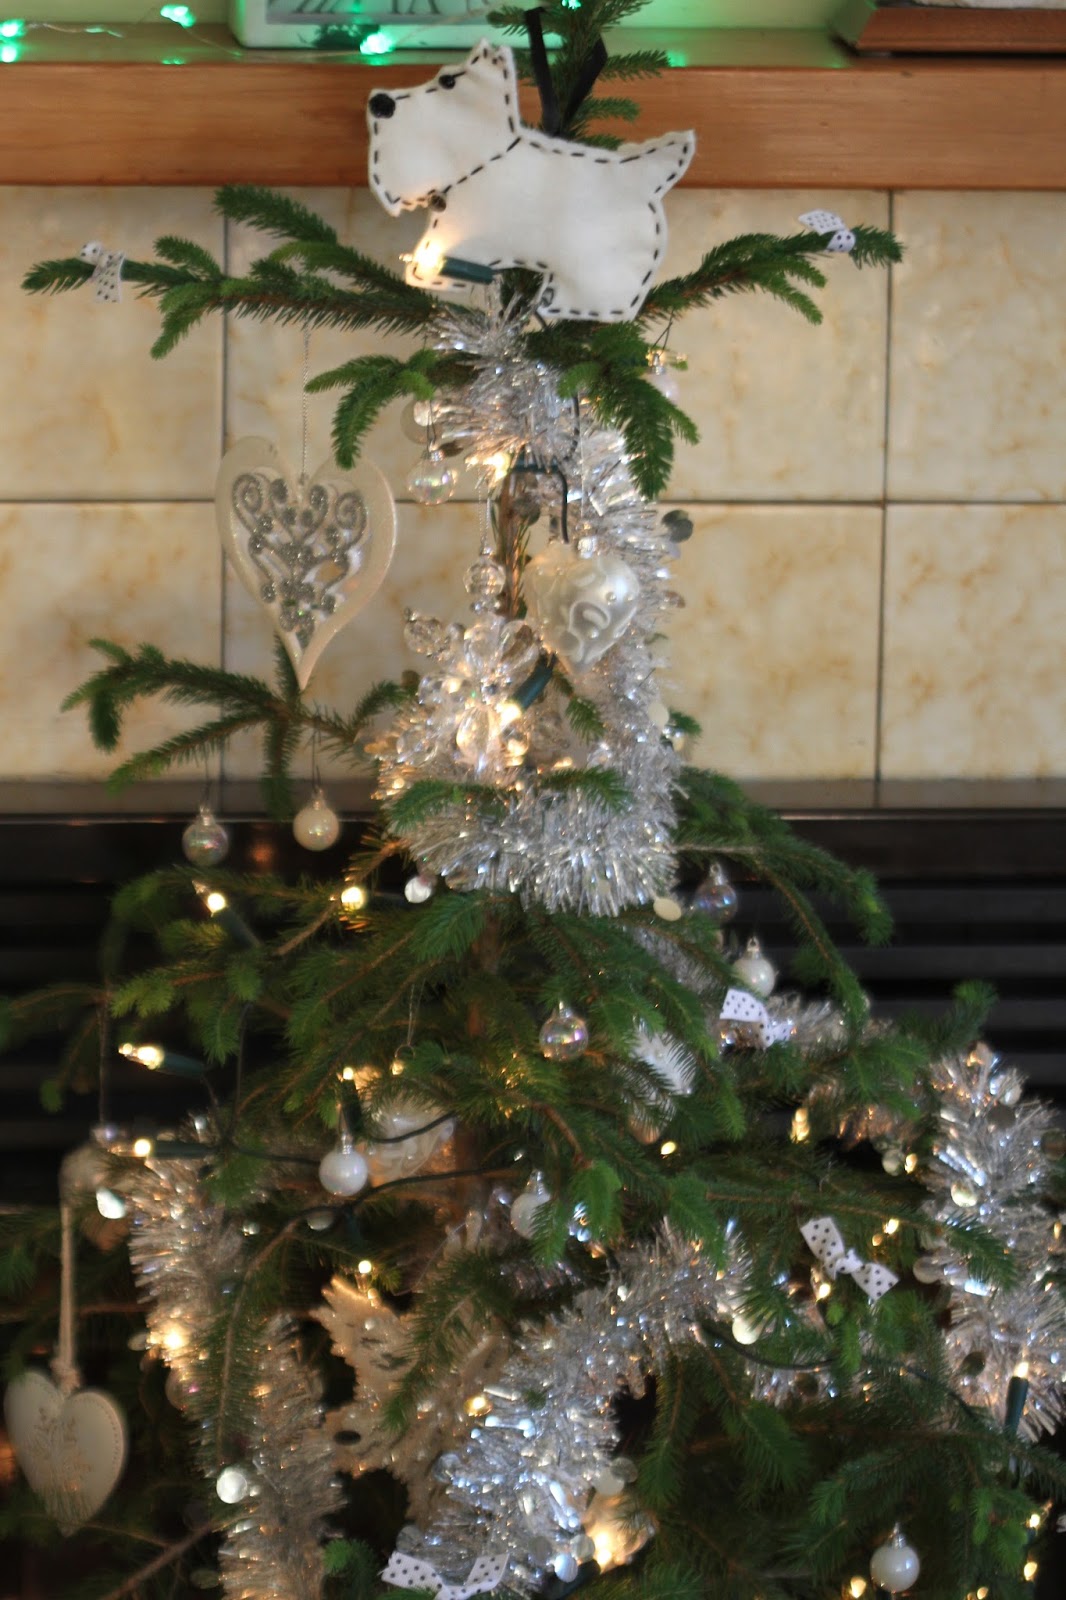
Instead of my full on Christmas I would just decorate two little trees.


One a 'Gracie' memorial tree in white.


And one silver with birds and faux parcels.
Because she loved watching birds.


And she knew a present when she saw one.
I will miss her crazy excited parcel unwrapping antics.


So Mia Bella Passions Christmas 
is
small
white
and full of love...
and memories...
of a wonderful friend and companion of 12 years.


Blackboard Christmas Tree Art....❥


This must be the easiest decoration to create for your Christmas Decor.
And its also a fun one for the kids to make too.

 All you need is a dollar store blackboard and some chalk.

Draw a Christmas tree in chalk.

You can also print Christmasy words around the outside of the tree to if you like.


#christmasdecor #christmascrafts #cristmaskidscrafts


Berry Button Gift Tags...❥

Create the ideal adornment for your gifts...
with easy to make 'Berry Button Gift Tags'.
They are super cheery!


 All you need to create them are:
Green felt
Some dollar store ready made tags - plain or glittered.
Buttons in 3 sizes. 
Craft glue.

Cut free form green leaves.

Glue leaves and buttons on to tag as shown.

Add a tie cord.
Once dry it's ready to add to your gift!


#christmas #christmasgifttags #christmascraft #mistletoe #buttoncraft


A Snowy Luminary...❥


DIY a some gorgeous festive bling.
Or make one to gift and share the love of Christmas.

All you need to make these Snowy Luminaries are:
A Clear jar with an opening big enough to place a small tealight or candle.
(I used one that was 13cm tall , with a opening that is 7cm wide)

A small bag of Epsom salts.
(Epsom Salts makes fabulous fake snow.)

Matt Mod Podge glue.

Some decorations for the neck of the jar.
(rope, christmas ribbon, faux berries & pine or anything Chjristmasy)


To make:
Coat the bottom 3/4 of the jar in a Mod Podge glue.


 Roll in the Epsom Salts

Press the salts onto the glue.
Set aside to dry.
Then paint a second layer of Mod Podge over the Epsom Salts to set it to the jar.
Set aside to dry.
  
Bind the jar neck with the twine.


Add your embellishments. 


I used:
natural twine for the neck of the jar
some faux berries
and some gold plastic leaves.


I always save bits from old decorations for crafting new things.

 And a tea light candle.
I wish you could smell these ones...
OH MY they are so delicious you could almost eat them!
Handmade by Living Light - Golden Bay - New Zealand
https://www.livinglightcandles.co.nz/

Place the Snowy Luminary in your Christmas home decor and light at night.


And you have your own DIY Festive Bling.


Or gift to someone special this Christmas.


#christmas #christmascraft #candles #luminary


Related Posts Plugin for WordPress, Blogger...