Homemade Coconut 'Bounty' Bars

When I have failures, they seem to happen in twos or threes.
Thankfully, by some miracle, 
I seem to be able to save the project at hand!
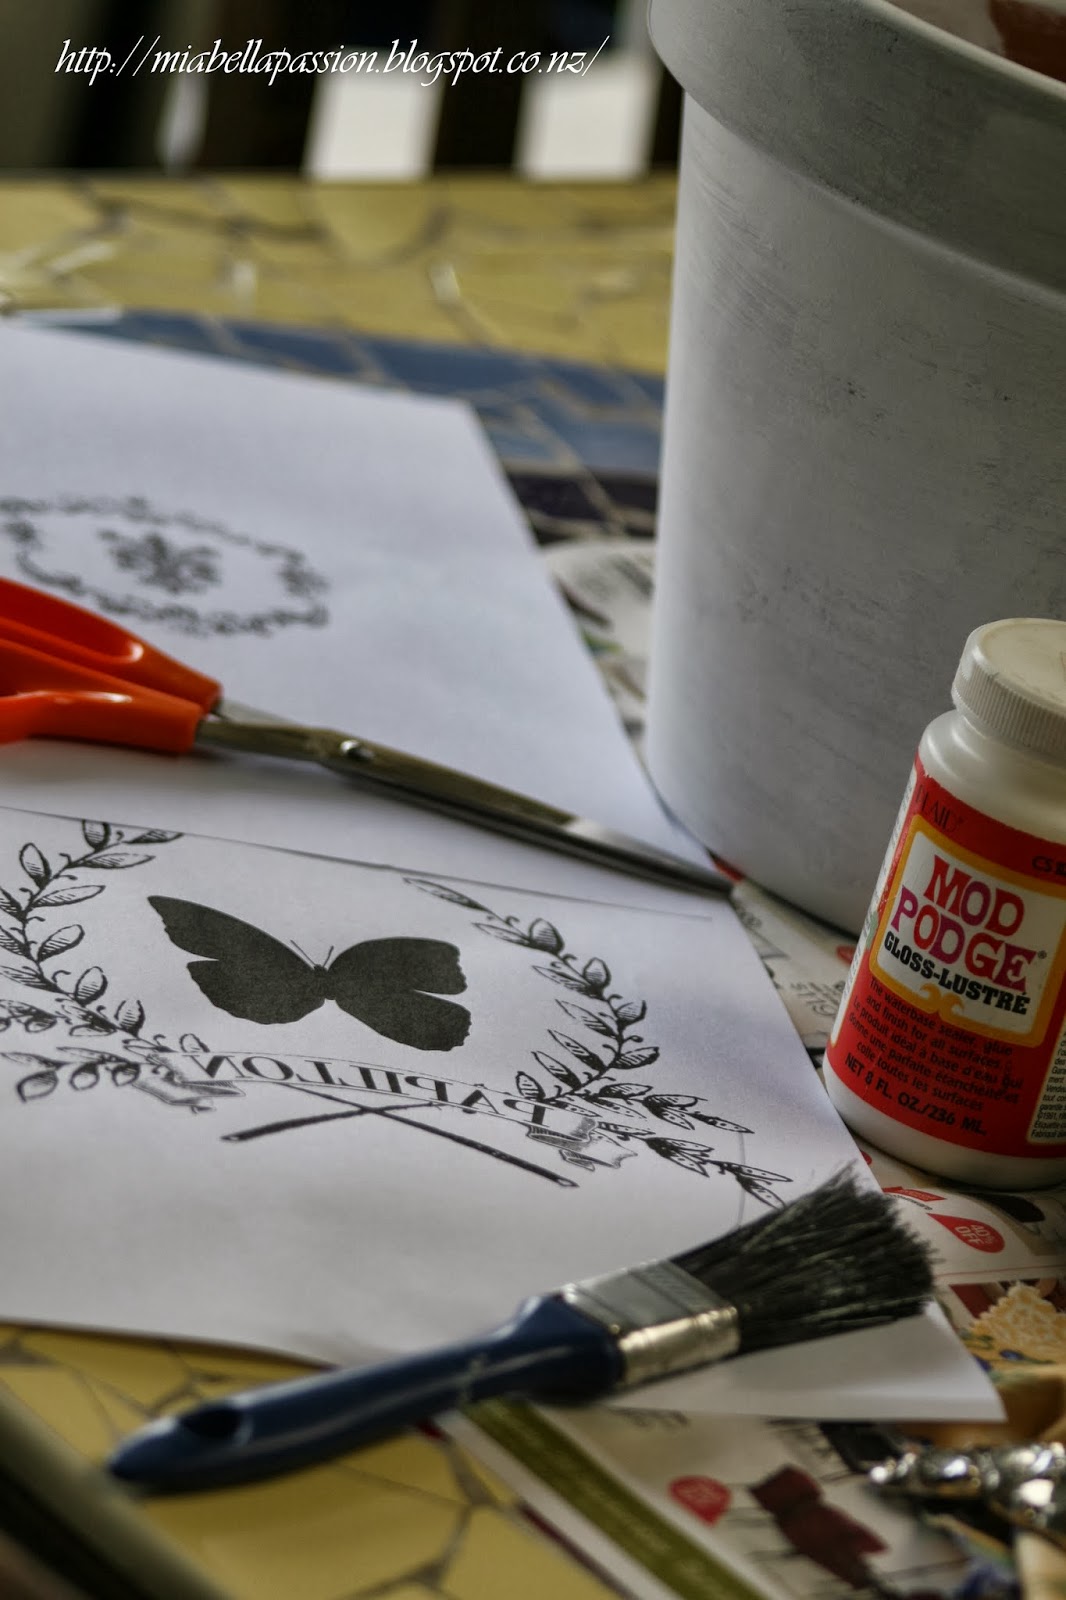
Remember the 'almost failure' with the French Look DIY pot?
Well, folks, here is another 'almost' EPIC FAIL
 I thought I would share it with you.
I added the word EPIC as I was pretty sure 
Whilst making these Bounty Bars, they were definitely not savable!
I found a delicious recipe for homemade bounty bars
with SIMPLE picture instructions at 'Not Enough Cinnamon',
Homemade bounty bars aresometimes known as mounds.
I thought, "Oh, YUM, let the confectionery-making begin!"
It all started off so well.
I gathered my ingredients: sweetened condensed milk, coconut, and melting chocolate.
Homemade Bounty Bars
And into my bowl went:
one cup of condensed milk and three cups of coconut.
It was mixed together as instructed.
So far so good!
But then mistake number one occurred,
I added a bit more coconut as I thought the mixture was too wet!
 Mental note to self for the future...
'Do not overthink things!'
Then I 'squeezed' the coconut mixture - using clean, wet hands into mounds.
Which of course was harder to do, 
because my mixture was now drier than it should have been.
Second note to self:
'Do not adjust quantities - stick to recipe!'
Homemade Bounty Bars
The wee mounds were popped onto a tray lined with baking paper and into the freezer for 20 minutes they went.
Near the end of chilling time, I melted the milk chocolate.
This is where things went horribly, horribly wrong!
The first mound was dipped, and the coldness of it made the chocolate set FAST!
It looked OK, quite smooth, but a little thick, 
so thinking the chocolate needed to be thinner.
Mistake number two occurred.
 I added a little bit of cream to it.
BIG MISTAKE!
IT WENT THICKER!!!
Needless to say, I was grateful a chocolate cake was in the oven, 
and my chocolate concoction was now the ganache to ice it with!
Then melted dipping chocolate attempt number two began.
Dark chocolate this time.
Nicely melted, 
Homemade Bounty Bars
but I still struggled to dip my mounds nicely.
They did not look smoothly coated.
In fact, mine most certainly resembled hedgehogs!
And worst still, one got completely stuck to the fork.
(But that was a terrific excuse to EAT it!)
It's clear I need a few lessons on how to dip confectionery into melted chocolate.
(I think I did not have my melted chocolate hot enough!)
But the good thing is,
they may not look like the perfect chocolate mounds 
created by 'not enough cinnamon' on their Blog,
BUT THEY DO TASTE DELICIOUS.
Homemade Bounty Bar Recipe
My homemade coconut bounty bar mounds have a new name:
 'Coconut hedgehogs'!
For the latest posts JOIN :)

#homemadesweets #homebakedconfectionery #homemadebountybars

Cupcake making for kids!

It was with much fun that we had the pleasure of 'testing' a cupcake kit for kids
for our local Whitcoulls bookstore!
First, we make a batch of vanilla cupcakes
and let them cool before icing them.
You can use your favourite vanilla cupcake recipe or a bought box mix.
Kids baking ideas
 The kit had the smallest rolling pin you've ever seen in it...
cute little cutters, and fondant in pink, yellow, white and blue.
This kit is quite educational, too.
With fondant in primary colours mixed to make new colours,
Yellow + blue = green...
So that's a bit of colour science, isn't it?
Kids baking ideas
 The fondant passed the taste test.
Kids would love the different flavours...
 Pink strawberry was the best!
Kids baking ideas
 The little cupcake stand was a trick to get the cupcakes on...
Kids baking ideas
But this was the end result.
Cupcake making with fondant icing.
Now there's an idea to keep the children entertained 
during the weekend,
or holidays!
Use dyes and flavours with plain fondant on your homemade cupcakes, if you can't find a kit.
Get updates about the latest blog posts,
by joining for free HERE.

#kidsbakingideas #schoolholidayactivities

DIY Willow Wreath...

The countdown to Christmas is truly underway, have you been doing any planning?
I thought I had better get a move on with that,
 so I sat down with pen and notepad, and planned away!
Every year I have a colour theme,
and this year it will be the traditional red, dark green and white.
I'm going to make book page butterflies, Scotty dog decorations in white felt, and a decorated wreath.
Those bits will go nicely with the felt reindeer made last year,
and all the other Christmasy things, I have made or collected over the years.
Don't you just LOVE Christmas?
When do you decorate your house?
Are you like me and decorate in the first week of December?
The large willow wreath was today's creation.
 It should be dry enough to decorate in a few weeks.
Here is how you make a willow wreath...
There is a little willow tree in the house paddock at Mia Bella Gardens, so I gathered some of it.
You will need to pick the more flexible new growth.
How to make a willow wreath
As well as some thin wire and secateurs.
How to make a willow wreath
The next task was to strip the leaves and tips from the willow...
How to make a willow wreath
 Then cut some small pieces of wire...
How to make a willow wreath
 Choosing some of the longer lengths of willow bend into a circle.
How to make a willow wreath
 Using the wire, bind it together in three of four places.
How to make a willow wreath
 Don't worry if it's not perfectly round, 
for you will shape it as you weave more willow into it.
How to make a willow wreath
 Keep weaving and twisting, poking the willow into the circle.
Give it a squish and help it shape into a circle.
How to make a willow wreath
If you have access to willow, have a go at making a wreath...
It is lovely to work with as it is so supple.
It took me about 3/4 of an hour to make this....
Quite therapeutic actually, all that weaving.
How to make a willow wreath
 And here it is...ready to hang and dry...
Don't the poppies look pretty framed by my DIY willow wreath?
NZ Lifestyle Bloggers
For updates about the latest blog posts,
you can join for free HERE.

#howtomakeawillowwreath  #wreathmakingtips #wreaths

Mod Podge Creation Reveal...

Yesterday a French look DIY pot was created...
Find the 'how do do it' info here:
How to mod Podge Transfer on pots
24 hours of drying time later, with my bowl of water and cloth in hand...
I start to wet the label...
AND THEN...
SHOCK, 
HORROR...
 realised I had modpodged over it yesterday 
when that is NOT what you do!
NOTE TO SELF (for future craft sessions)
PRINT the instructions.
Don't just read online and then think you will remember how to do it.
So here is what I should have done...
How to do a transfer on a pot
Brushed the modpodge onto the label....
How to mod Podge Transfer on pots
Smoothed it onto the pot... 
How to do a transfer on a pot
Then left it to dry for 24 hours.
Thank you 'Heavens Walk' for those instructions.
How to mod Podge Transfer on pots
So because of my mistake,
The removal of the label was a painstaking event!
It took quite a while to soak the top paper layer off.
But get it off, I did!
One coat of clear sealer later...
How to mod Podge Transfer on pots
It was complete.
In the end, it worked,
even though I thought I was heading for a DIY craft disaster!
Yay!  The final result is one super cool French look pot. 
That will look fabulous in my laundry revamp (= ongoing project!)
Now that I actually know how to do this correctly,
I will definitely be creating some more!
DIY Tin Can Vase Crafts
The vase was a great success...
DIY Tin Can Vase Crafts
 and looks fab on the mantel. 
French Country Decor
 It sits next to the fleurs basket...
Mia Bella Passions Blog
Filled with 
snowball tree flowers, roses...
and pretty purple blue Japanese irises.
DIY Tin Can Vase
 I am loving this wee bit of BLING
as the colours complement the violet fabric perfectly.
NZ Lifestyle Blogs
Get updates about the latest blog posts,

by joining for free HERE.

#craftideas #howtodoamodpodgetransfer 

Mod Podge Craft Session...

Mod Podge is such fun stuff...
and I had so much creating a few new décor pieces...
The other day I painted in the garden! 
A terracotta pot and saucer...
with a little bit of white.
Then today gathered together 
all the bit and pieces I thought I would need...
mod podge, string, printed images, a painted pot, a jar, and some beads...
 a bit of bling and some pretty fabric too...
 But what to create?
 I had seen a tutorial on how to make a DIY French Country style pot at 
'Heaven's Walk' blog...
so thought I'd give it a go.
For the full tutorial visit:
 And I had also seen fabric mod podged onto a tin to make a vase on 'Pinterest'...
and that's what I created first. 
And at the same time pasted a 'Graphic's Fairy' French typography graphic on the front of the flip lid jar... 
 Fabric on old hot chocolate tin, and graphic on jar...
Don't you adore the fabulous graphics available?
Have you seen the wonderful graphics at 'The Graphic's fairy'?
Visit Karen and have a look:
 On the bottom of the tin another strip of pretty violet fabric
with the top edge cut with pinking shears for a pretty effect was mod podged .
 'Mouse' said "Craft party...where?"
"Oh here...can I play too?"
 "I LOVE CRAFT!"
 "Beads and wire are soooo much FUN!"
 'Mouse' you really are a pain! 
 How can I create beaded pretties with you trying to eat everything?
 Wire is bad for kitty cats, you know!
 Eventually the game of cat and mouse was won...
and the 'Mouse' did not win!  
A beaded and jewelled bit of bling
 was created to accessorise the mod podged fabric tin...
 Next another  'Graphic's Fairy' French typography graphic 
was cut out to mod podge onto the painted pot...
 This one is a mirror or reverse graphic...
What you do is put lots of mod podge onto the printed side of the graphic,
 press into position on the pot...
(NOTE: DON'T PASTE OVER THE GRAPHIC once placed on the pot as shown in this photo, 
....visit tomorrows post to find out why!)
Then WAIT!
Yes - WAIT - a whole 24 hours...
With no poking or peeking...
which is next to impossible if you are the most impatient person in the world!
But wait I am going to...
because I really want this to work.
Meantime - the graphic on the jar had dried...
so into the cute little jar went the wooden pegs.
(This is for my Laundry revamp currently in progress!)
Why don't you pop back and visit the blog tomorrow to see the end results
at the 'Mod Podge Creation Reveal'?