Showing posts with label For the kids.... Show all posts

Halloween Cork Bats

Halloween Craft 
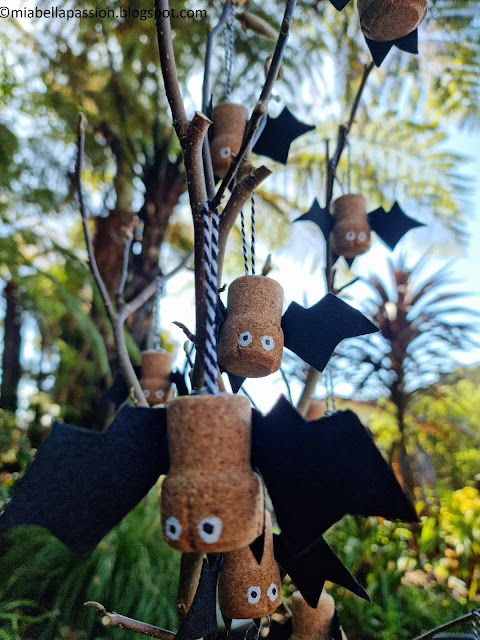
Halloween cork bats are terribly cute!

And terribly easy to create!


You Will Need:

All you need are corks. (approximately 2inches in size).

Black felt.

Craft twine.

Black and white acrylic paint.

A paintbrush.

Scissors.

Hot glue gun.

Halloween Craft

I'm making 12 'terribly cute bats'.

With the thought on Halloween to gift away a bat to the little people trick or treaters.


To Make:

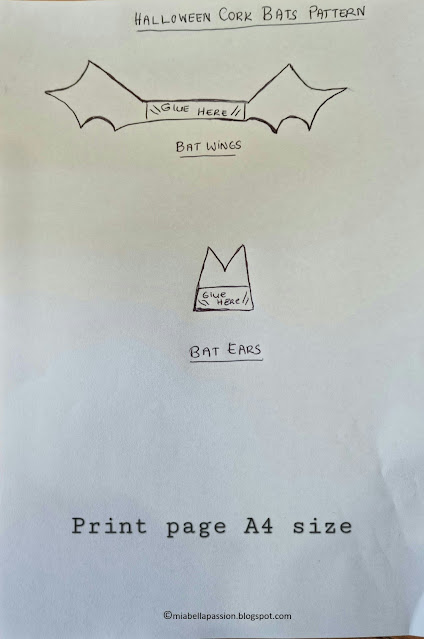
Halloween Template

Copy-paste-print the pattern sheet.


Halloween Craft

Pin pattern onto black felt (or freehand cut if you are confident) and cut out a set of wings for each bat.

Then the ears for each bat.


The Next Step:

Halloween Craft

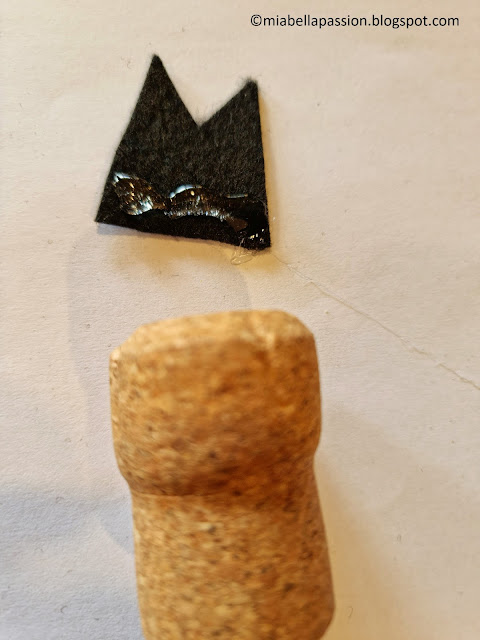
Using a hot glue gun.

Halloween Craft

Glue ears onto cork.

Halloween Craft

Then the wings.

Halloween Craft

Paint white circles of for the eyes.

(Dry with a hairdryer for fast drying)

(You could also use small-size plastic boggle craft eyes instead of painting them.)

Halloween Craft

Then paint the black pupil onto the eye.

(Dry again with a hairdryer).


Halloween CraftHalloween Craft

Glue on a (twine or ribbon)hanger to the bottom of the bat.


Then display it on a raw branch in a vase.

You could paint the branch orange, black or white.

But I have left mine naturally raw.

Halloween Bats

Add to your Halloween display as a table centerpiece, to decorate your trick or treat table or on your sideboard.

Find more HALLOWEEN IDEAS HERE.

#bats #halloweencrafts #halloween 


Easy Fresh Apple Cookies


Healthy Snacks

Christmas and New Year are done,

 with it all the naughty but nice food choices.

It's time to refocus and get back into the 'healthier' groove of things.

Fresh apple cookies are...

Super easy.

Super healthy.

Super quick to whip up.

Great for the kids to make and eat.

And a great pool party canape idea.  

I eat these for breakfast as they also make a perfect alternative to toasted bread with peanut butter.

Healthy Snacks

These are so EASY to whip up.

Healthy Snacks

Use a crisp, sweet, eating apple variety.

You don't want to use apples that are sour or of floury texture because they are well past their shelf life.

Healthy Snacks

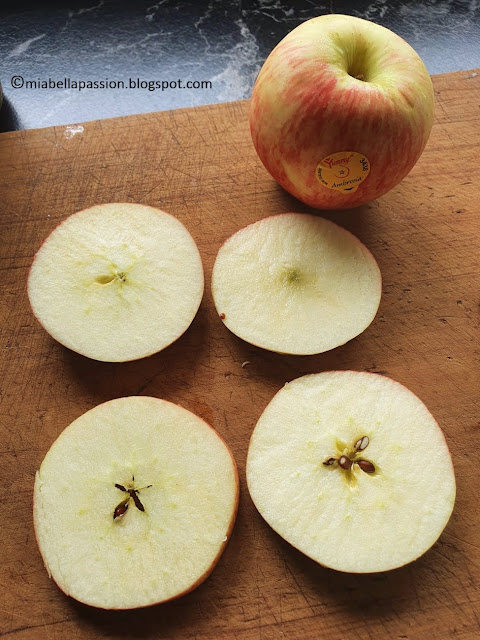
Slice the apple into rings and remove the core.

You get three slices from a medium to large size apple.

So one apple per person served.

Healthy Snacks

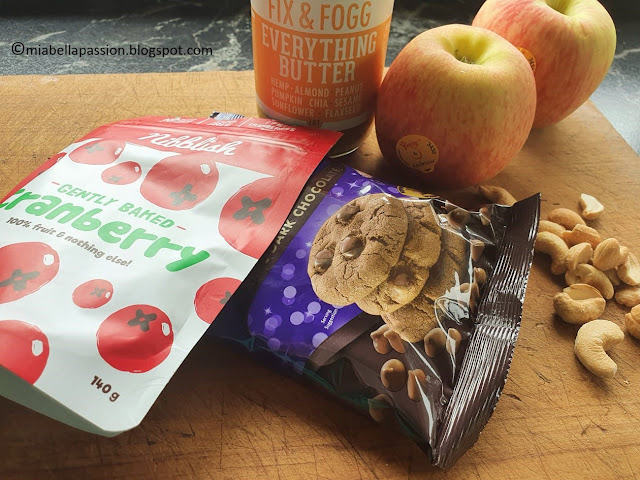
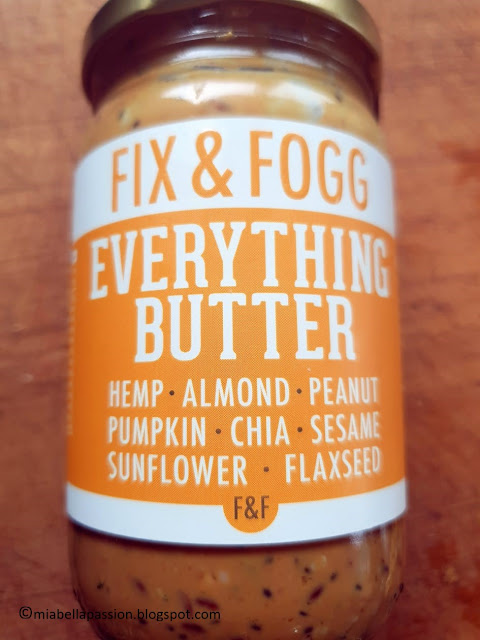
Spread one side with peanut, almond, or a nut butter mix like the one shown.

Top with toasted chopped nuts and diced fruit.

(I used almonds and cranberries)

Adapt the nuts and dried fruits to your taste.

And some dark chocolate drops or chips if desired.

And that is it!

Healthy Snacks

EAT and ENJOY!

Printable recipe HERE.


GRAB A COFFEE AND POP OVER TO MY GIFT STORES AT

FINE ART AMERICA

REDBUBBLE

SAATCHI ART


#healthysnacks #applerecipes #nutbutter


Christmas Art Rocks

Painted Christmas Rocks

Painting rocks.

One of my favourite things to do!

And these simple designs are perfect for the kids to make on a weekend.

Perfect to decorate the home for Christmas.

Painted Christmas Rocks

Perfect to gift to the grandparents, aunties, uncle or teacher.

TO CREATE:

 Painted Christmas Rocks

Select smooth rocks with a flat front surface.

                   Painted Christmas RocksPainted Christmas Rocks

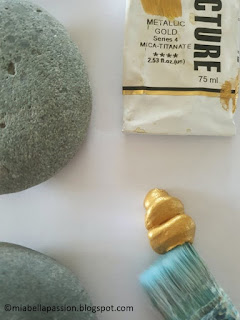
Using gold acrylic paint, paint the rock a shown.

Painted Christmas Rocks

While the paint is drying, sketch some ideas to decorate the rocks.

Painted Christmas Rocks

Use a black marker pen 

(Sharpie is best as other brands tend to run when you spray varnish the rocks)

Painted Christmas Rocks

Decorate the rocks as desired.

Painted Christmas Rocks

When dry spray a light coat of varnish sealer over them.

Painted Christmas Rocks

Place in the decor or gift.


#paintedrocks #christmascrafts 


Peachy Chocolate Balls

Snack Balls
Snack balls are my favourite thing.
Especially snack balls that are cacao based not date!

In these ones, I have used dried peaches.

But you could use other dried fruit like strawberries,

apricots or cranberries.

I retrained my sweet tooth away from cakes and biscuits 

to dried fruit, when I wanted a sweet snack.

A yummy choc fruit ball is the ultimate treat when you are trying to maintain healthier food choices.

Homemade Snacks

To make:

Place in a bowl:


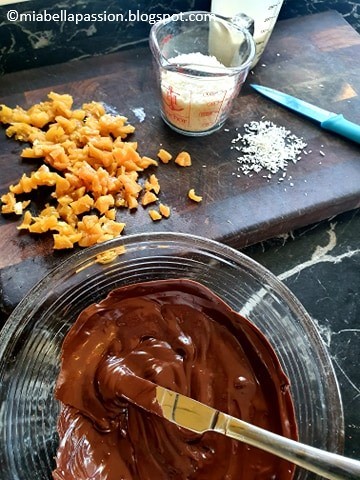
4 finely diced dried peaches

(I used Tasti brand)

1 cup almond meal

3/4 cup coconut

Snack Balls

and 290 grams dark Chocolate Melts (melted)

Snack Balls

Mix well.

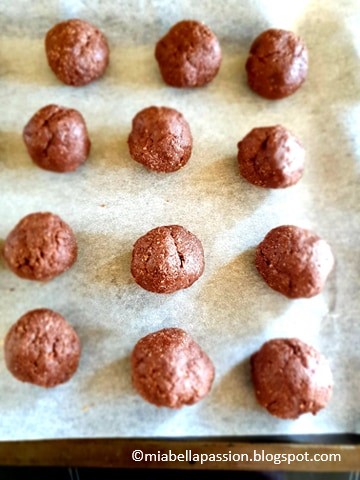
Refrigerate until firm.

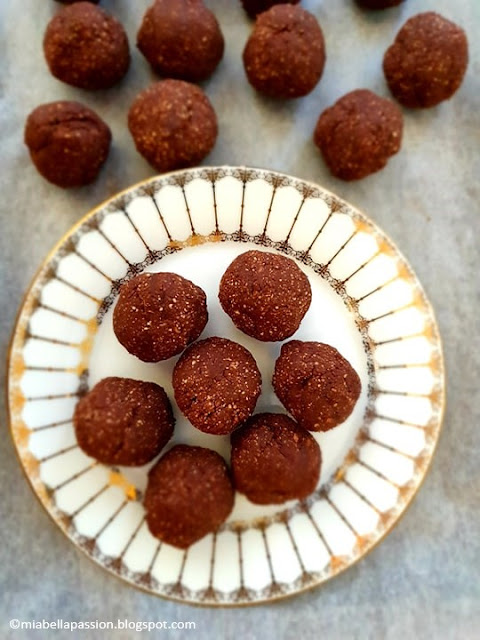
Remove from refrigerator and roll into balls.

Homemade Snack Balls

Store in a sealed container in the cupboard.

Or refrigerator if in summer air temperature.

Snack Balls

Printable recipe HERE


Note: An ingredient conversion chart can be found HERE


GRAB A COFFEE AND POP OVER TO MY GIFT STORES AT

FINE ART AMERICA

REDBUBBLE

SAATCHI ART


#healthysnacks #snackballs 


Marshmallow Slice...

Marshmallow
Mmmmm, a buttery base with a thick marshmallow topping.
I remember my mother making this slice often.  
But she did it the hard way...
with gelatin or jelly.
And we beat and beat that mixture using hand beaters.
For what seemed like hours to my young mind, 
until the topping turned pale pink and creamy.
But I discovered a super-easy way to make the marshmallow topping.
Using MARSHMALLOWS!
You do need an electric beater to create it quickly.
10 minutes is all you need.
And then you pile it on the prebaked cooled shortcake base.
Leave to set.
And then cut into squares.

Marshmallow
It is so delicious.
 Fluffy.
And not too sweet.

Marshmallow
Try it.
 Bake it with the kids.
It will become a family favourite.


Marshmallow
Or serve it on Valentine's Day as a treat - 
just top with a berry jus, berries (from a  can or fresh),
 and a dollop of cream or ice cream (or both).

You'll find the recipe HERE

or copy and Paste the recipe:

Marshmallow Slice

For the Base:
125 grams of soft butter
1 cup of white sugar
1 egg
1 teaspoon of vanilla essence
1 cup of sifted self-raising flour
Beat the butter, sugar and vanilla until pale and creamy.
Mix in the sifted flour
With clean floured fingers, press the mixture into a greased 20 x 30cm slice pan that has been lined with baking paper that has come up the sides by at least 2 inches.
(you will need this height for the marshmallow topping stage.
Bake at 180 degrees for 20 minutes and cool completely.

Marshmallow Topping:
In a pot place 1/2 a cup of water.
Add 1 packet (520 grams) f pink and white marshmallows
(I used the Pascall Big Softie Brand)
Heat over medium heat stirring until the marshmallows melt.
Set aside to cool.
Place the marshmallow mixture in the bowl of an electric cake mixer.
Beat slowly at first, and then increase the speed as it thickens.
Beat for at least 10 minutes.
When the marshmallow mixture is thick. pale and creamy pile on top of the cooled, cooked base.
Sprinkle with coconut.
Refrigerate until set.
Cut into squares.
Keep in an airtight container in the refrigerator.


Help with ingredient conversion here.
.

Grab a cuppa, and visit

 my Fine Art America gift store

:)


#marshmallow #homebaking #slices #sweettreats
#sweetslices #homebaking #baked


The Thankful Heart Tree...

Bookpage Heart Decorations
Christmas is coming with leaps and bounds...
But before Christmas is Thanksgiving.
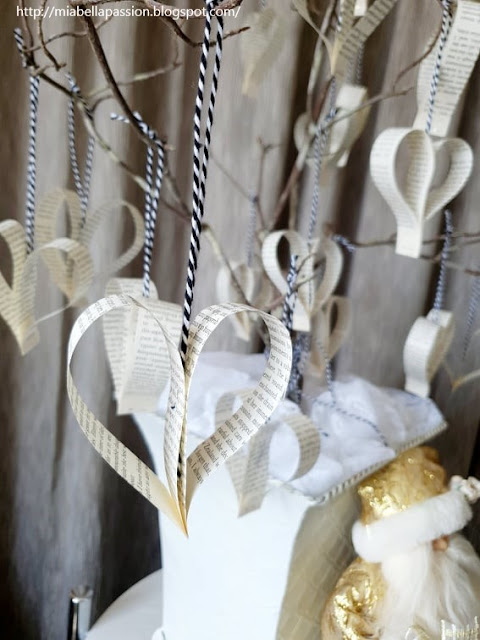
This DIY Thankful Heart Tree is an easy-to-create decoration for the Thanksgiving holiday and can remain on display throughout the Christmas season too.
Bookpage Heart Decorations
The hearts are created using book page strips, that are stapled to shape.
The hanger is stapled on too.
A super fun activity for the kids to make.
And while you are folding and stapling your hearts, it's a good time to talk about gratefulness and what you are thankful for.

My tree is displayed on an upcycled trolley table.
You can find out how I did this HERE.
When the time you choose to decorate your home decor for Christmas add your favourite Christmas things to compliment the Thankful Heart Tree.
 I've added a Santa figurine to the vignette.
And a Christmas votive candle too.
The Christmas theme cushion on the chair is pretty cool too...
One side of the cushion on the tree is gold, and the other is silver. I'm enjoying the gold side today!

To make the Thankful Heart Tree:
You will need a vase and container to place it in or a tin bucket vessel.
Florist foam.
A branch.
An old book.
Stapler.
Twine.
Fabric or lace to cover the foam.

Cut the book pages into strips.  You need two strips per heart.
Hold as shown.
Staple.
Cut a length of twine. 
Bookpage Heart Decorations
Knot and place in the heart.
Staple.
Or you could use a dob of hot glue if you prefer.
Place the florist foam in your vessel.
Place the branches into it.
Tie a twine bow on it.
Place the fabric or lace on top of the foam to disguise it.
Bookpage Heart Decorations
Hang your hearts on the tree.
Place in your Thanksgiving vignette.
Then change it up to keep for the Christmas decor.


#bookpagehearts #diyChristmas


Related Posts Plugin for WordPress, Blogger...