Lemon and Garlic Olive Oil

 Flavoured Olive Oil
There is nothing easier to do than make your own flavoured olive oil!

If you purchase flavoured oil ready-made from the store, it is quite expensive when you work out the ml size to $ value.

And if you are like me and use it all the time the dollars add up!

But make it yourself and save!

Especially if you recycle used glass bottles 

and buy the olive oil when it is on super saver specials.


Flavoured Olive Oil

Flavoured Olive Oil

So let's whip up some 'Lemon and Garlic Flavoured Olive Oil'...

and honestly, it takes about 10 minutes to put together.

So here we go...

(Printable recipe HERE).

.

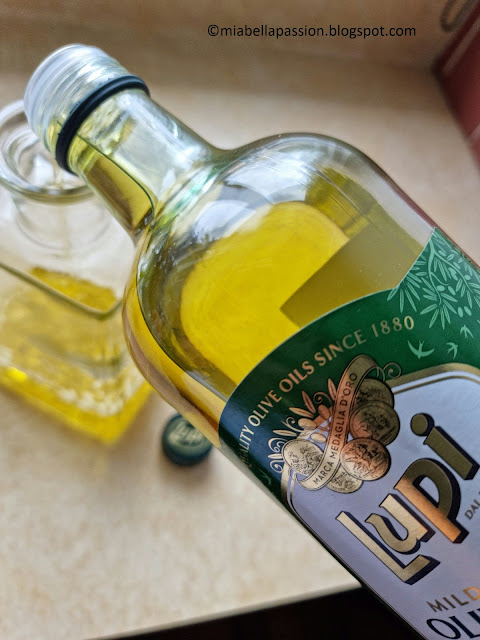
For the oil, I used Lupi Brand in a mild flavour.

Flavoured Olive Oil

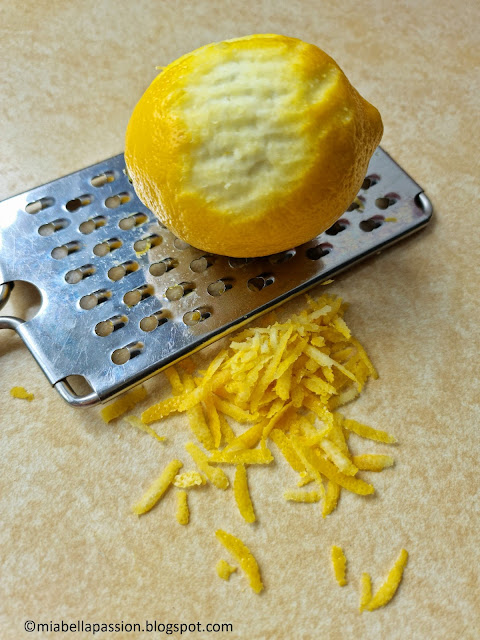
I have grated the rind off I small lemon.

Flavoured Olive Oil

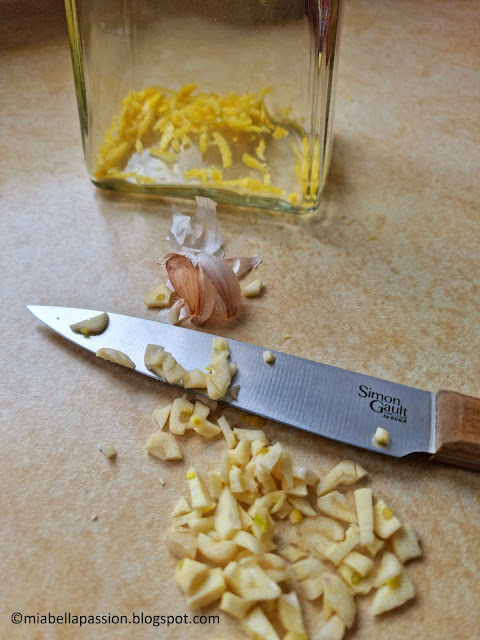
Then peeled and roughly chopped 4 garlic cloves.

Put the rind and the garlic in a heat sterilised bottle, new or recycled that has a screw cap or cork stopper.

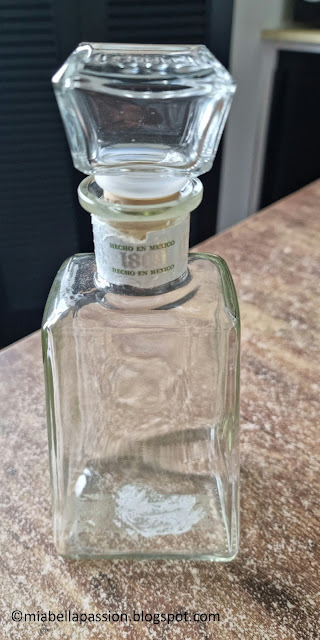
Recycled Bottles

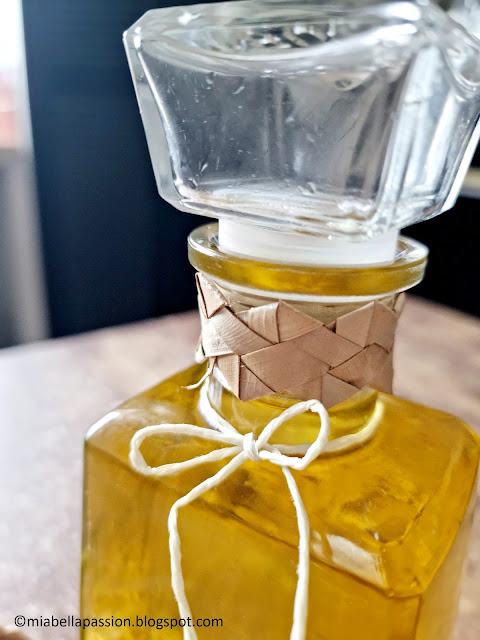
(I have used a recycled tequila bottle because I just LOVE the shape of this bottle and the very groovy glass stopper.)

Flavoured Olive Oil

Flavoured Olive Oil

Next, carefully fill up the bottle with olive oil.

Cork or cap.

.

That is it!

Mia Bella Passions Blog

I prettied up my bottle with a flax weave and string collar.

Flavoured Olive Oil

If you gift it, add a wee name tag of the flavour of the oil.

And instructions to leave for three weeks, but turn the bottle upside down every week, before using.

Store out of direct sunlight.

This gives the lemon and garlic time to infuse their delicious flavours into the oil.


Gift it, or keep it for your own kitchen pantry,

this flavoured oil is delicious on green salads, to cook fish, prawns or shellfish in, 

(or drizzle a little over your cooked seafood)


Grab a cuppa, and visit

 my Fine Art America gift store

:)


#Flavouredoil #homemade #diygifts


Chain Of Hearts Pot Plant

Chain of Hearts

Pot plant mania sure has struck many homes around the world.

Obsession with collecting different varieties of plants is the main thought on many minds.

It is so reminiscent of when I was a child.

When I grew up I remember relishing the 'chore' given to me of polishing the leaves of the monsteria deliciousa and the rubber plant in the foyer of our home.

I remember pretending the Queen was coming to visit and I just had to have those leaves so shiny for the occasion!

My mother often grew things from cuttings.

As did my father.

And then as a young homemaker, I collected pot plant and garden plant cuttings and roots from friends neighbours and family.

And developed my own collections and garden displays.

Then that fad, phase or era ended.

Trends changed, home decor changed.

So now some 30 years later I am filled with joy that plant mania is back.

The healing nurturing power of those botanical beings is a force in this trying world we are currently living in.

And as we are having a chat about plants, I wanted to share this little beauty.

Chain Of Hearts

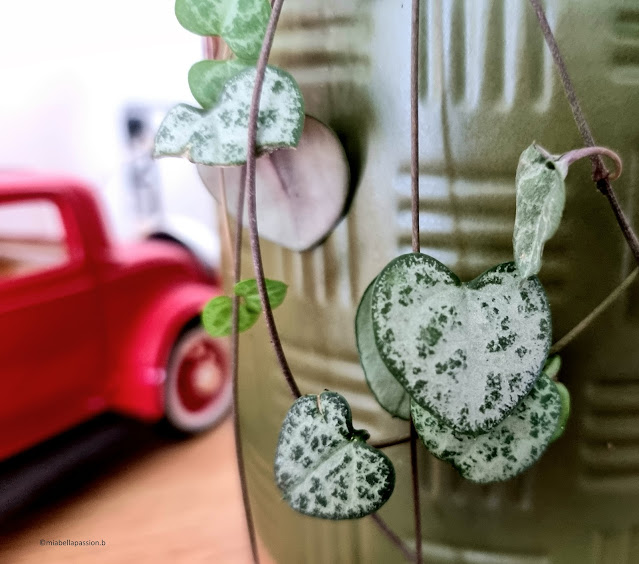
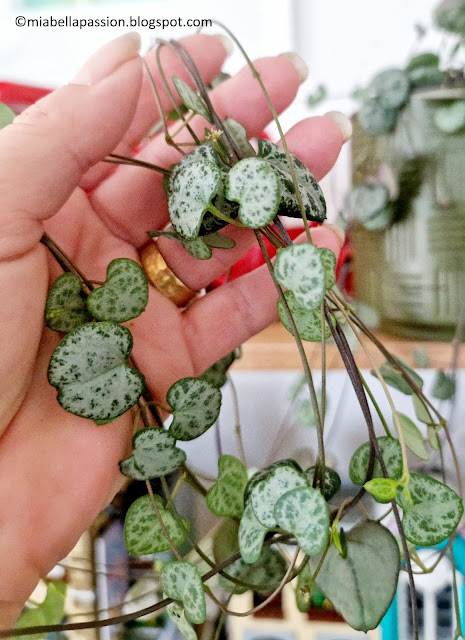
'Chain Of Hearts' or as it's sometimes known 'String Of Hearts'.

This beautiful little plant has a lovely variegated heart-shaped leaf, that has a chain or string-like structure.

The lengths of these chains or strings can reach up to 4 metres long.

It is an easy-care plant that loves good drainage and bright indirect light.

Let the soil dry out between watering.

Fertilise with a general-purpose fertiliser once a month during the growing season.

It is best displayed in a hanging pot or on a high shelf.

And for the animal parents, it is good to know it is pet-friendly non-toxic!

The most common problem with Chain of Hearts is overwatering which causes the plant to rot.

Chain Of Hearts

I love this little plant, and it will gift you tiny tube-like white flowers with black edging to say thank you for letting me live in your home.


#potplants #houseplants


Beach Inspired Air Plant Holder

Air Plant

Here is a very easy beach-inspired air plant holder,

using found beach items.

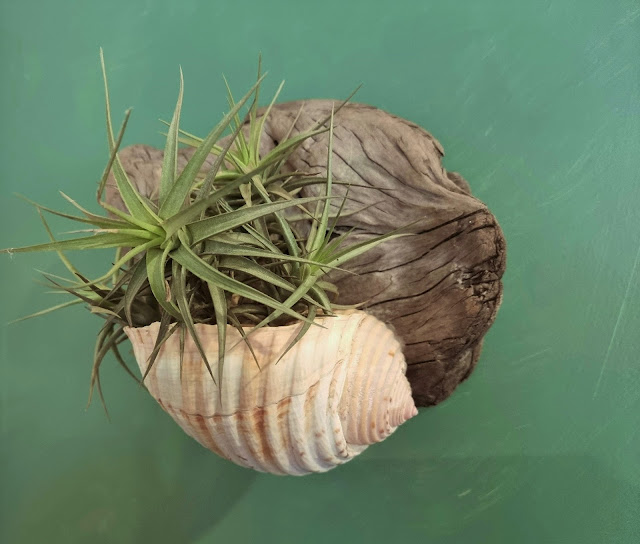
A piece of driftwood.

And a large shell.

Now, this shell already had a drainage hole in the base created by nature.

But if your shell has no hole in it, use an electric drill with a small fine bit or a thin sharp nail and a hammer to create a drainage hole. 

Because you are dealing with odd shapes it's best to decide how you will hang the driftwood.

Attach a wire loop hanger to the back using a small staple nail.

 Use hot-glue to attach the shell to the driftwood.

Push a piece of air plant into the shell.

Hang in a desirable position.

If inside you can remove the air plant from the shell and water.

If outside and drip damage is not an issue, you can spray water directly on to it.

I put mine inside on the wall of our office room.

DIY Beach Decor

My partner and I both paint seascapes,

and camp by the sea often in the New Zealand summer,

so it's a lovely memory inspired wall hanging.

If you are a beach lover I'm sure this easy-care planter will tempt you too.


Note: 

If you cannot source an air plant, you could alternately use a small-leaved hanging succulent or a plant not requiring a lot of watering.

Put stones over drainage hole and plant in potting mix.

.

Visit my 'Saatchi Art & Photography' store HERE

Original art store HERE

#diyplanter #airplants #driftwood #shellplanter


Related Posts Plugin for WordPress, Blogger...