Brick Garden Plant Labels...

I saw this idea on pinterest, 
and I thought it was a goodie!
Brick garden plant labels...
How simple!
How sturdy...
won't break in hurry!
Won't blow away in the wind!
So I set about makng a few.
First stop - the builders supply store to purchase some bricks...
 All you do is write your plant names on the bricks using a pencil...
The pencil just rubs off if you make a mistake.
Then simply outline over it with a marker pen.
 Calligraphy is not one of my finer skills... 
but even with my atrocious attempt at lettering,
 the outcome was pretty darn cool!
 My font was a little bit gothic....
 But the beetroot didn't mind!
 Basil is my favourite one, as it turned out the best!
 I think I'll definitely be making some more of these...
DIY brick garden plant labels...
welcome you your new home
 in the glasshouse at Mia Bella Gardens.


Kereru...

The Kereru is a very large wood pigeon that is native to New Zealand.  
They are one of the largest pigeons in the world, 
weigh 650 grams and are 51 cm long.
Mia Bella Gardens Aviaries had the privilege
 of temporarily caring for one who had flown into a window and stunned itself.
It took a few days to recover, 
but he was soon released back into the native bush area near where he was found.
Here is a painting by New Zealand artist Craig Platt 
showing the Kereru in its natural habitat.
They are eating the berries from a nikau palm.


Honey Vanilla Pannacotta...

I am still creating and taste testing recipes 
from Annabel Langbein's fabulous cookbook,
'The Free Range Cook'.
This book is based on her television series, of the same name.
to buy her cookbooks visit:
http://www.annabel-langbein.com/books-and-reviews/

The Honey Vanilla Pannacotta is a slightly healthier version 
of the full cream pannacotta desserts usually made.
It has 2 cups of cream and 2 cups of buttermilk in it...
which is what I used.
 Annabel says you can lower the fat content further, 
by using 1 cup cream and 1 cup of milk in the 2 cups of cream portion.
It was divine...
smooth and creamy...
served with fruit...
It had a subtle tartness, 
which was a nice change from the usual pannacotta sweetness. 
 Of course I just had to add roses to this photo shoot!
 with fabric in a gorgeous embossed leaf design....
 Annabel Langbein's 'Honey Vanilla Panna Cotta'
 made with buttermilk...
Glorious to eat...
Glorious to look at!
And that my friends is the name of this rose, 
picked from Mia Bella Gardens.
'Glorious'
A Hybrid Tea rose with an equally glorious fragrance.


Felt Rose & Book Page Butterfly Wreath...

What's your colour theme for Christmas this year?
Every year I plan my decorating around a colour theme...
and this year I have decided to keep it more traditional 
with red, white and green.
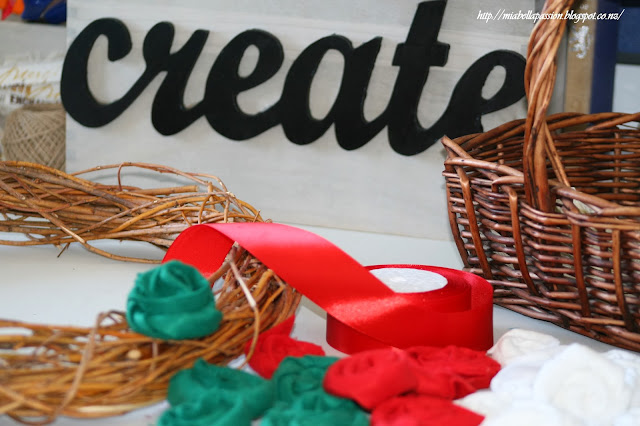
Christmas wreaths are so much fun to create,
so using the willow wreath previously made
I made a ton of gorgeous wee felt roses to decorate it with.
All you do it cut strips of felt using the adage...the thinner the strip, the smaller the rose.
Roll a centre, 
 
then twist the felt as you tightly wind it around.
Hot glue the end and hold until the glue firms.
DIY Felt rose Christmas wreath
I made green, red and white ones... 
DIY Felt rose Christmas wreath
Which will be perfect for this years Christmas colour theme.
DIY Wreath
 I LOVE Christmas creating...
don't you?
DIY Felt rose Christmas wreath
 Once you have made your roses,
simply hotglue them around the wreath.
For the focal bow,
I made a bow out of red satin ribbon, but this was not quite right.
So I made another bow from green felt.
And it was perfect!
DIY Felt rose Christmas wreath
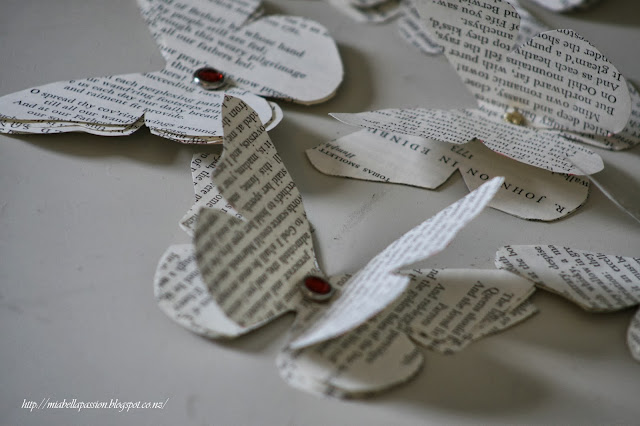
The book paper butterflies made the other day
were added...
If you want to know how to make these follow this link...
http://miabellapassion.blogspot.co.nz/2013/11/diy-book-paper-butterflies.html
And it was finished!
A rather large but beautiful Christmas wreath.
DIY Felt rose Christmas wreath
Next on the list of 'Christmas Things To Do' is...
A porch sign.
What super fun Christmas is!


DIY Book Paper Butterflies...

Such a simple idea...
And simple to do!
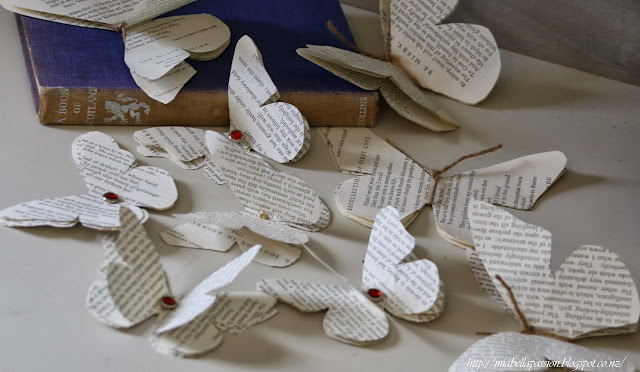
Butterflies made from old book pages.
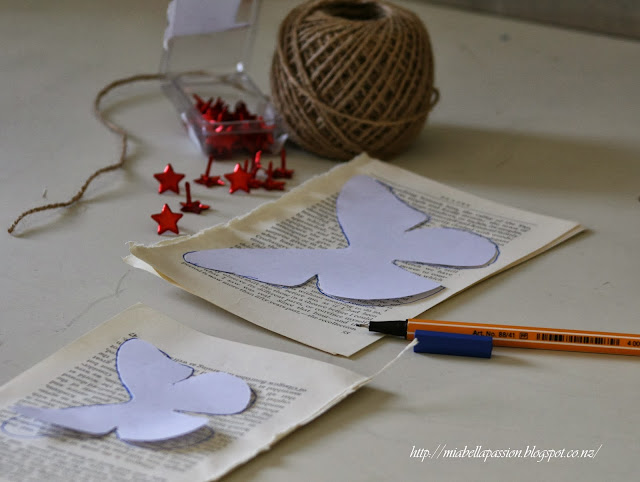
First:  find a butterfly template you like on the net...
Print it on your home computer in the sizes you want...
Paper Craft
Pulling pages from the book...
was extremely difficult for me to do.
As a book lover there is no such thing as an 'old' book'!
And I think my Mama taught me well as a small child to respect books.
You see,
I had rushed into the op shop 
and grabbed this book without a second glance, 
so on the day of the butterfly-making project 
I actually stopped to look at it...
Sigh!
An hour or so later,
the book page butterflies began...
(because I just had to have a little read first,
great book it was too...
 about Scotland,
full of history, short stories and poems.)
I 'saved' pages of poetry for future use.
(A way to compensate my destructive behaviour!)
and then proceeded to pull pages.
I used four book pages for each butterfly.
Next cut out your butterfly templates.
Paper Craft
Using it as a stencil,
With a pen draw around the outline.
You can have the print running vertically or horizontally,
it is up to you.
Paper Craft
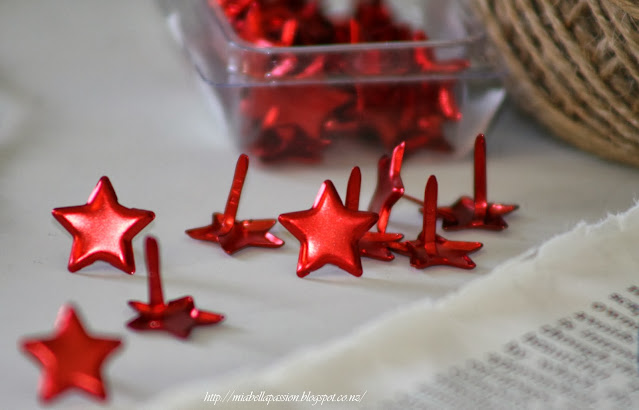
 Gather together some brads and string.
Paper Craft
 I used Christmas brads.
Large red stars
red jewel sparkles
and little gold stars
 So all you do is:
Holding your pages book pages tightly, 
use craft scissors to cut around the drawn outline of the butterfly.
Paper Craft
 Pop a brad in the centre to hold it all together...
Paper Craft
 Or use string...
Leave a length of the string from the knot when you cut it for the antennae.
Paper Craft
Then fold the butterfly wings up so you get a 3D effect.
Paper Craft
I've made these in two different sizes to use for Christmas decorating.
But you could use them for anything, and for any occasion.
Just use your wonderful imagination!


Paper crafts
For the latest posts CLICK  :)


#christmas #craft #papercraft #bookpage #butterfly #ornament


DIY Silver Tray and Button Heart Art...

Isn't it so much fun re-purposing things?
At the moment I am enjoying being creative with old silver trays.
Combine silver,
and...
some glorious old buttons...
with a little creativity,
and you get a new artwork!
I needed a little something for the wall above the washing machine,
which is for the Laundry revamp (ongoing project).
If you want to know why that is an ongoing project,
It is because I am the sort of person who is easily distracted.
The laundry revamp is fairly minor, 
as there is only a wee bit of touch up painting required,
no major wall painting...
and a little bit of décor changing.
Very difficult to complete when life is so full of distractions like...
photography, other craft projects, my wee grandson and tea parties...
'Never mind', I say, 'I LOVE distractions... 
there is another day tomorrow!'
So to create this:

DIY Button Heart Art
----
You need:
An old silver tray (mine is just a small one)
A heart template (Many shapes to choose from on the net)
Marker pen.
Scissors
Paint in a colour of your choice.
Paintbrush
A selection of buttons in chosen colours
Glue.
-----
Simply cut out your heart template with the scissors.
Place it in position on the tray.
Draw around the outline of it with the marker pen.
Select the buttons to fit in the heart outline...
Paint the heart in your desired colour.
When it is dry,
Glue the buttons on it.
Dry overnight...
and hang on the wall.
(I used those fab velcro 'easy to remove' picture strips)


#heart #craft #buttons


Related Posts Plugin for WordPress, Blogger...