

This old Art deco wooden china cabinet
is yet another of my love/hate relationships!
I love the shape of it,
and simply adore the lead light panels,
but I sooooo hate the wood!!

In my minds eye I pictured this painted white.
But one day while looking at furniture on 'Trade Me',
I came across this very cabinet that somebody had upcycled,
by painting it-
solid - shiny - white.
EEEEKKKKK!!!
solid - shiny - white.
EEEEKKKKK!!!
It looked disgraceful!!!
And so my cabinet has remained to this day
in its ugly stained wood state.
in its ugly stained wood state.
But then I had seen
a painted dry brush technique
on an upcycled old wooden ladder.
on an upcycled old wooden ladder.
Rustic and interesting.
And so that was the new inspiration for my china cabinet.
 Very slowly I dry brushed...
 Layer upon layer of white paint...
 Until I was happy with the paint coverage...
It took 3 hours to get it just right!
 Not too light,
and not too heavy.
(Note to self: wear knee pads next time one attempts such a project!)
 After 24 hours drying time,
I used steel wool to distress the paintwork.
 A little here,
and a little there...
following the grain of the wood.
 Very slowly I am falling in love with this cabinet.
And as I apply a layer of beeswax polish,
I'm thinking 'You really are starting to look rather fine!'.
 But what to do with these yucky old knobs?
 Paint to the rescue again -
matt black in fact!
 And what a difference that made!
 I am so glad I decided to keep the original hardware.
 Because there was a moment when I thought I might just change them!
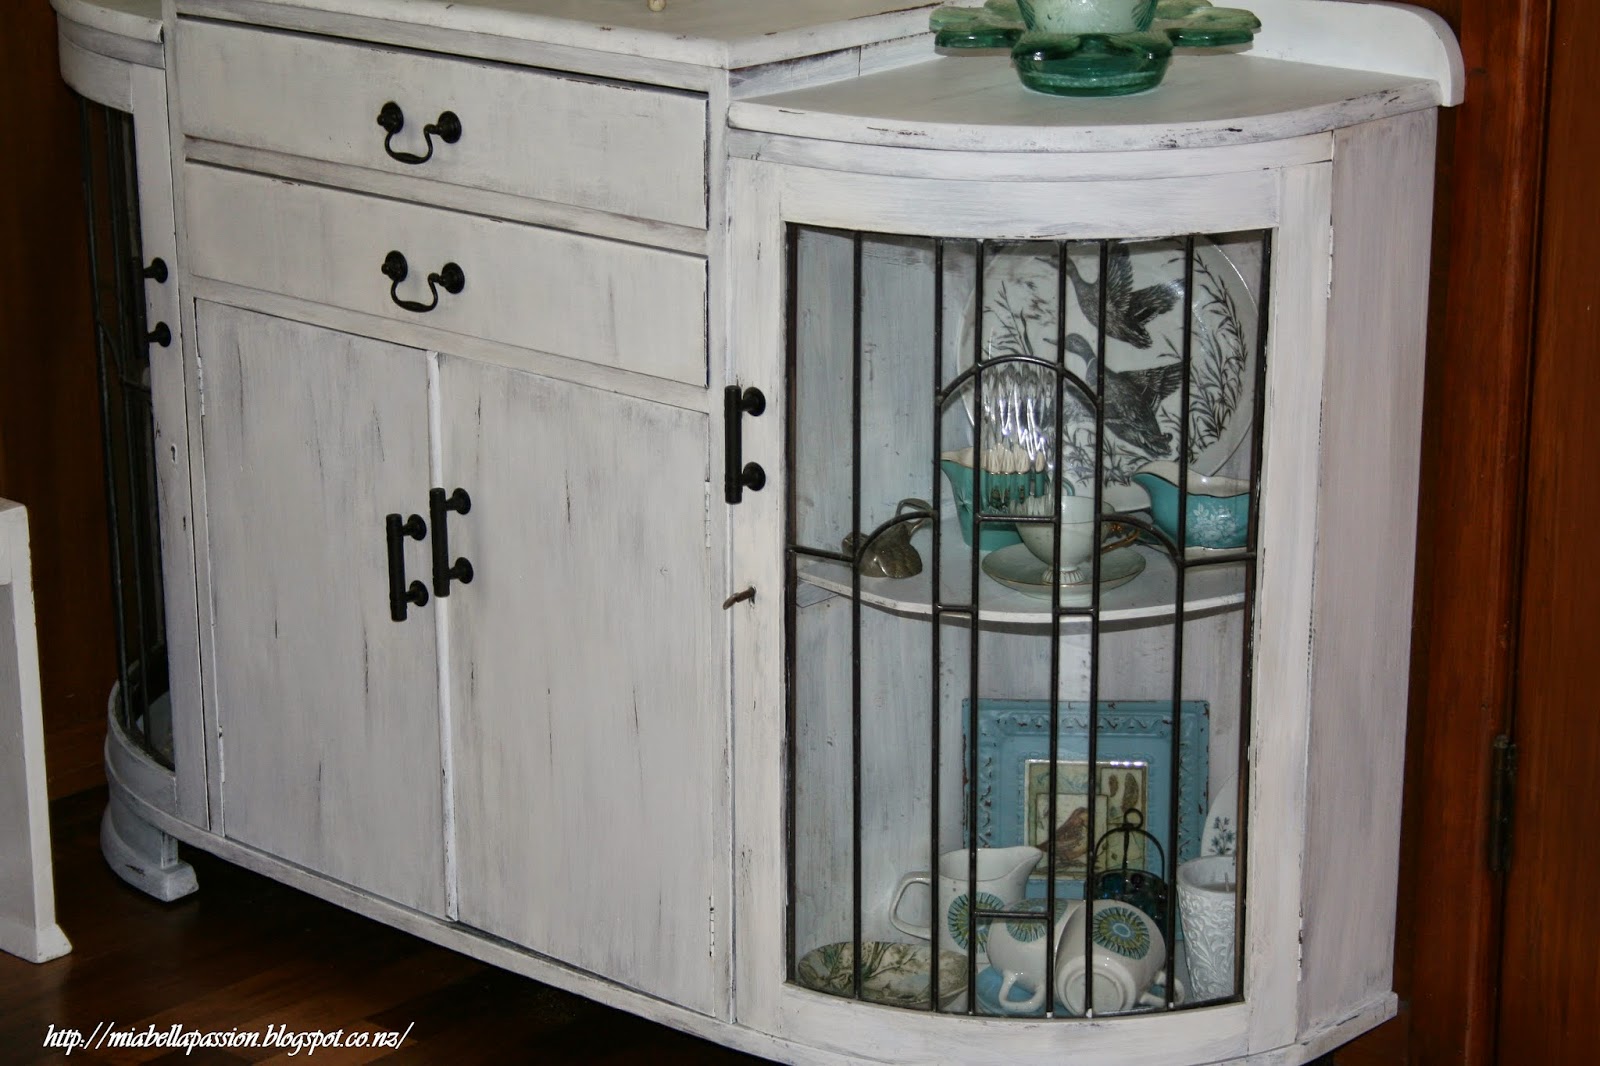
 And here is the end result!
The Art Deco cabinet upcycle: from Ugly to beautiful.
 Now it no longer blends in with the dining room wooden wall panelling...
She simply says -
"woohoo - LOOK AT ME!!!"

 The leadlight glass looks gorgeous!
 And the distressing offers a little bit of detail but not too much.
 The glass urn picks up on the gleam
of the leadlight glass in the cabinet doors.

 Aqua, blue and white hues...
My favourites!


It took 3 hours to get it just right!
and not too heavy.
(Note to self: wear knee pads next time one attempts such a project!)
I used steel wool to distress the paintwork.
and a little there...
following the grain of the wood.
And as I apply a layer of beeswax polish,
I'm thinking 'You really are starting to look rather fine!'.
matt black in fact!
The Art Deco cabinet upcycle: from Ugly to beautiful.
She simply says -
"woohoo - LOOK AT ME!!!"
The 'Aqua collection' simply 'POPS' against the white.
of the leadlight glass in the cabinet doors.
My original chalk artwork
picks up all the colours displayed on and inside the cabinet.
My favourites!
The mirror had a drybrushed makeover too...
It just could not remain natural wood.
So here it is again...
Which do you prefer?
Before
Or
After?
My vote is definitely for after!
1 comment:
I actually prefer before... I think the issue with art deco furniture is the context. Art deco needs soft neutrals and moody sages and blues. Or alternatively the vibrant florida pastels and creams. The beauty of the aesthetic is in the form. Its the sensuousness of the curves and the modern geometry and line. They look great in a room that is entirely art deco... its an entire look. I remember not really liking art deco pieces, then I stayed in an art deco bnb all styled just right. It was perfect! Like a poirot/agatha cristie movie. I got it for the first time and have loved it ever since.
Post a Comment