As you are all lovin'
the DIY Table runner post with the beach theme so much,
I thought that I would create a step-by-step photo tutorial for you.
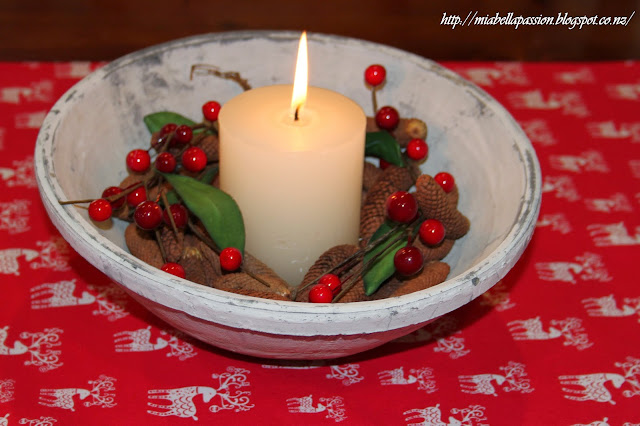
Let's make one in a fun red and white Christmas-themed fabric.
First step:
WASH the fabric.
Now I'm telling you this because I previously made a gorgeous runner, washed it AFTER making, and it shrank two sizes!!!
So ALWAYS wash the fabric BEFORE sewing it.
Fold the fabric in half lengthways.
Measure your table length.
Work out the length to fit your table.
Work out the length to fit your table.
Cut fabric to the length required, allowing at least 5cm extra each end for hemming.
With right sides together pin across top of fabric
and down the length side.
Sew.
Turn out to right side.
At this stage, it is like a huge long pillowcase.
Use a chopstick or blunt-end knitting needle to poke the corners out.
Iron again so seems are even.
At the bottom opening fold a seam inwards as shown.
Press with iron and then pin with seams perfectly matching.
Pin it and sew.
On the other end, sew it exactly the same, so that each end looks top-stitched.
Press again with your iron.
Place on your table.
(Aren't those reindeer just the cutest?)
Add a centerpiece.
And there you have it...
A super simple table runner
Custom-made the DIY way to fit your dining table.
For updates about the latest blog posts,
you can join for free HERE.
#homesewn #diytablerunner


No comments:
Post a Comment