How To Make Quick Pickled Cucumber Ribbons With Onions

A simple Pickle...
Cucumber Pickle

This pickle keeps well for a few days in the refrigerator, and it is an easy 'whip it up in the morning' to use with the evening seafood meal. 

It's a great addition served in a bowl on a cheese board or platter with crusty bread and crackers.

Think wine and cheese.

Think party plate food.

It's an easy pickle to put together:

Cucumber Pickles

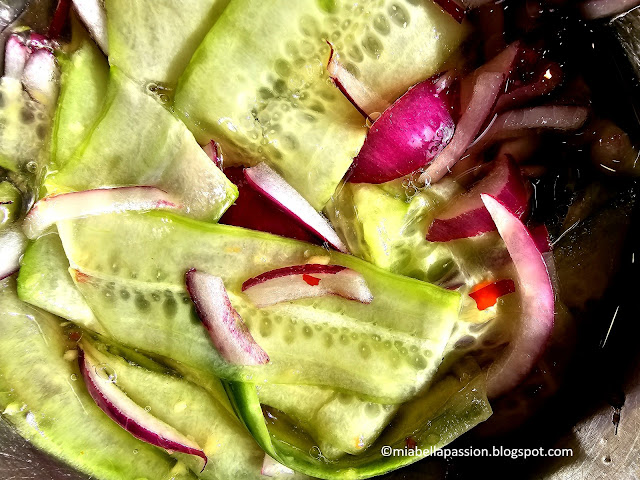
All you do is peel long ribbons from one cucumber.

Cucumber Pickles

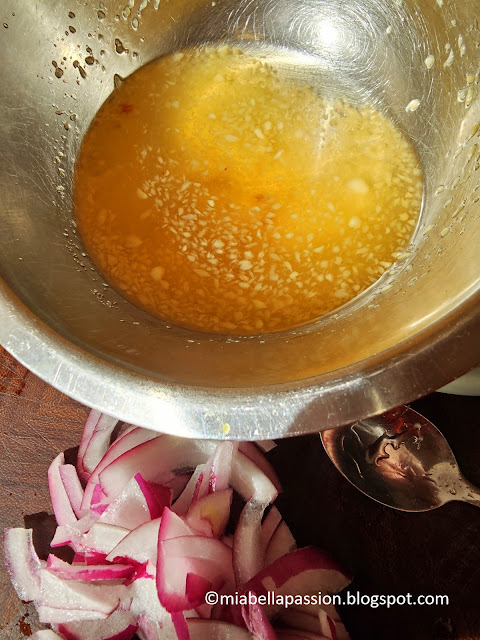
Add the vinegar, sugar, ginger and chilli mix, then the onion and the cucumber.

Refrigerate a few hours to pickle before using.

Cucumber Pickle

The result is a tasty combination of cucumber with red onion in a sweet chilli marinade with a hint of ginger. 

You can serve it as a side with fish.

It's delicious with salmon slices, oven-baked pieces or smoked salmon dips, and crusty bread or baguette slices.

Or as a side with pan-fried white fish crumbed and served with a green salad.

.

Printable recipe HERE.

.

Serving Idea:

Cucumber Pickle

Quick Pickled Cucumber Ribbons With Onions 

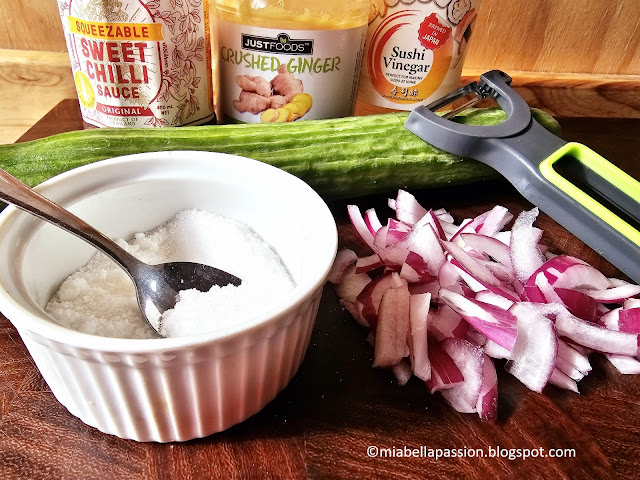
You Will Need:

Cucumber Pickle

One medium sized cucumber

Pinch of chilli flakes or 1/2 teaspoon of Chilli Sauce.

2 teaspoons of minced ginger paste.

1/2 cup of rice wine (or Sushi) vinegar

1/4 cup of fine white caster sugar

 1/2 a thinly sliced red onion


Method:

Peel long ribbons from the flesh of one medium size cucumber.

Place in a bowl with the red onion, ginger, and chilli.

In a small pot, heat the vinegar and the sugar.

Stir until the sugar is dissolved.

Add the ginger and chilli. Mix.

Add the onion and the cucumber.


Place in refrigerator for 2 hours before using, tossing to mix at least once during chilling time.

Makes about 1 cup.


#cucumberrecipes #pickles #quickpickles


DIY Paint Drip Planter Pot

 Did you melt colourful crayons over a candle flame and drip it onto pots, candles, jars and bottles as a child?

Crayon Melt Candle Holder
(To make this project, click HERE)

DIY Painted Pot

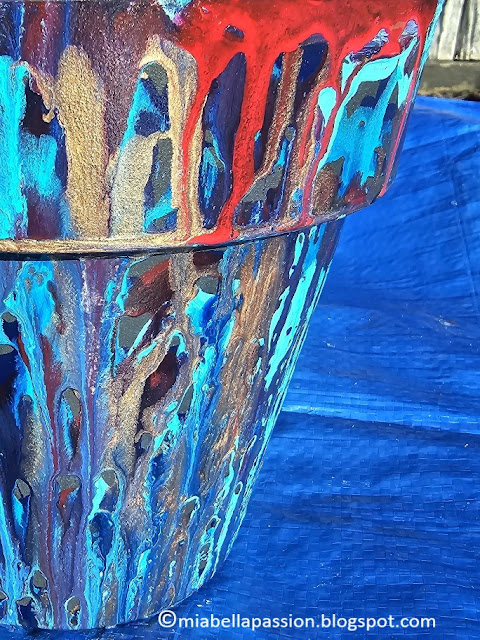
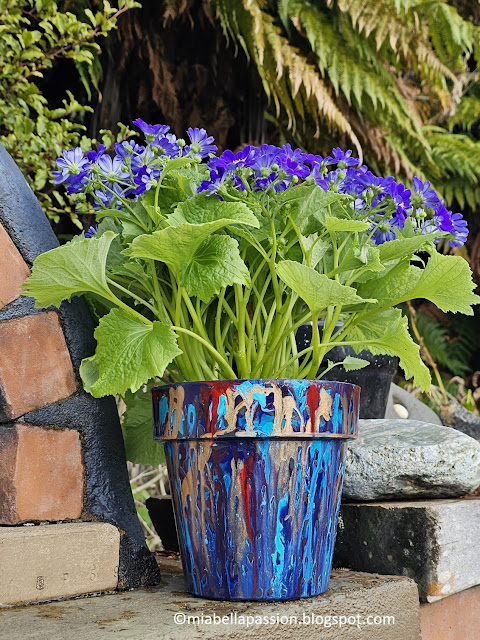
Well, this 'Paint Drip Planter Pot' is reminiscent of that, except we are using acrylic liquid paints for the project.

DIY Painted Pot

The visual outcome is similar without the 3D crayon texture. 

It has a flat colourful surface.

.

 You Will Need:

Protective gloves

An apron or old clothes.

A plastic pot that has a matt texture (not shiny) in whatever size you choose

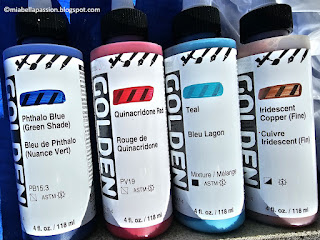
Golden Liquid Acrylic Paint

Bottled Golden Liquid acrylic paints in your choice of colours

A tarpaulin

Spray sealer in clear gloss

DIY Painted Pot

A plant to place in your completed pot

DIY Painted Pot

To Make:

Set up your work area with the tarpaulin to protect the ground or tabletop.

Put on your gloves and apron.

(You'll need them as this is a very messy paint project).

DIY Painted Pot

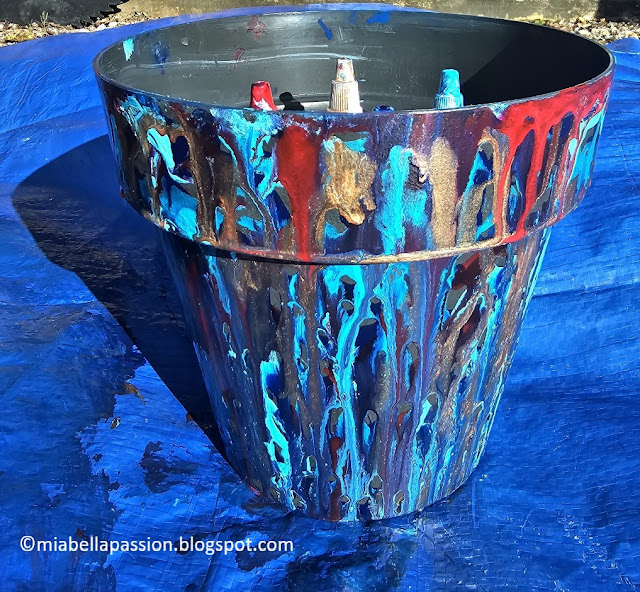
Begin running one colour of the paint in drips and patterns on the pot.

I used the nib on the paint bottle to move the paint around.

DIY Painted Pot

I left small areas of the matt black pot showing through the paint.

You can blow onto the paint gently to move it around if you wish.

DIY Painted Pot

Keep adding layers of different coloured paint, turning as you go by carefully holding the pot rim.

(HINT: This is the point where I thought 'Darn should have had a drip tray or moveable plastic sheet under the drips so I could have also created a paint drip mini canvas with the leftover paint!')

DIY Painted Pot

When you are happy with the effect, set aside to dry overnight.

The next day, spray with two coats, allowing dry time in between as per paint can instructions.

DIY Painted Pot

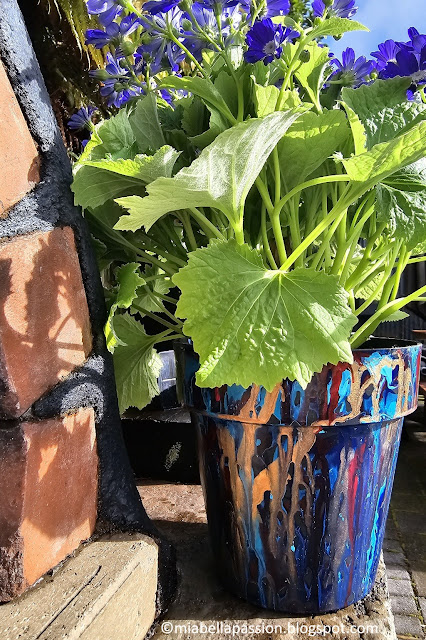
Place your plant inside the pot.

DIY Painted Pot

And put it in your garden or on your deck or patio.

(I eventually put mine inside on the office window sill so I would enjoy it while I was working).

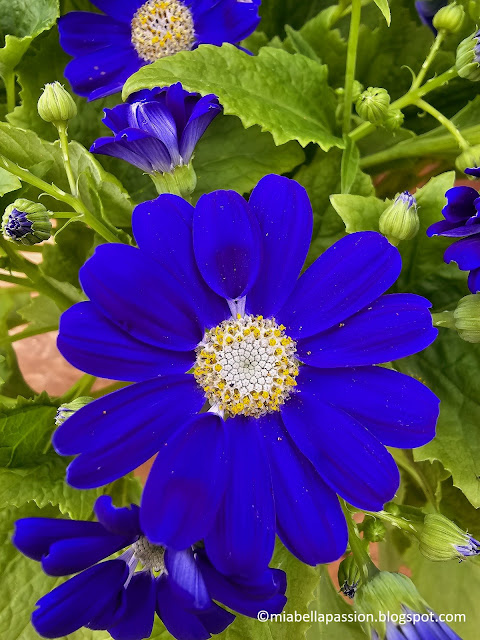
Cineraria Plant

        For the latest posts JOIN :) 

#paintedpots #paintdrippot #diyplanters #diygardenideas

#paintcraft

How To DIY A Birdcage Planter

I know!

This is a 'been there done that - everyone has blogged about it before' kinda thing.

But alas I have always wanted to make one of my own.

So here it is.

DIY Birdcage Planter

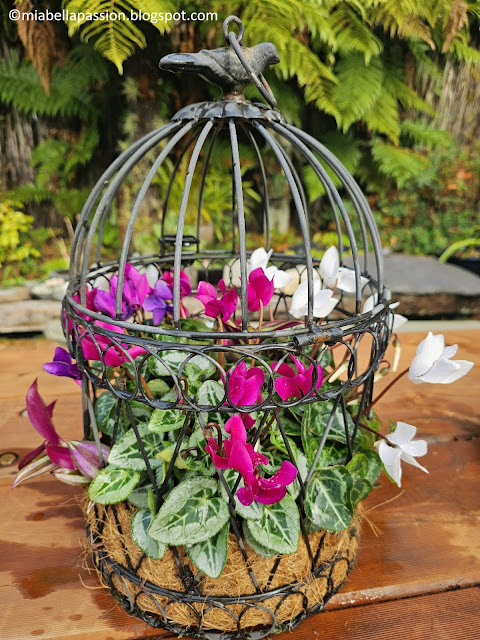
My version of a 'Birdcage Planter'.

DIY Birdcage Planter

I have had this ornamental birdcage for years, but it was always used to display a large candle inside.

Then it ended up in the garden with a pretty aqua pot inside that never got planted with anything.

It's currently mid-winter in New Zealand, so it's tricky to find a lot of colour in the form of annuals.

And also something that will withstand colder temperatures.

Cyclamen Plants

But the Garden Centre had beautiful miniature cyclamens flowering in all sorts of gorgeous colours.

Variegated Trandescandia

And I already had some Variegated Trandescandia plants (also known as Inch plants) ready to pot.

So I selected cyclamens that would compliment the burgundy-purple tones.

Tradescantia is a trailing, soft, hairless ground cover.

I remember my mother had a potplant of this variegated form when I was a child.  

The green form is considered a noxious weed now in New Zealand, as it grows a root from the smallest of nodes touching the ground, and it is found in a lot of the native bush here.

To Make:

DIY Birdcage Planter

The first thing to do is put a hanging basket liner into the bottom of the birdcage.

DIY Birdcage Planter

The bonus of this cage is it has a flip top with a catch, which made the task of placing the coconut fibre liner inside very easy.

DIY Birdcage Planter

Fill the liner with a quality potting mix.

DIY Birdcage Planter

Arrange and plant the plants inside.

DIY Birdcage Planter

I placed the cyclamens on a slight angle

DIY Birdcage Planter

 so the flowers and leaves peeped out the cage sides.

DIY Birdcage Planter

Place it in the garden or hang it if preferred.

DIY Birdcage Planter

I love it!

What a pretty upcycle of the birdcage.

Plus it is a big tick off the 'I want to do that list'!

.

Visit my 'Saatchi Art & Photography' store HERE

Original art store HERE


#birdcageplanter #diygardenplanters #trandescantia #cyclamens


Related Posts Plugin for WordPress, Blogger...