Nutty Chocolate Slice

There is nothing nicer than a delicious homemade slice!

Unbaked Nut Slice

What makes this slice even better is that it's healthier than most.

And if you want to leave the chocolate element completely out, you can, leaving the slice just nutty.

Healthy Snacks

It is not baked so it's easy to whip up in a food processor.

Unbaked SliceNut Slice

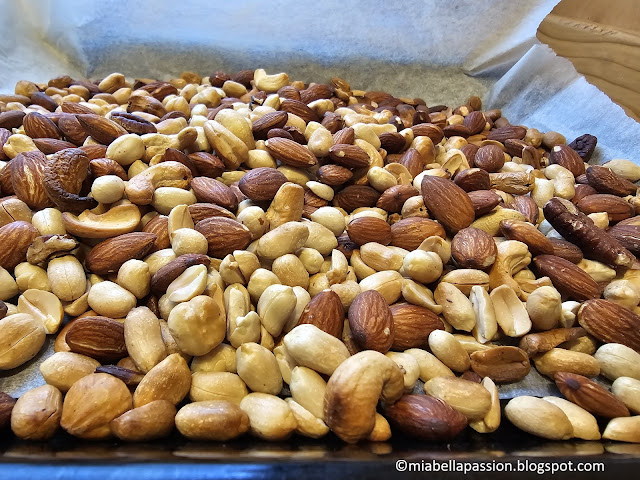
Toast the nuts of your choice and process warm.

Unbaked Nut SliceUnbaked Nut Slice

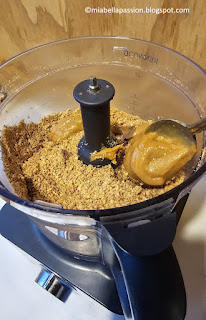
Add the peanut butter, honey and oil, combine and press the dough into a lined baking pan.

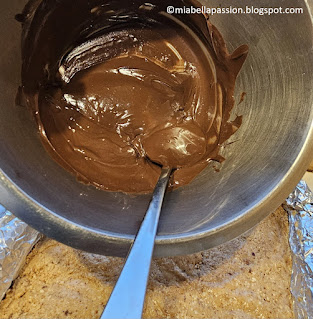
Melt dark chocolate and spread over top.

Unbaked Nut SliceUnbaked Nut Slice

Refrigerate. 

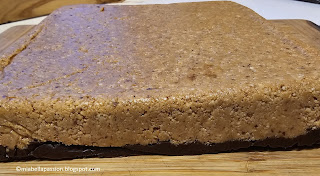
When the chocolate is set, turn the slice out, chocolate side down on a board.

Unbaked Nut Slice

Melt white chocolate.

spread on top.

Unbaked Nut Slice

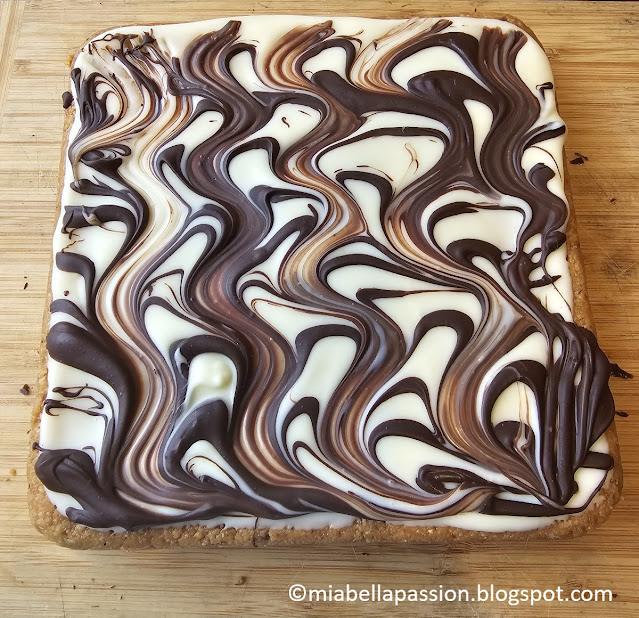
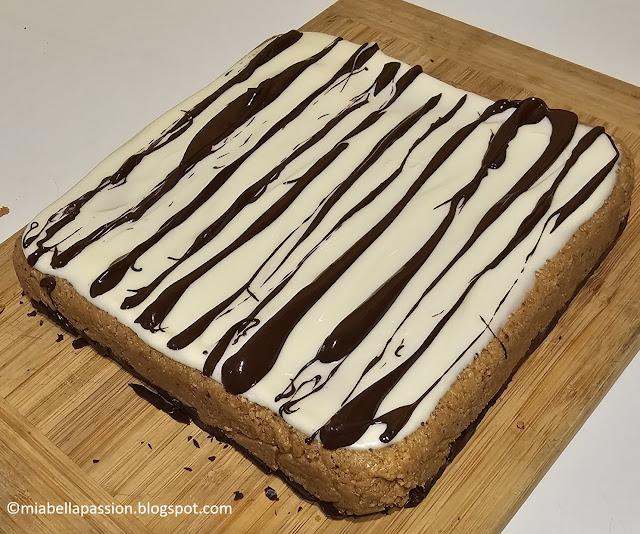
Melt a little more dark chocolate and make stripes.

Unbaked Nut Slice

Use a fork to make a pattern.

Unbaked Nut Slice

Refrigerate cutting into squares or rectangles when set.

A pretty box of cut pieces is a perfect gift and is certain to be a hit with the special people on your gift list.

Especially if they are nut lovers.

It's also a fabulous go-to snack when you need an added boost of energy throughout the day.

Unbaked Nut Slice

Nutty Chocolate Slice 

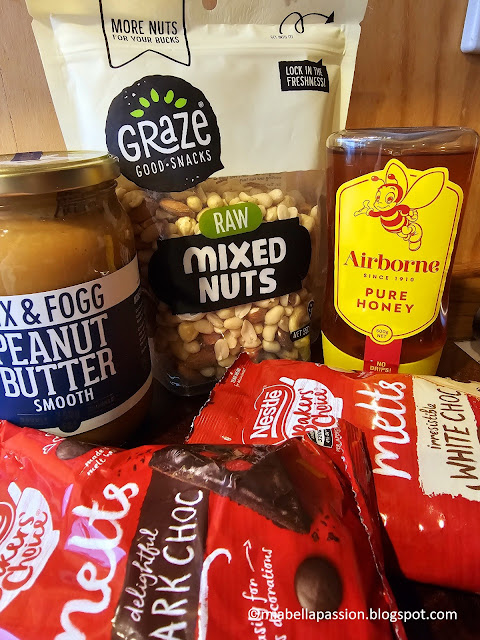
3 and 1/2 cups of mixed whole nuts (550 grams)

4 Tablespoons runny honey

5 Heaped Tablespoons peanut butter

1/4 cup vegetable oil 

1 cup of dark chocolate for the base (plus a few tablespoons extra for topping)

1 cup white chocolate for topping

(The secret to keeping the chocolate topping softer so that it does not crack when you cut it.

 Add a small amount of coconut or vegetable oil to the melted stage).

.

Place nuts on an oven tray lined with baking paper.

Roast for 15 minutes until golden.

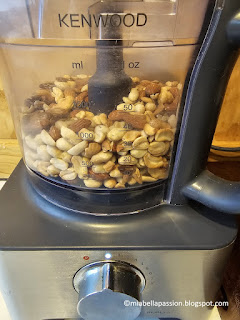
Cool until warm to the touch, then place in a food processor.

Crush until fine.

Add the peanut butter and honey and half the oil.

Process until a dough forms.

Add more oil until you have a moist but not sticky dough.

(If your processor cannot manage this, do it using clean hands or wear food processing gloves)

Line a square pan (I used 22cm x 22cm size - which is about 9 by 9 inches)  with tin foil and press in the dough firmly.

Melt the dark chocolate.

Spread over the top.

Place in refrigerator for 10 minutes to set.

Remove and tip onto a board with chocolate at the bottom.

Melt the white chocolate.

Spread on top.

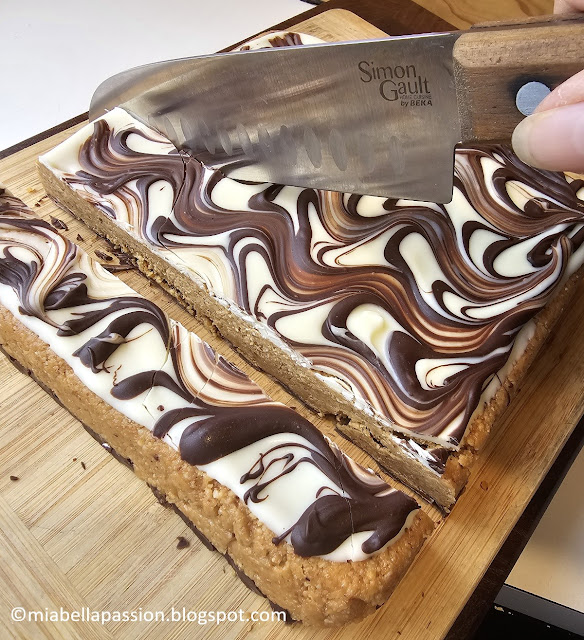
Add lines of melted dark chocolate on top of the white, and create a pattern using a fork.

Refrigerate until set, remove and cut into rectangles (or smaller squares).

Store in an airtight container in the pantry or cupboard.

Yield 16 slices.

(Printable recipe HERE)

Unbaked Nut Slice

Hint:

Unbaked Nut Slice

It is best if you cut the slice with a dry, hot knife.

Food blogs
For the latest posts JOIN :)

#unbaked #unbakedslice #nutslice #nutrecipes #healthysnacks


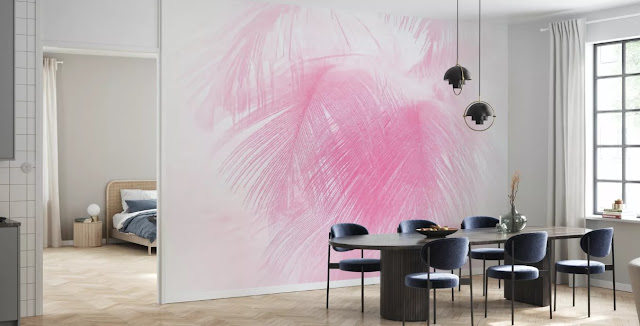
Barbie Pink in Wall Fashion

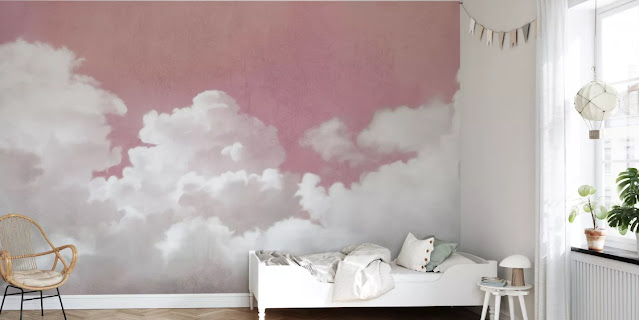
 Barbie has taken the world by storm with the release of the movie!Photowall

(Fluffy Sky Pink)

Barbie was a big part of my childhood.

I was the girl who adored making houses and furniture from boxes and cardboard for them.

And hand-sewing their outfits.

I think I was about 14 years old when I finally packed my Barbies away.

But I have never lost my love for them.

Photowall

And now, everywhere you look you'll see Barbie-inspired 'everything' once more! 

Photowall(Wrapping Paper)

Pink in every shade.

Plus all those other glorious lolly colours, but today it's all about PINK!

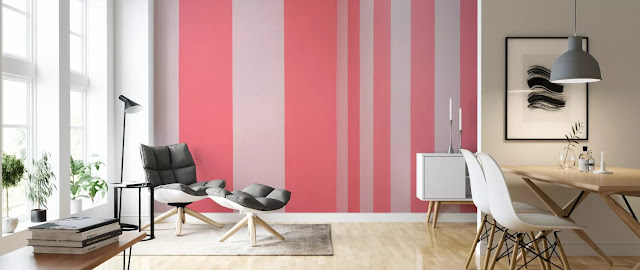
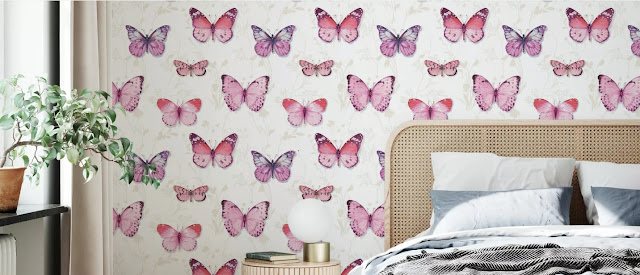
Photowall(Obviously Pink 29A)

As an affiliate of Photowall, I have been exploring the Barbie colour trends that have eventuated from the movie in the wallpapers and wall murals that they have available.

Photowall

(Majestic Leaves - Pure White and Pink)

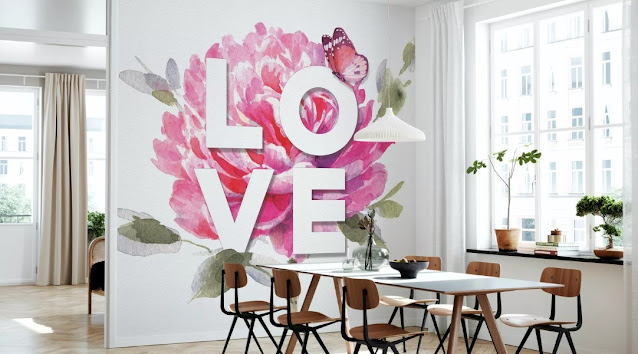
In this affiliate post, you are seeing images of the ones that I have ticked as my favourites.

Photowall(Obviously Pink 28A)

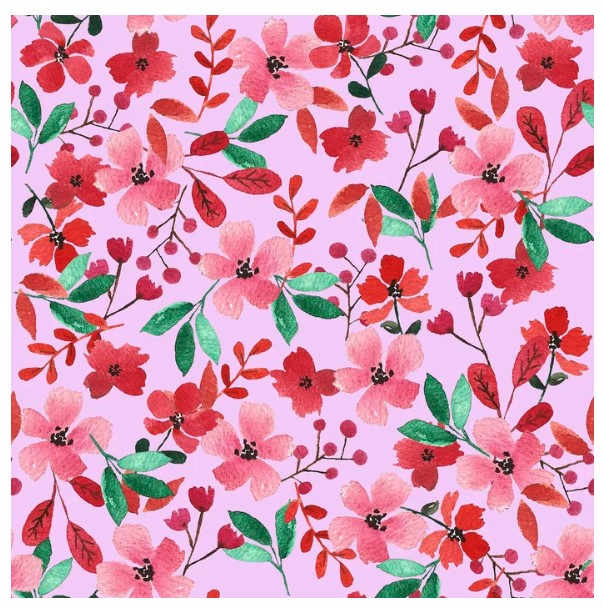
You can visit Photowall yourself and search for the names of the ones I chose or search pink to find your very own.

Photowall
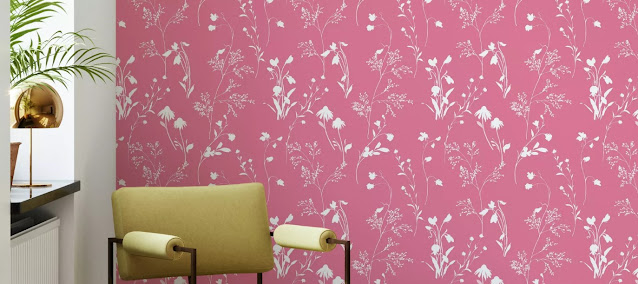
(Blossoms Pink)

But remember to make a cuppa first.

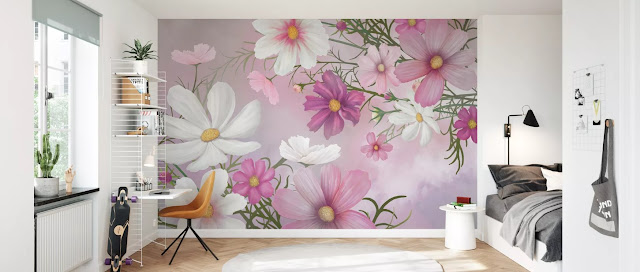
Photowall

(Cosmea) 

It is a very inspiring site with many beautiful papers and wall murals to look at.

Photowall(Obviously Pink 07A)

Wall inspiration at its best.

Photowall

#wallmurals #wallpaper #barbieinspired #pink

#affiliatePost #photowall #wallpaperdesigns #posters


When A Craft Project FAILS - The LEAF BOWL!

This is an honest and open chat about when a craft project fails.

It starts with a picture you have seen in a magazine or on the Internet.

But there are no instructions on how to create the said image.

So your brain does a little whirl of thoughts.

That looks easy.

You only need a few items to make that.

I have those things in my craft stash.

That should only take half an hour.

That is exactly what happened with this project.

Making a 'Leaf Bowl'.

To put a votive candle inside.

So the leaves glow and look pretty.

The original image I saw was a green leaf bowl, but I thought I'd use the brown fallen leaves.

SO...

It all started well.

Leaf craft

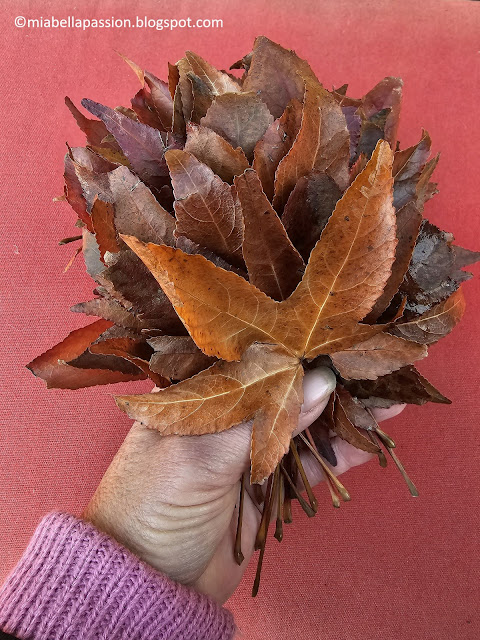
I collected my leaves from the park across the road.

craft

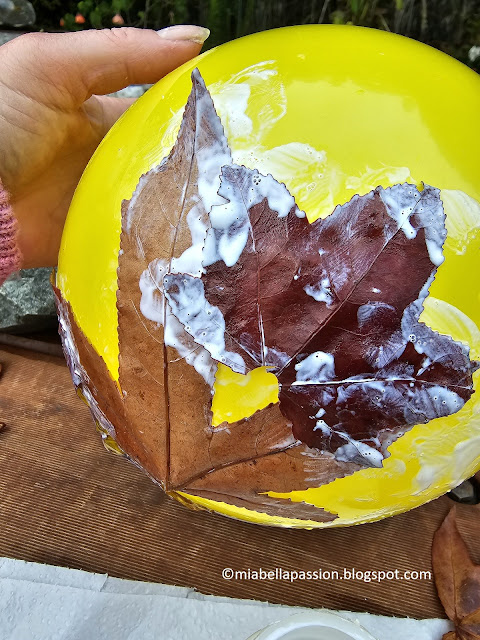
I blew up my balloon.

Because the picture I saw described it as 'A Balloon Leaf Bowl'.

Then I decided to sit the balloon in a bowl to support it while the leaves were glued on.

Wrong.

The balloon wanted to be anywhere but in that bowl.

I persevered.

Leaf craft

I started glueing the leaves onto the balloon with Mod Podge Glue.

And that was also a mistake. That glue is too thin!

By that time I was wishing I had another set of hands.

One set to hold that dastardly balloon down and the other set to glue the leaves in place...then...

Craft fails

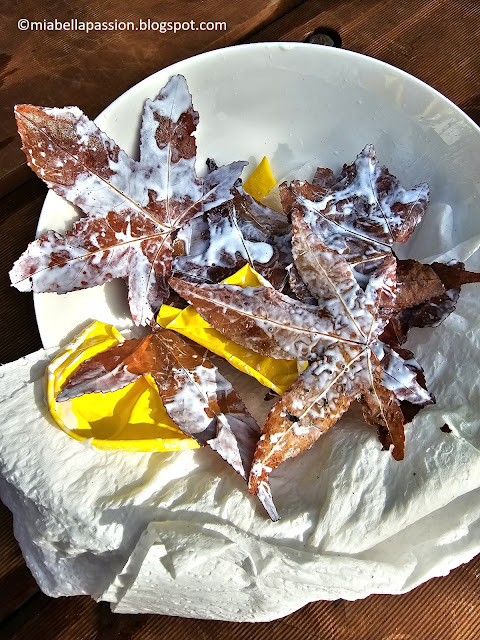
BANG!

The balloon popped (a chemical reaction between glue and balloon plastic I'm assuming), with gluey balloon bits and leaves flying all over the show!

= ONE VERY BIG MESS!

Think kid in kindergarten messy playtime!

Pressing your hands in glue and paint and creating whatever your heart desires.

Never one to give up, and driven by determination, 'Plan B' stepped in with total acceptance this craft project is seriously a very messy one.

But I'm telling myself that there is no wrong way to do this or a penalty to be had.

Next attempt:

Craft

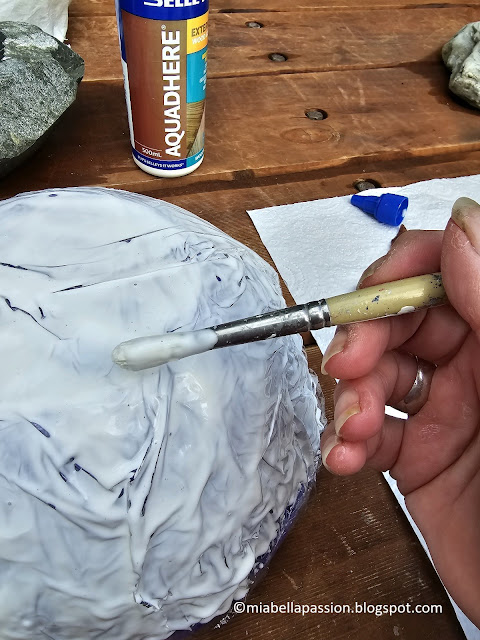
One plastic bowl covered in several layers of plastic wrap.

Craft

This was turned upside down before applying wood-strength PVA to glue all over the plastic-covered bowl. This glue is thicker than Mod Podge.

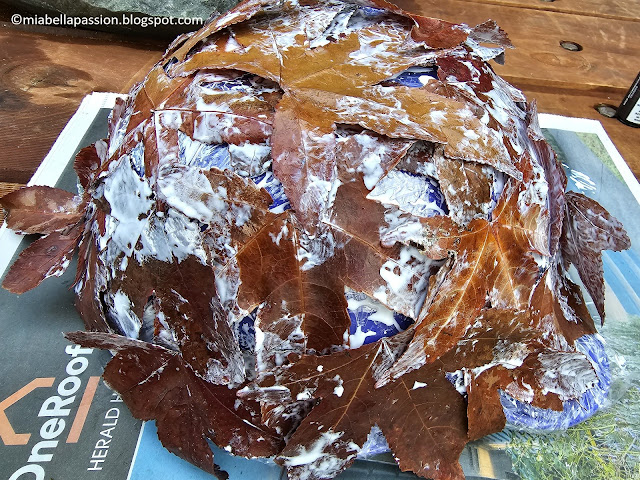
Leaf craft

 I placed the leaves randomly using more glue but left little space in between.

I'm hopeful some candlelight might peek out of these gaps if this leaf bowl should succeed.

Leaf bowl

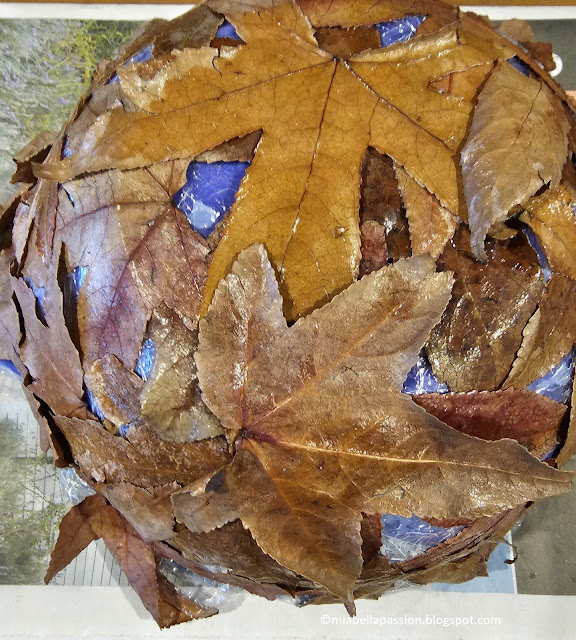
With the leaves finally glued onto the bowl shape,

I left it for 24 hours to dry feeling hopeful my initial failure at this leaf craft may perhaps become a success.

Meanwhile, I had a brainwave to Google Search the image of the green balloon bowl.

This is when I realised, the said green leaf bowl was actually made out of metal!

Note to self, search the image before attempting any future mad craft ideas to find out more!

Leaf craft

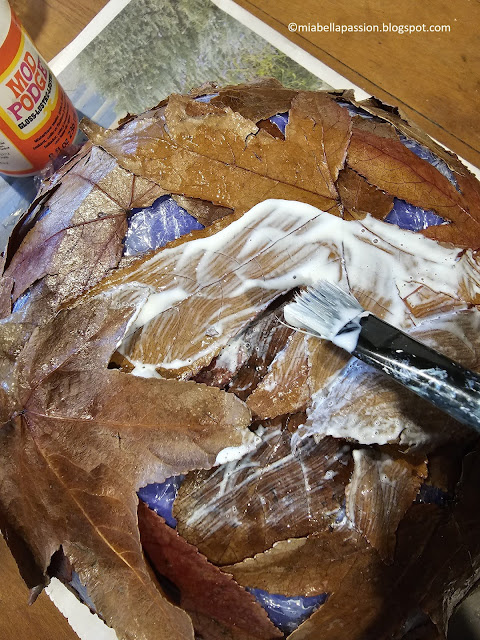
But I soldiered on with my natural leaf creation by applying a gloss ModPodge sealer for an extra coat of protection on the leaves.

Leaf Craft

Craft

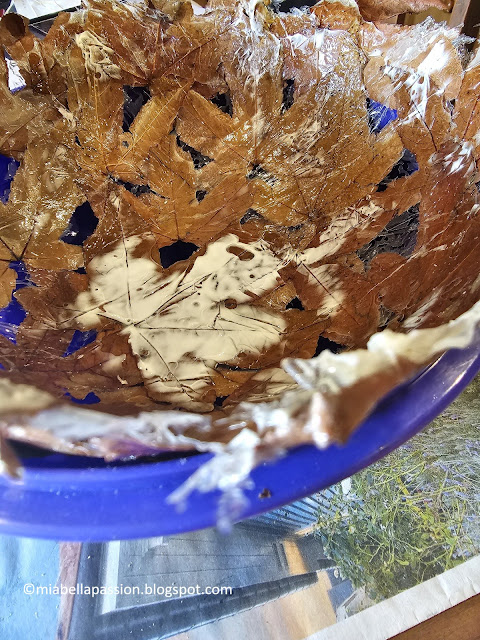
After another 24 hours of curing, I CAREFULLY removed the first two inner layers of plastic from the bowl and then CAREFULLY loosened the leaf shell to remove it.

(I certainly managed to create something very FRAGILE!)

Leaf Craft

All the plastic was removed, but the PVA wood glue hadn't fully dried under the plastic.

So I popped the leaf bowl back into the inside of the plastic bowl to support it while it finished drying.

All the while, I am thinking, 'Crikey, I hope the end effect will be worth all this effort!'

So let's see if it was...

In daylight, this bowl looks brown and rustic.

The glue left lace-like patterns in places around the leaves.

Autumn Leaf Crafts

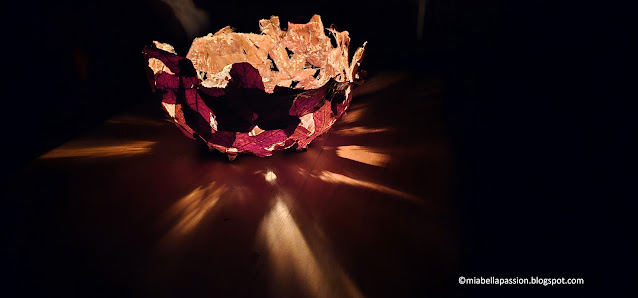
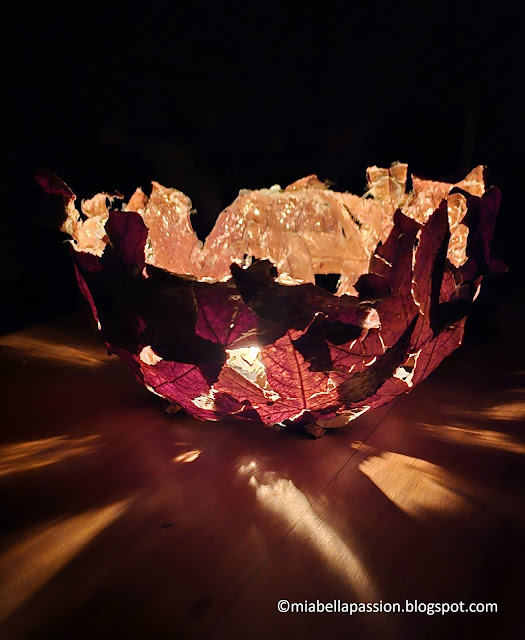
In went a squat votive candle

and on darkness this was the result.

Autumn Leaf Crafts

Stunning.

Autumn Leaf Crafts

Beautiful.

Autumn Leaf Crafts

Warning: a fabulous centrepiece for a romantic dinner table setting.

But definitely a fire risk and not to be left unattended.

So thinking of safety, I filled the leaf bowl with battery-powered fairy lights instead.

And here we have the final result.

Autumn Leaf Crafts

Would I create this fragile leaf craft again - No.

Am I glad I tried it once - Yes.

Is it absolutely beautiful - YES!

Autumn Leaf Crafts


Visit my 'Saatchi Art & Photography' store HERE

Free Scrapbooking Paper

Visit HERE for FREE Scrapbooking Paper Designs.
Home and garden blogs
For the latest posts JOIN :)

.

#blogfails #leafbowl #diyleafbowls #leafcraft


Related Posts Plugin for WordPress, Blogger...