Simple To Create Cork Pumpkin

Pumpkin Craft

This project is a very simple one.

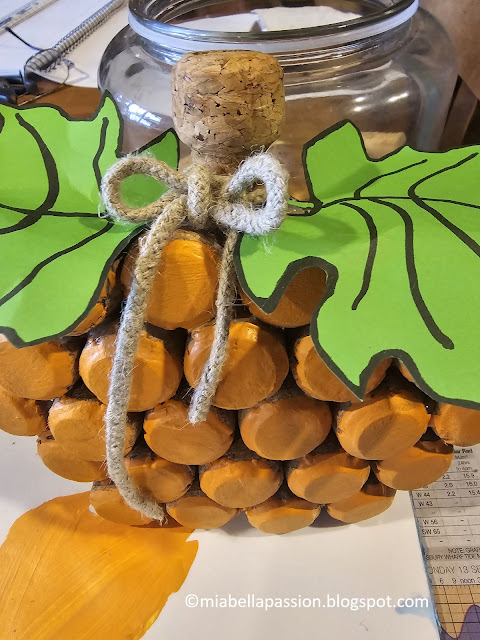
The Halloween cork pumpkin (which can also be displayed in the Fall and Thanksgiving decor displays).

Cork Craft

To create this, you will need:

25 Corks

A hot glue gun 

Orange acrylic paint

Green card for the leaves

Fabric ribbon or twine for the bow detail.


To make:

Cork CraftCork Craft

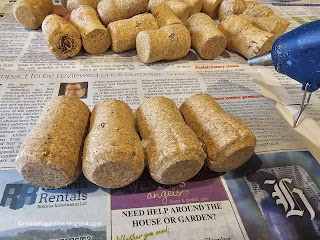
Glue four corks together for the base.

Cork CraftCork Craft

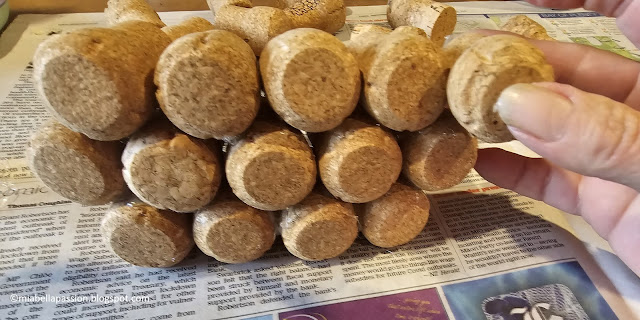
Glue another 5 corks in a row on top of the four that create the base.

Cook Craft

Then glue 6 corks in a row on top of 5 corks.

Cork Craft

And on top of those, a row of five more corks.

Then another row of four corks.

Pumpkin Craft

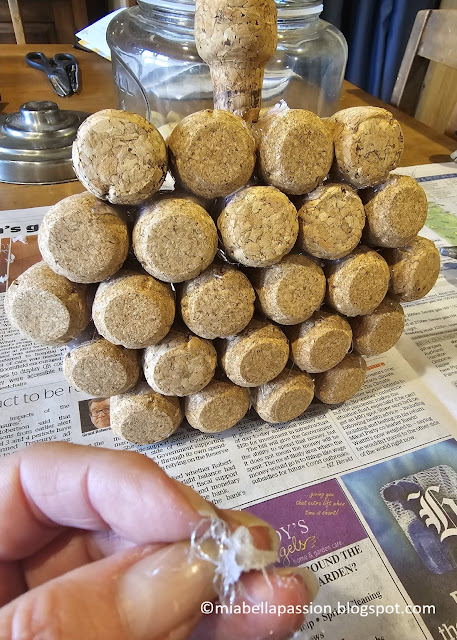
Finally, glue one cork atop the centre of the last row of four corks for the stalk.

Pumpkin Craft

Remove any excess glue strings.

Pumpkin Craft

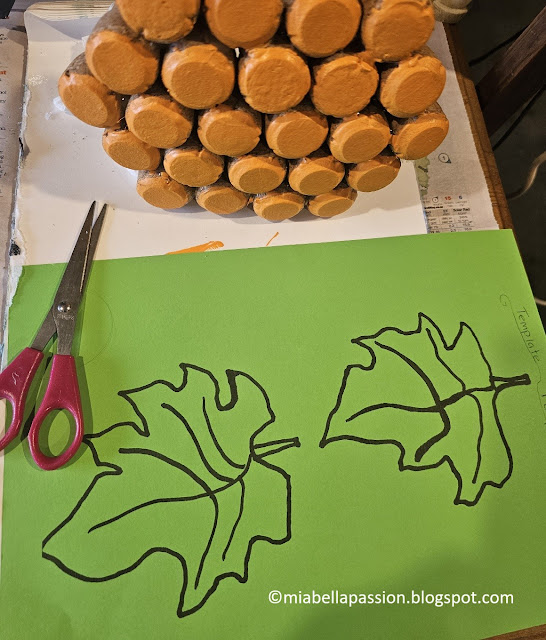
Paint the fronts of all the corks as shown.

Pumpkin Craft

Pumpkin Craft

Print the leaves template on a green coloured card and cut them out.

Pumpkin Craft

Glue at the base of the cork stalk.

Bend the card slightly to give the leaves some shape.

Pumpkin Craft

Add a bow to the pumpkin stalk.

I used a rope braid.

Pumpkin Craft

Place in your decor.

The Cork Pumpkin is a fun addition to your Halloween, Fall or Halloween decorations.

MORE HALLOWEEN IDEAS & PRINTABLES HERE

Home and garden blogs
For the latest posts JOIN :)


#halloweencrafts #pumpkincrafts #falldecor


Airdry Clay Flower Incense Holder

 DIY Clay Flower Incense Holder

Let's make a beautiful flower incense holder.

Clay Craft

We are using airdry clay, which you can get from most craft stores.

The photographic tutorial that follows will guide you on how to create it.

DIY Clay Flower Incense Holder

You Will Need:

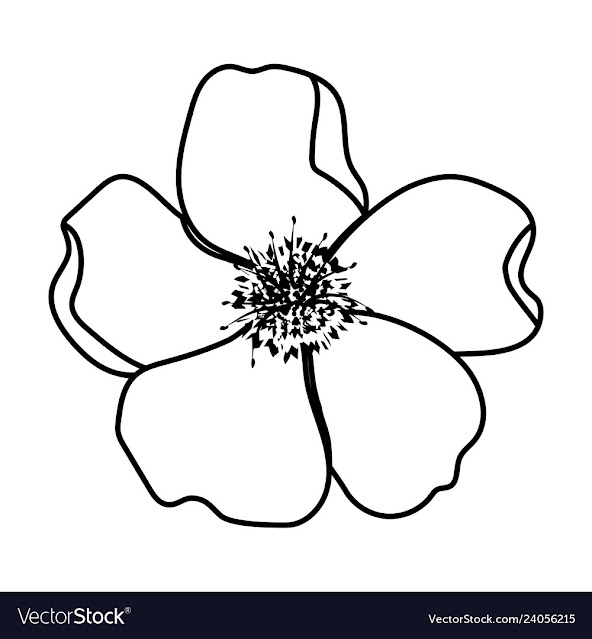
Printed flower guide

Scissors

500 grams white airdry clay

Rolling pin

Sculpey tools, or a small knife, teaspoon, and thin skewer.


Step One:

Flower Template

Clay Craft

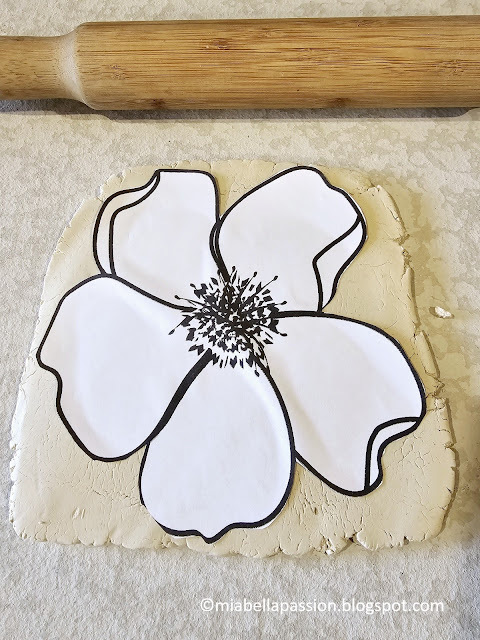
Print the free VectorStock flower image in 8 x 10-inch size.

                       Flower Craft

Then cut around the outline with scissors.

Step Two:

Roll out clay to about 1cm thick to fit the image.DIY Clay Flower Incense Holder

Step Three:

DIY Clay Flower Incense Holder

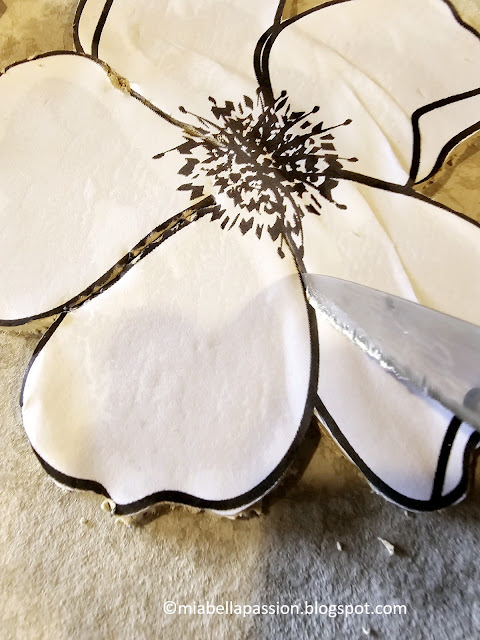
Cut around the edge of the flower to remove the excess clay.

DIY Clay Flower Incense Holder

And score the detail lines as shown.

Save the offcuts!


Step Four:

DIY Clay Flower Incense Holder

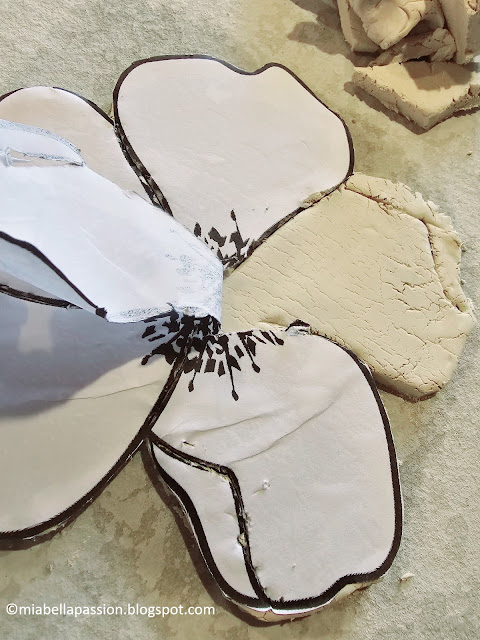
Remove the paper guide.

DIY Clay Flower Incense Holder

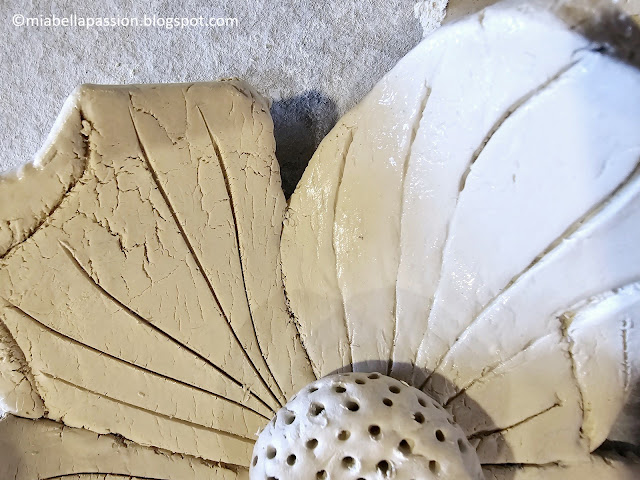
Then use a pointed tool to score lines on the petal.


Step Five:

DIY Clay Flower Incense Holder

Use an offcut piece of clay to roll a circle that is 4cm by 4cm in diameter and 1 and 1/2cm in thickness.

Moisten with water if the clay is hardening.

Step Six:

Use cold water on your finger to make a clay slurry on the centre of the flower.

Press the circle onto this.

DIY Clay Flower Incense Holder

Use a pointed tool to make hole detailing.

DIY Clay Flower Incense Holder

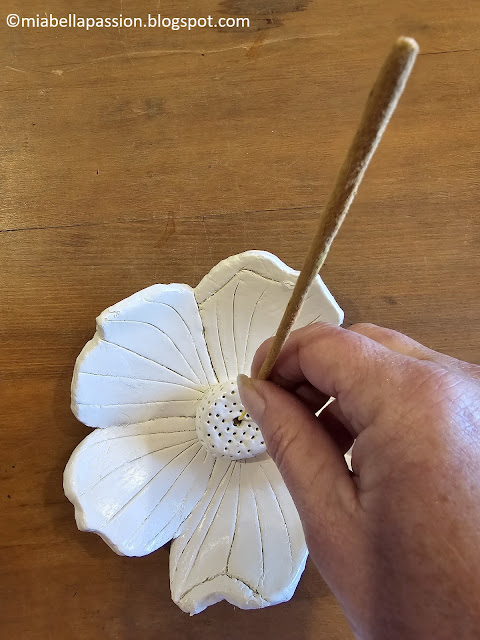
And then a centre hole to hold the incense stick.

Step Seven:

DIY Clay Flower Incense Holder

Make a slurry of clay and water and gently go over the entire flower and edges to smooth the surface.

DIY Clay Flower Incense Holder

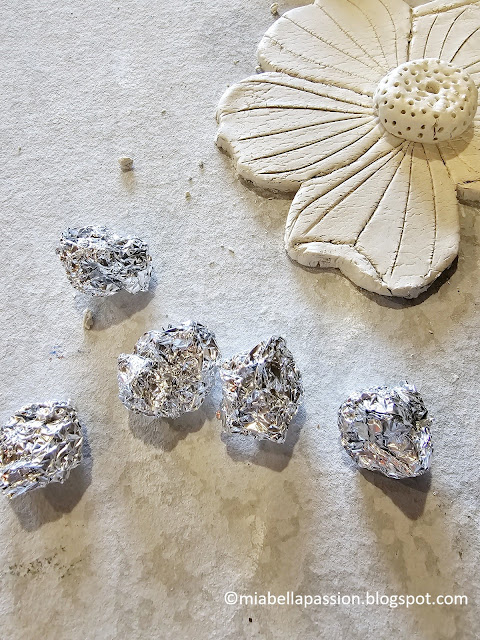
Roll four pieces of aluminium tinfoil into balls.

Step Eight:

DIY Clay Flower Incense Holder

Use the balls and any excess clay to place under the petals which you are gently moving upwards as shown.

If cracking occurs use clay slurry to smooth out.

Leave in a warm place overnight.

Step Ten:

DIY Clay Flower Incense Holder

Place the flower on a lined tray and put it in an oven at 80 degrees Celcius, and bake for 20 minutes to complete drying.

Turn the oven off and leave it inside until the oven is cold.

Step Eleven:

You can leave the flower a natural white clay, sealed with a clear sealer, or you can paint it in the colour of your choice.

Make sure you also seal the bottom too!

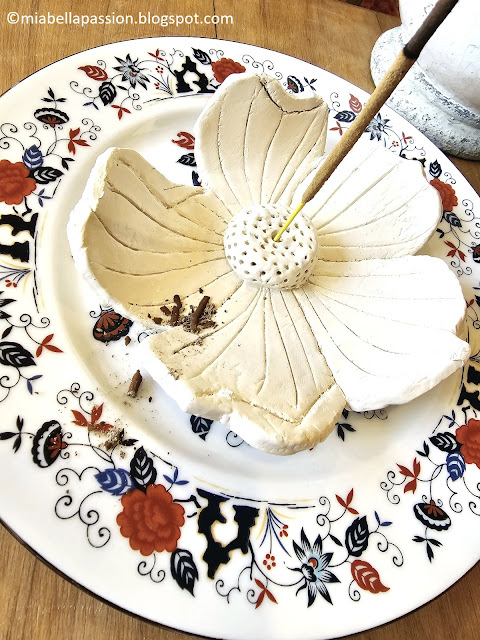
I painted my DIY incense Flower in a cream-white colour.

DIY Clay Flower Incense Holder

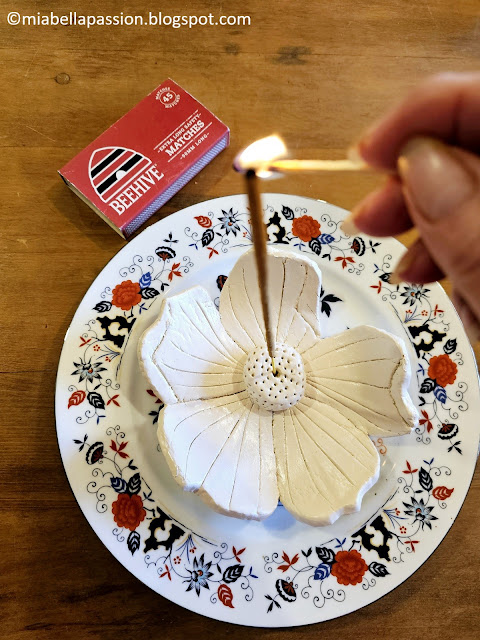
When completely dry, put the incense in (place on a pretty plate if you like) and light.

DIY Clay Flower Incense Holder

A lovely homemade gift to give.

Just place the incense flower on a foil or pretty paper covered piece of cardboard as a base. 

You'll find Mia Bella Passion's free printable papers HERE.

Put it on a sheet of clear cellophane, stand a pack of incense behind it and pull all sides upwards to tie at the top with a piece of rattan or ribbon.

Trim the cellophane top, and add a gift card to the ribbon.

Gift sorted!

Home and garden blogs
For the latest posts JOIN :)


#DIYincenseholder  #homemadegifts #airdryclay 

#claycraft #claygifts


Nutty Chocolate Slice

There is nothing nicer than a delicious homemade slice!
Unbaked Nut Slice

What makes this slice even better is that it's healthier than most.

And if you want to leave the chocolate element completely out, you can, leaving the slice just nutty.

Healthy Snacks

It is not baked so it's easy to whip up in a food processor.
Unbaked SliceNut Slice

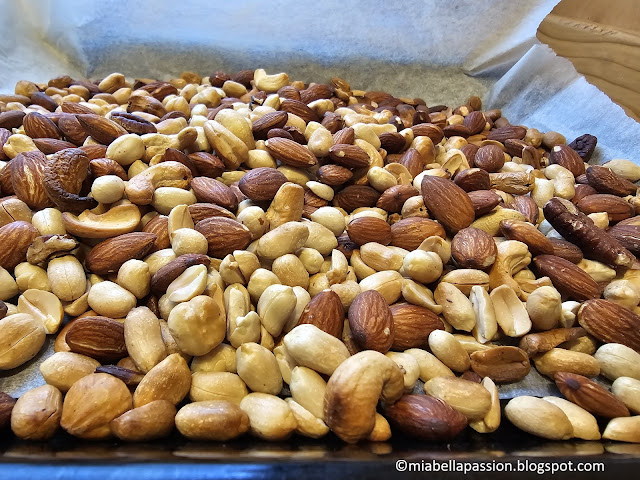
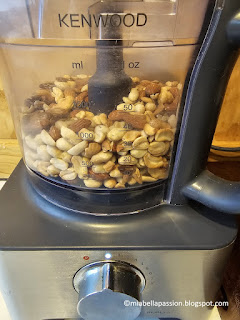
Toast the nuts of your choice and process warm.
Unbaked Nut SliceUnbaked Nut Slice

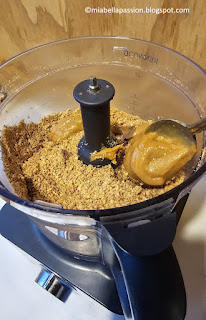
Add the peanut butter, honey and oil, combine and press the dough into a lined baking pan.

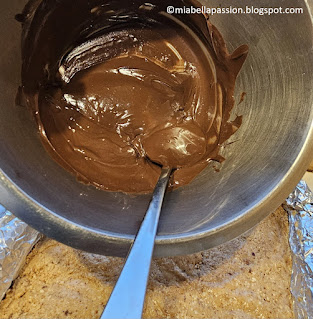
Melt dark chocolate and spread over top.

Unbaked Nut SliceUnbaked Nut Slice

Refrigerate. 

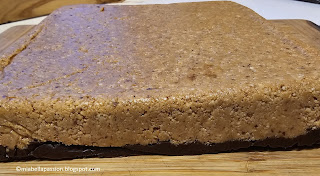
When the chocolate is set, turn the slice out, chocolate side down on a board.

Unbaked Nut Slice

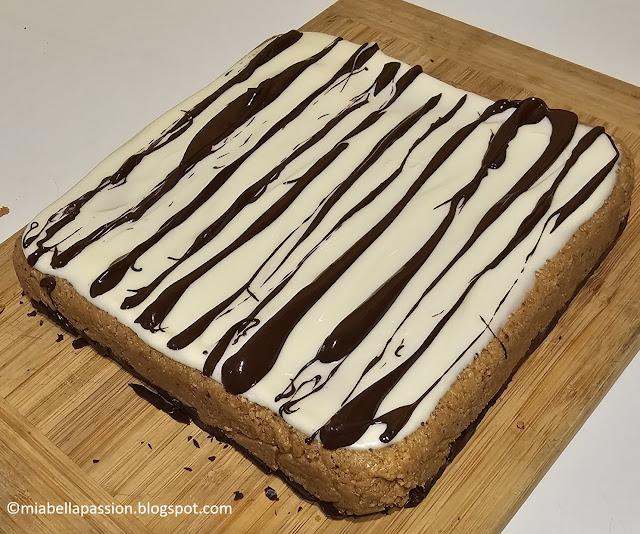
Melt white chocolate.

spread on top.

Unbaked Nut Slice

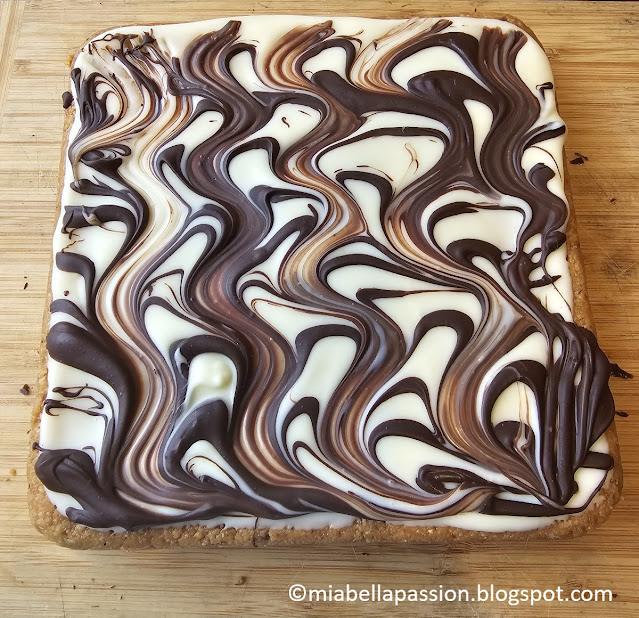
Melt a little more dark chocolate and make stripes.

Unbaked Nut Slice

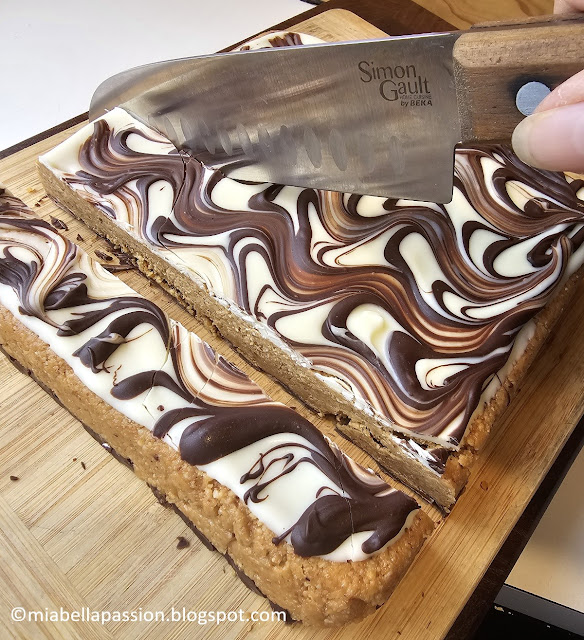
Use a fork to make a pattern.

Unbaked Nut Slice

Refrigerate cutting into squares or rectangles when set.

A pretty box of cut pieces is a perfect gift and is certain to be a hit with the special people on your gift list.

Especially if they are nut lovers.

It's also a fabulous go-to snack when you need an added boost of energy throughout the day.
Unbaked Nut Slice

Nutty Chocolate Slice 

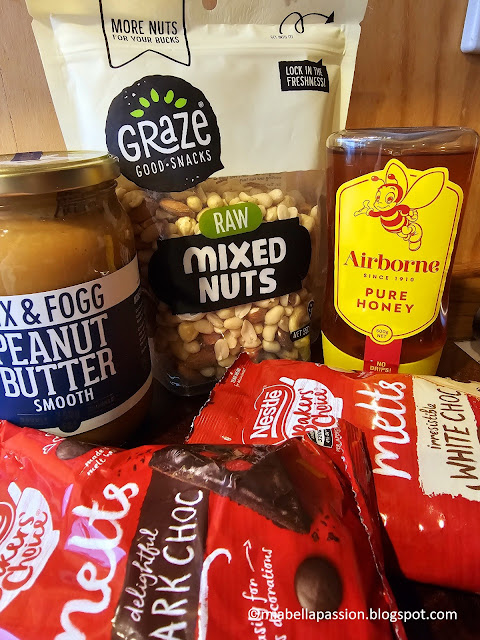
3 and 1/2 cups of mixed whole nuts (550 grams)

4 Tablespoons runny honey

5 Heaped Tablespoons peanut butter

1/4 cup vegetable oil 

1 cup of dark chocolate for the base (plus a few tablespoons extra for topping)

1 cup white chocolate for topping

(The secret to keeping the chocolate topping softer so that it does not crack when you cut it.

 Add a small amount of coconut or vegetable oil to the melted stage).

.

Place nuts on an oven tray lined with baking paper.

Roast for 15 minutes until golden.

Cool until warm to the touch, then place in a food processor.

Crush until fine.

Add the peanut butter and honey and half the oil.

Process until a dough forms.

Add more oil until you have a moist but not sticky dough.

(If your processor cannot manage this, do it using clean hands or wear food processing gloves)

Line a square pan (I used 22cm x 22cm size - which is about 9 by 9 inches)  with tin foil and press in the dough firmly.

Melt the dark chocolate.

Spread over the top.

Place in refrigerator for 10 minutes to set.

Remove and tip onto a board with chocolate at the bottom.

Melt the white chocolate.

Spread on top.

Add lines of melted dark chocolate on top of the white, and create a pattern using a fork.

Refrigerate until set, remove and cut into rectangles (or smaller squares).

Store in an airtight container in the pantry or cupboard.

Yield 16 slices.

(Printable recipe HERE)

Unbaked Nut Slice

Hint:

Unbaked Nut Slice

It is best if you cut the slice with a dry, hot knife.

Food blogs
For the latest posts JOIN :)

#unbaked #unbakedslice #nutslice #nutrecipes #healthysnacks


Related Posts Plugin for WordPress, Blogger...