Apple Shortcake Heaven...

Apple Recipes
As a child I remember the joy 
when my mother made apple shortcake for dessert.  
apple recipes

Apple recipes
And the next day,
there was a piece wrapped in wax paper in the school lunch box.
Either way, 
hot as a dessert served with vanilla ice cream, 
or cold as a cake slice,
apple shortcake is HEAVEN!
Apple shortcake recipes
This a an adaption of my mothers recipe,
which has the addition of custard.
Apple shortcake recipes
ENJOY...

Custard Apple Shortcake

Prepare Apple Pulp: 
6 large apples apples-
Peel, core and cut into wedges.
Place into a lidded microwave container.
Add 2 Tablespoons fine caster sugar
and 1/3 cup water.
Microwave on high until soft. 
(about 8 minutes)
Drain and cool.

Home baking recipes
Prepare Shortcake:
Cream 200 grams (7/8 cup) of soft butter
3/4 cup caster sugar and
2 teaspoons pure vanilla essence.
Home baking recipes
Beat until pale and creamy, 
add 1 egg.
Beat again to combine.
Add 1/4 cup custard powder,
 2 cups plain flour and 1 teaspoon baking powder.
Mix to combine.
Press half of the shortcake dough into a baking paper-lined rectangle pan.
Top with cooled apple
Using your hands,
roll small balls of remaining dough. 
Press balls to flatten, 
and place these rosettes on top of the apple.
Home baking recipes
(they do not have to meet perfectly, hints of apple should be visible).
Home baking recipes
Sprinkle 2 teaspoons of coffee sugar or raw sugar on top.
Bake at 180 degrees celsius (356F) for 25 - 30 minutes.
Serve warm with Ice Cream or cream.
Or serve as a cold as a slice.
Apple Recipes

For updates about the latest blog posts,
you can join for free HERE.

#applerecipes #appleslice #shortcake
#homemade #homebaked

Pale Pink Snapdragon...

It is amazing how one thing can capture your attention...
And this afternoon as I was strolling around Mia Bella Gardens,
I was captured! 
By the beauty of this lone pink snapdragon.
Captured by the joy that is in seeing 
the first blooms of Spring...
In the delightful furry buds...
 In the exquisiteness of the pink flower...
In the gorgeousness of the contrast 
between the colours of green and pink...
Captured...
 by a pale pink snapdragon.


French Look DIY Mini Terrarium...

 There is so many inspirational ideas
 for DIY mini terrariums in Net land...
You can use moss, interesting rocks, small stones,
bulbs - like grape hyacinths,
mini varieties of orchids, 
and air plants (tillandsias).
Decorate with crystals, 
miniature fairy scenes,
 or just a singular mini item as a focal point.
Put your chosen selection 
into jars, big or small, cloches, fishbowls, lightbulbs or bottles!
I thought I would create one in a large mason jar,
but then I remembered tucked away in a cupboard
was this sweet wee terrarium that my son made many years ago.
It was perfect...
in a not perfect rustic kinda way.
 In the bottom I placed a small amount of fine bark.
Arabella (assistant editor) had a little help from Clea today 
with her usual pre 'next step' inspections...
With a flick of that chocolate coloured tail, 
Arabella declared 'you may proceed to plant!".
A larger piece of mossy covered bark was placed inside,
and a baby fern was planted...
 A tiny impatiens seedling joined them..
along with Eiffel Tower!
 A quenching spray of water to finish.
The mini metal Eiffel Tower 
is the perfect addition to the terrarium as a focal point.
 It is official!
I'm in love with it...
Anything French,  anything Eiffel tower -
and my heart is completely lost!
You would never guess what it really is though...
Shall I tell you?
This just has to be the cutest Eiffel tower pencil sharpener you've ever seen!
 The completed terrarium looks fabulous on the French side table...
 DIY Mini Terrarium with a tiny touch of French = LOVE!


Blanket Chest 'No Sew' Cushion Topper...

Don't you just love simplicity?
I do!
And right now I am in love with 'No Sew' projects.
The simple, quick way to update decor in a jiffy!!
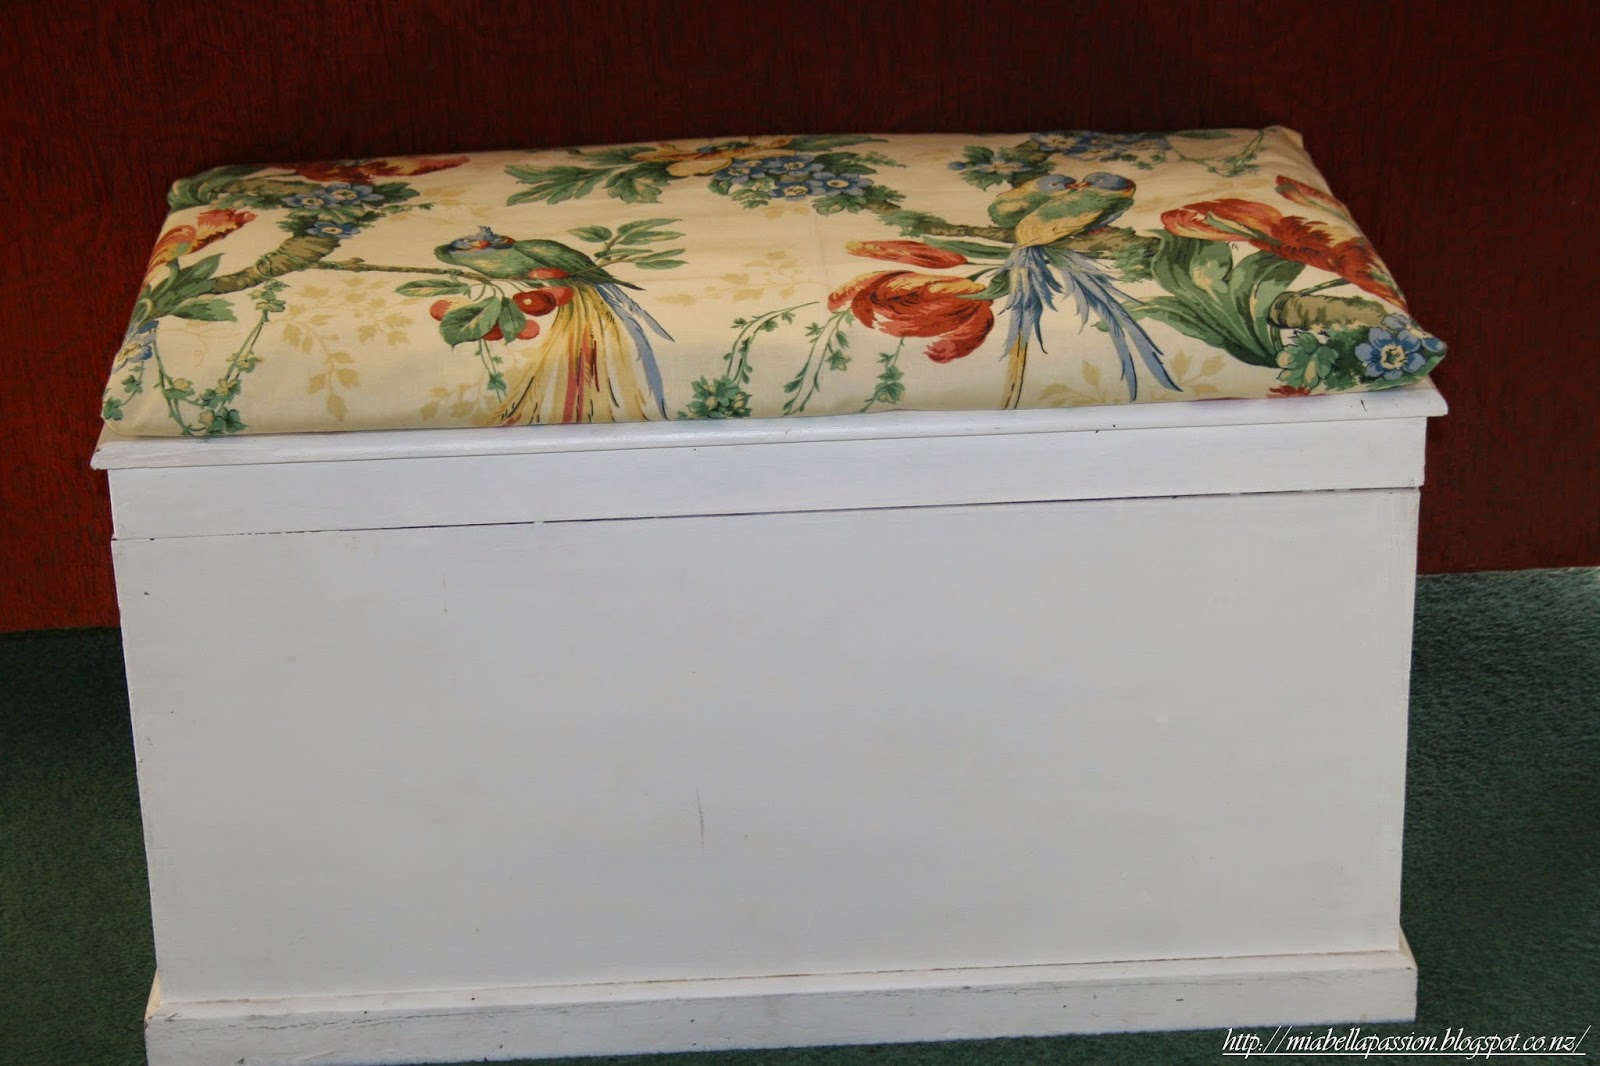
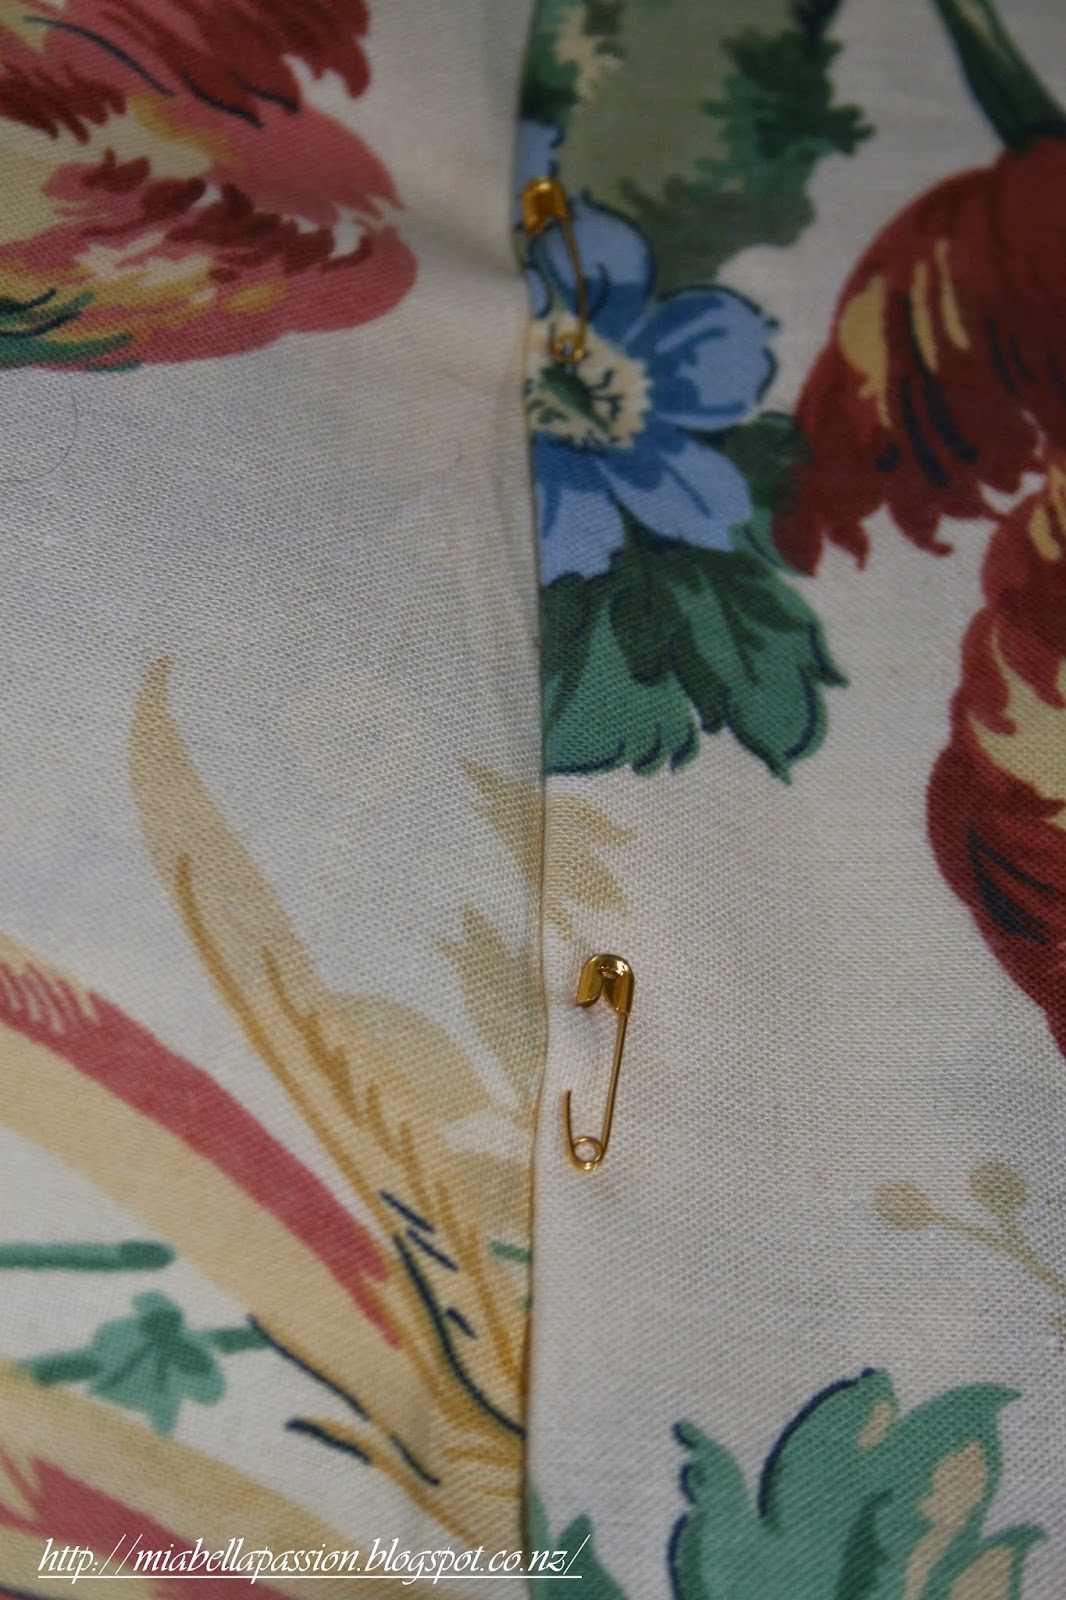
All with the help of a box of tiny gold safety pins.
 Place your cushion filling onto the previously ironed fabric, and wrap it up.
Just as if you are wrapping a gift.
 Then bind the seams using the little gold safety pins...
 Place down the centre back seam, 
and on the neatly enveloped corners.
From start to finish this wee project took a total of 20 minutes!
 Just remove the safety pins to wash it,
 or to change the fabric... 
 Arabella approves, 
she thinks the bird design is chirpy!
 This gorgeous fabric is vintage English...
And perfect for the red sitting room!

Art Washes Away From The Soul.....


Pablo Picasso's words are so very true don't you think?

Art washes away from the soul,
the very dust of everyday life...


To share these wonderful insightful words, 
I have put them onto one of my latest artworks...

Feel free to copy...
just right click and copy to your computer.

I'm In The Garden...

What have you got planned for today?
The weather here is suddenly Spring-like.
There is certainly a little gardening inspiration going on at Mia Bella,
and what a delicious warm fuzzy feeling that is!
 And that makes me feel so happy!
There is an eagerness to don those garden gloves,
so guess where I will be today?    :)  


French Country Chest...

Did I tell you...
I am in LoVe...
With anything shabby, chic or upcycled!
I wish my house was bigger, 
so I could fill it up with more gorgeous pieces.
I thought you all might like a peek 
at the tallboy bought for my daughter....

I simply Adore -
.....details!

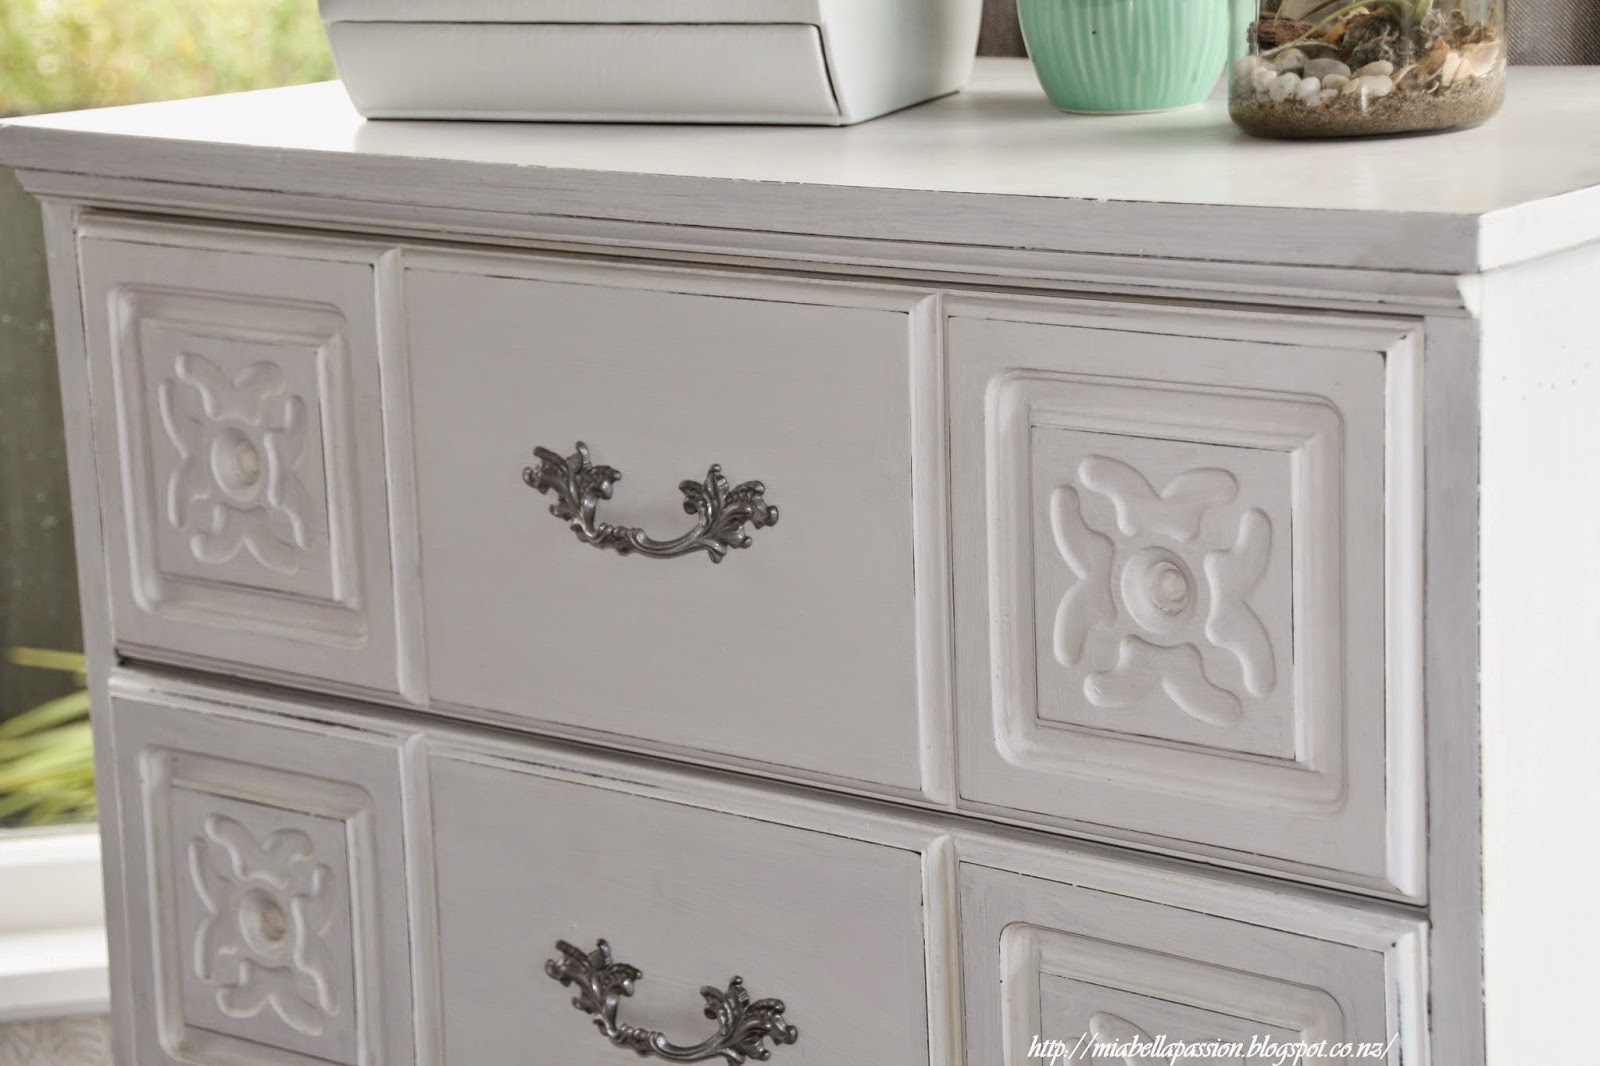
And this is a chest with the utmost gorgeous details.
I saw this chest before it's makeover, 
and it most definitely was not as beautiful then, as it is now.
It never ceases to amaze me how paint can transform tired old furniture.

 We decided to keep the original hardware,
 which was given a spruce up...

and don't they look divine?

The chalk paint finish is in Annie Sloan 'Pure White'
 which emphasises all that fab detail.
The distressing was kept to a minimum,
 because it really just didn't need a lot!
Are you in LoVe yet?
I am totally in LoVe with upcycled furniture!


#upcycled #diy #furniture #chalkpaint


DIY Table Runner...

A great way to update the decor is to add a table runner to a table.
They are incredibly simple to make.
Here is one I have just made...
It's got a beach theme going on, 
but also has a little French Country feel too with the linen look.
It's is gorgeous, from the Spotlight range of upholstery fabrics.
This one really appealed, as where I live is coastal.
It compliments the stunning painting of one of the Bays in my area.
I also fancy this fabric as it is a bit kiwi 
(Kiwi is the national bird of New Zealand,
 but also a term used to describe a New Zealand National).
It's kiwi because of the lovely shells depicted on the fabric. 


All of which can be found in New Zealand.

To make:

All you need is fabric the length of the dining or coffee table.
Heavier fabric types are best.
If you like an overhang as I do, allow a bit more fabric.
Then allow another 5 cm for hemming on one end.
So all you do is iron your fabric to remove creases.
Fold the fabric lengthways in half with right sides together.
Press with iron again making sure edges are together.
Pin edges and across one end together.
Sew around pinned edges.
(At this stage it is like a huge pillowcase. )
Then turn right way.  Use a knitting needle to push corners of sewn end out.
Press with iron again.
On unhemmed end, fold cut end under and press to seams together with iron.
Sew together.  
Top stitch other end to look the same.
You can leave the table runner plain, 
or stitch beads that have been strung in a row on ends of each corner.

To finish the table, 
I added a large glass vessel (from Freedom Furniture) 
into which a coffee scented candle resides.  
Delicious aroma when lit!

A simple table runner but visually pleasing.
Half an hour is all you need to complete this sewing project.