Office Makeover No2....

Way back in early 2015, I did an $18 office makeover.
But time and wear has occurred...
the paint on the desktop has not worn well.
The satin chair fabric needs replacing.
And then the wine accident happened!
One evening I went to my little office with my very large glass of red to sit and check emails, 
and peruse other wonderful blogs when....
You guessed it -
I dropped the glass of red.

I discovered quite a few things in the moments following...

#one should never attempt to catch the dropped glass of wine.

#red wine hurts if you get it in your eye.

#your grey hair turns a pretty (but winery smelling) shade of burgundy.

#the law of gravity does not apply to red wine spillage - as it went up, down and sideways!

#red wine stains wallpaper painted walls.


Now it was definitely time to make over the office again.
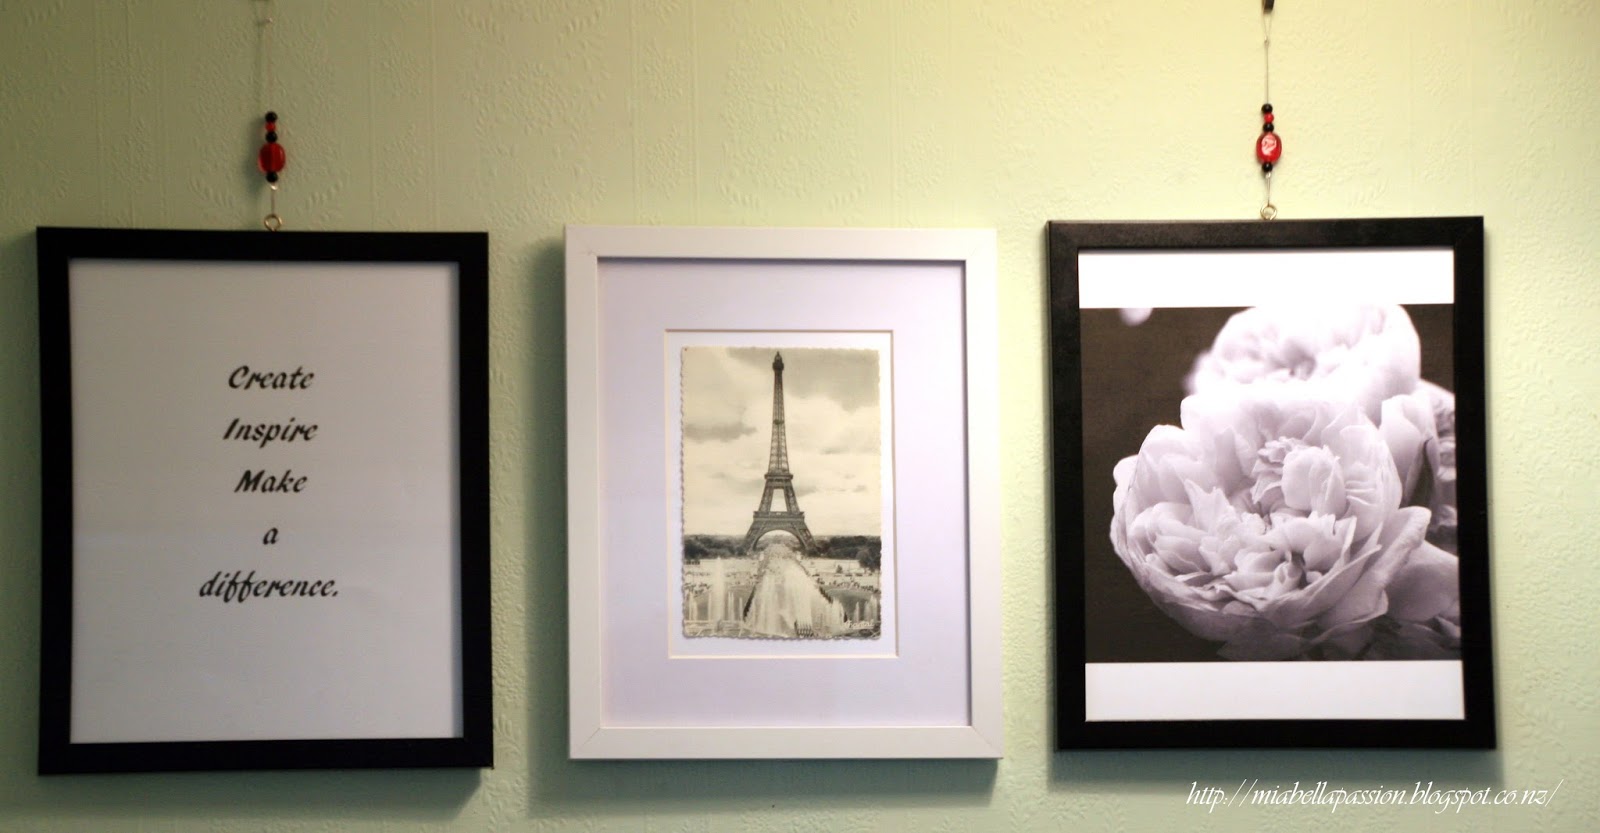
This time round the makeover was based on a beautiful photographic print.
(yes - ironic I know that it is red!)

This is what happened next:
The yellow colour way in the office was removed...
#walls were touched up and repainted in Dulux 'Celery' (satin). 

#desktop was repainted in 'Paris Grey' chalk paint.

#the office chair was recovered in gorgeous new fabric.
(You will find the red rose screensaver for your computer HERE.)


#an old bright blue pinboard was painted black.


#'On A Wire' hanging frames were created.
Find out how to make them HERE.

#the old stool was painted with Paris Grey chalk paint and rattan sprayed with acrylic white.
The cushion was covered in the same fabric as the office chair.

Totally refreshed 
- and completely popping with black and hints of red.
My little home office is a joy to work in.
Love, Love, Love!


#officemakeover #diy


Rattan Stool Makeover...

I really enjoy my rattan stool...
But the natural colourway just does not fit my changing decor anymore. 
 So the easiest thing to do was to paint it!
And that is exactly what happened...

First the rattan top was spray painted white.
Peaks of the weave still show the natural colour a little, 
but I kinda like that.
Rustic French Country -
Is there such a thing?  LOL

The wooden frame was painted with Annie Sloan chalk paint
in 'Paris Grey'.
And then I waxed the wood.

The cushion was recovered in the same fabric, 
 that I used to recover the office chair.
This is the second part of my office makeover,
more coming soon...


#makeover #homedecor #furniture #chalkpaint


A Quote About Uniqueness...

Inspirational photography

Isn't it wonderful and such a blessing to be unique?

I thought you might enjoy this extra photograph today too...
so very pretty in purple blue hues with mystical background swirls.
Wouldn't this shot look fabulous framed in white for your decor, 
or
to gift (as Christmas is coming!)
 ;)


#quotes #quote #photography


'On A Wire' Hanging Frames...

I love the fun way these frames are hung on a beaded wire.

You can also use this technique to create a more industrial look 
by using a thicker wire, larger clamps, 
combined with metal or natural wood beads.
Mine are small frames, and as the decor colour accents dictated
red, black and white, those are the colours I used.

To make:

2 x  lightweight picture frames with or without mat
(mine are matless frames - $6 each from The Warehouse).
2 x 40cm lengths of wire 
(adjust wire thickness and length according to size of frame you use).
Clamps
Wire cutters/pliers
Beads 
Art, photographs or quotes

Step 1:  Frame chosen pictures.

Step 2: Measure centre tops of frames and insert an eyelet screws.

Step 3: Make a loop in the wire and clamp.

Step 4: Put beads on wire.

Step 5: Loop clamp as shown at bottom of wire through the eyelet screw and squash clamp to desired length.
Trim excess wire
Make sure each hanger is the same length on each picture.
Hang on wall.
As I live in an earthquake zone, 
I always put a piece of bluetack between the picture frame
 and wall to keep straight.  
This saves time by not having to straighten pictures constantly!. 

'On A Wire' hanging frames look fabulous in my office.
And I can easily update images in the frames 
when there is a need for change.


#diy #picturehangers #beads


In love with Magnolias...

Magnolia 'Black Tulip'...


An outstanding performer in the garden.


New Zealand raised by Mark Jury,
 this stunning magnolia has large cup like blooms.


They are dark ruby red (mine has pink undertones).


Magnolia 'Black Tulip' will grow to a height of 6 metres by 4 metres...
The like acid soil and are deciduous.


Available via most New Zealand Garden Centres 
or through Wairere Nursery online 
http://www.wairere.co.nz/Trees-Deciduous/Magnolia-Deciduous


The magnolia centres are complete bee food...
not to mention incredibly interesting to look at.

And each year in Mia Bella Gardens the tree produces more and more flowers that last an incredible time.


#gardening #trees #magnolia


Red Rose Screensaver...

This red rose shot...
is a little blurred -
and a whole lot beautiful.


Free to use as a screensaver or desktop photo.
(save as to your own computer)

#free #screensaver


DIY Letter Painted Salad Servers and another upcycle!


I bought these bamboo salad servers at Briscoes for $8 in a 50% off sale.
And as I needed a gift for an upcoming housewarming, 
decided to zoosh them up a bit!


I used stick on letters to write salad on each utensil.
Then proceeded to paint them with acrylic paint.


(Orange was the colour of choice because the modern new build house has a bright orange front door and an orange kitchen splashback!)
Dry.
Then paint a second coat of your colour.
Dry.
Then varnish.
(Dry completely for at least a week before gifting/using.
Remember that these are hand wash only, 
so you need to add a little note to the gift.)

The other part of the housewarming gift is a fruit bowl.
This pottery piece was $5 at the Hospice Op Shop.


(I choose the copper to compliment the orange colour as the new kitchen has copper hanging pendant lights above the breakfast bar.)
First step - spray paint inside of bowl copper.


Then spray paint the bottom, middle and top rims.

Sooooo very cool!

Modern and funky and upcycled!
A perfect fit for their new modern home with the orange kitchen splashback and the bright orange front door.  :)


Mini Desert Gardens...


This is one of those 'oh so cute, 
but let's put up a 'danger' sign' kind of projects.

I'm a cactus and succulent lover, 
so this quirky desert style mini garden is just my thing.

To create you will need:
3 x small glass bowls 
(I used $1 bowls from the Necessities Warehouse brand)

sand
potting mix

3 x baby cactus plants
($4.47 each from Mitre 10)
Line each bowl with wet sand and press into place.

Add a layer of potting mix.


Put the baby cacti in the centre and backfill with potting mix.
Put a top layer of sand on top.


Hint: Make a paper collar to avoid the prickles and make for easier manoeuvring.

The Mini desert gardens require minimal watering.
Remember there is no drainage in the glass bowl so it is vital not to overwater them or they will rot.


I displayed each bowl in a little wooden box on the coffee table.
The cloth is vintage.
Oh so pretty don't you think?


I adore the passionflower design.
Right now I'm loving vintage fabric...
and
Mini Desert Gardens!


Related Posts Plugin for WordPress, Blogger...