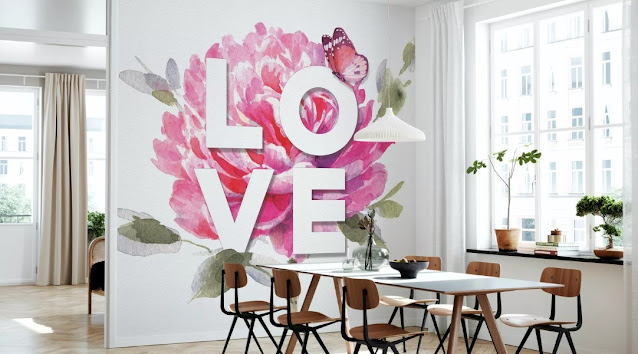
Barbie Pink in Wall Fashion

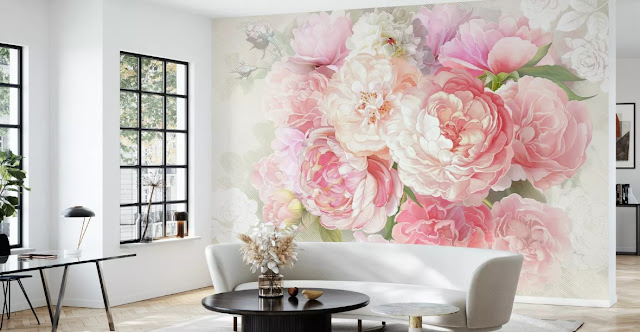
 Barbie has taken the world by storm with the release of the movie!Photowall

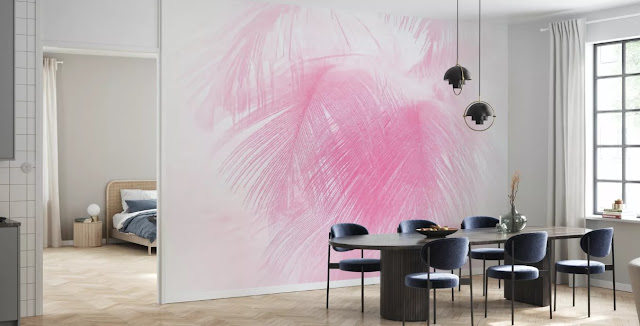
(Fluffy Sky Pink)

Barbie was a big part of my childhood.

I was the girl who adored making houses and furniture from boxes and cardboard for them.

And hand-sewing their outfits.

I think I was about 14 years old when I finally packed my Barbies away.

But I have never lost my love for them.

Photowall

And now, everywhere you look you'll see Barbie-inspired 'everything' once more! 

Photowall(Wrapping Paper)

Pink in every shade.

Plus all those other glorious lolly colours, but today it's all about PINK!

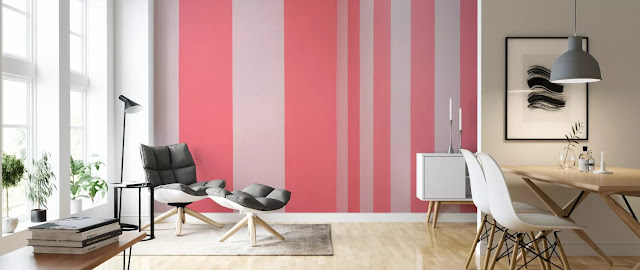
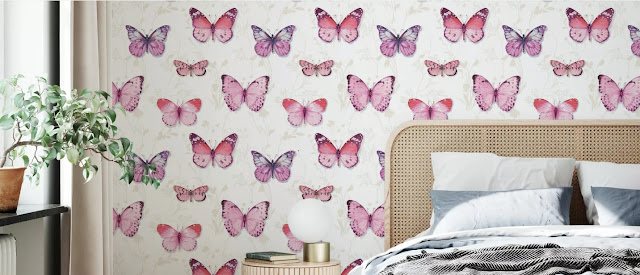
Photowall(Obviously Pink 29A)

As an affiliate of Photowall, I have been exploring the Barbie colour trends that have eventuated from the movie in the wallpapers and wall murals that they have available.

Photowall

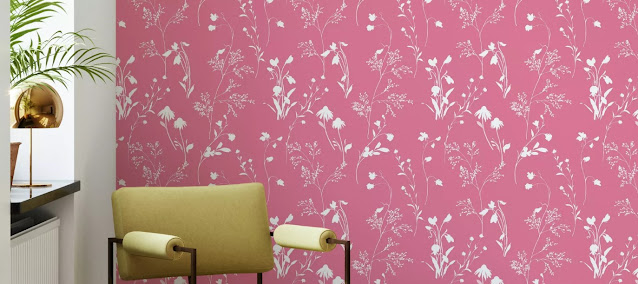
(Majestic Leaves - Pure White and Pink)

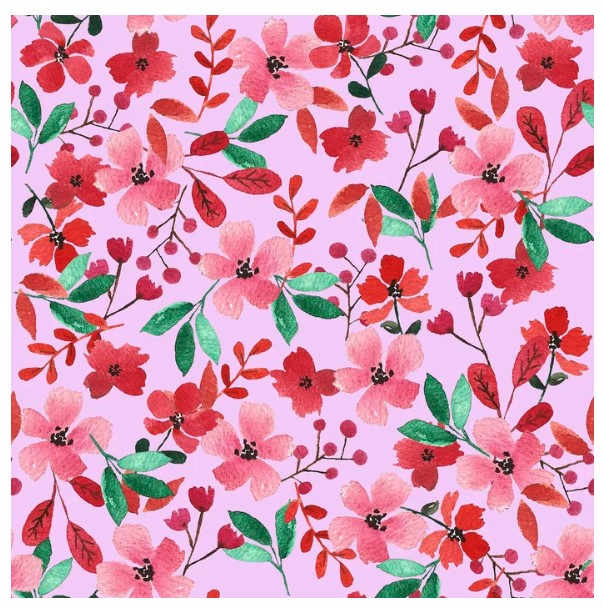
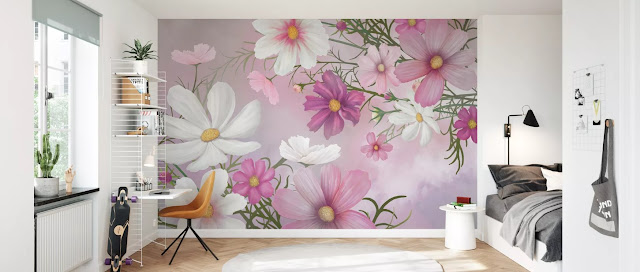
In this affiliate post, you are seeing images of the ones that I have ticked as my favourites.

Photowall(Obviously Pink 28A)

You can visit Photowall yourself and search for the names of the ones I chose or search pink to find your very own.

Photowall
(Blossoms Pink)

But remember to make a cuppa first.

Photowall

(Cosmea) 

It is a very inspiring site with many beautiful papers and wall murals to look at.

Photowall(Obviously Pink 07A)

Wall inspiration at its best.

Photowall

#wallmurals #wallpaper #barbieinspired #pink

#affiliatePost #photowall #wallpaperdesigns #posters


When A Craft Project FAILS - The LEAF BOWL!

This is an honest and open chat about when a craft project fails.

It starts with a picture you have seen in a magazine or on the Internet.

But there are no instructions on how to create the said image.

So your brain does a little whirl of thoughts.

That looks easy.

You only need a few items to make that.

I have those things in my craft stash.

That should only take half an hour.

That is exactly what happened with this project.

Making a 'Leaf Bowl'.

To put a votive candle inside.

So the leaves glow and look pretty.

The original image I saw was a green leaf bowl, but I thought I'd use the brown fallen leaves.

SO...

It all started well.

Leaf craft

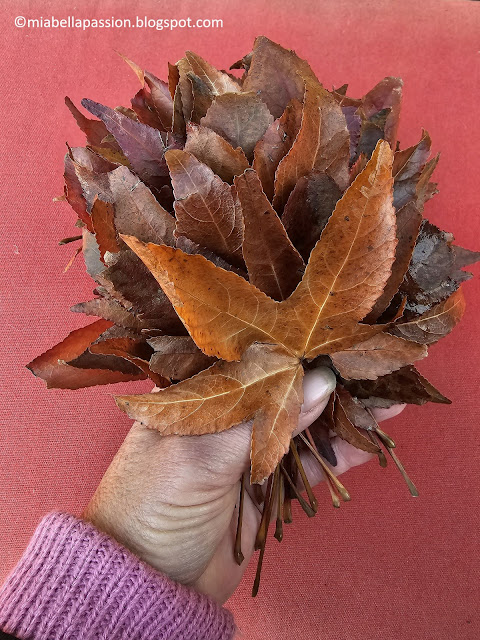
I collected my leaves from the park across the road.

craft

I blew up my balloon.

Because the picture I saw described it as 'A Balloon Leaf Bowl'.

Then I decided to sit the balloon in a bowl to support it while the leaves were glued on.

Wrong.

The balloon wanted to be anywhere but in that bowl.

I persevered.

Leaf craft

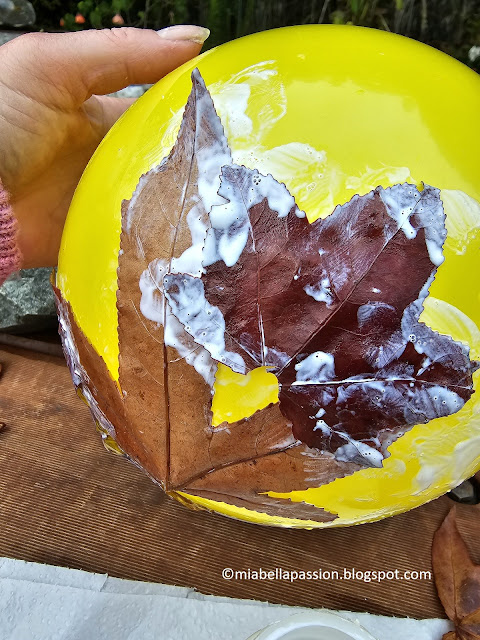
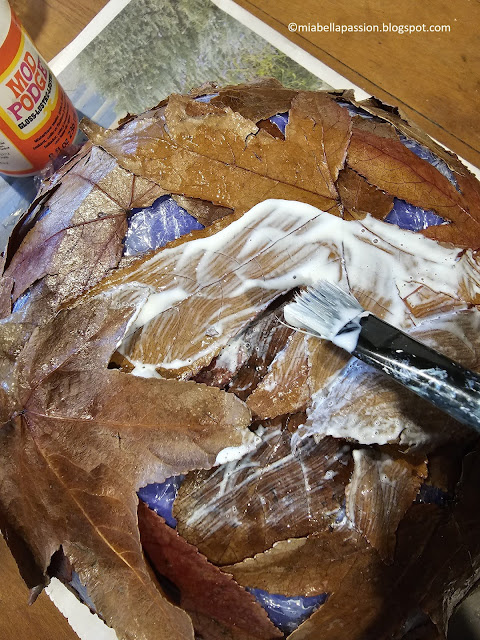
I started glueing the leaves onto the balloon with Mod Podge Glue.

And that was also a mistake. That glue is too thin!

By that time I was wishing I had another set of hands.

One set to hold that dastardly balloon down and the other set to glue the leaves in place...then...

Craft fails

BANG!

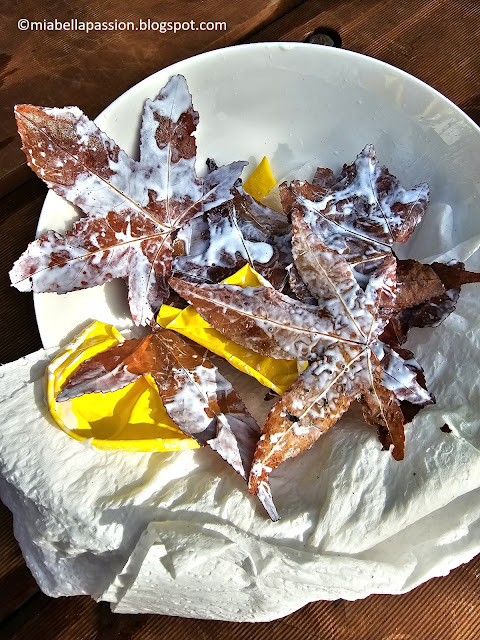
The balloon popped (a chemical reaction between glue and balloon plastic I'm assuming), with gluey balloon bits and leaves flying all over the show!

= ONE VERY BIG MESS!

Think kid in kindergarten messy playtime!

Pressing your hands in glue and paint and creating whatever your heart desires.

Never one to give up, and driven by determination, 'Plan B' stepped in with total acceptance this craft project is seriously a very messy one.

But I'm telling myself that there is no wrong way to do this or a penalty to be had.

Next attempt:

Craft

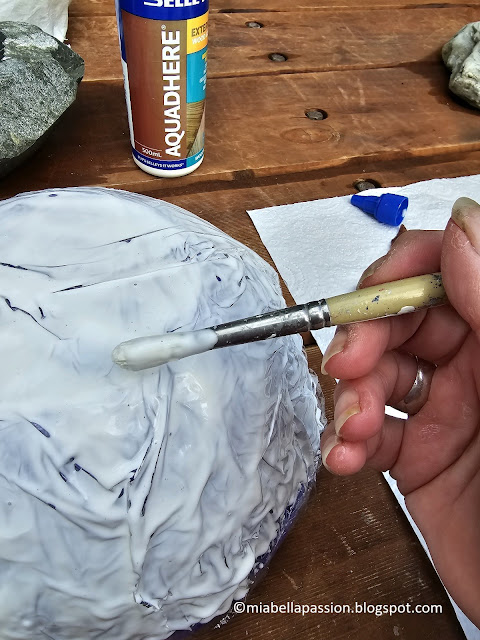
One plastic bowl covered in several layers of plastic wrap.

Craft

This was turned upside down before applying wood-strength PVA to glue all over the plastic-covered bowl. This glue is thicker than Mod Podge.

Leaf craft

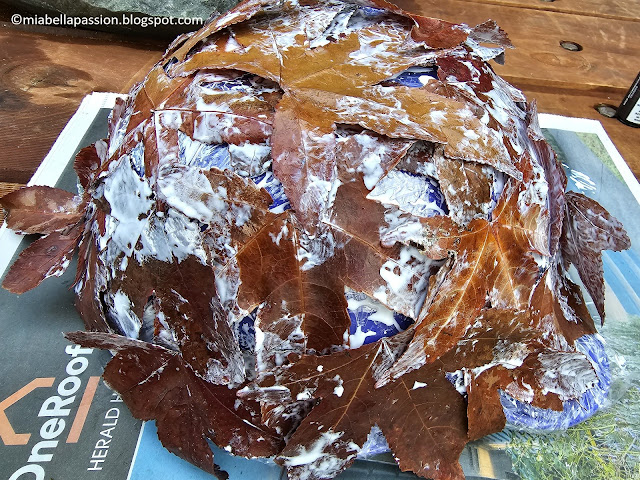
 I placed the leaves randomly using more glue but left little space in between.

I'm hopeful some candlelight might peek out of these gaps if this leaf bowl should succeed.

Leaf bowl

With the leaves finally glued onto the bowl shape,

I left it for 24 hours to dry feeling hopeful my initial failure at this leaf craft may perhaps become a success.

Meanwhile, I had a brainwave to Google Search the image of the green balloon bowl.

This is when I realised, the said green leaf bowl was actually made out of metal!

Note to self, search the image before attempting any future mad craft ideas to find out more!

Leaf craft

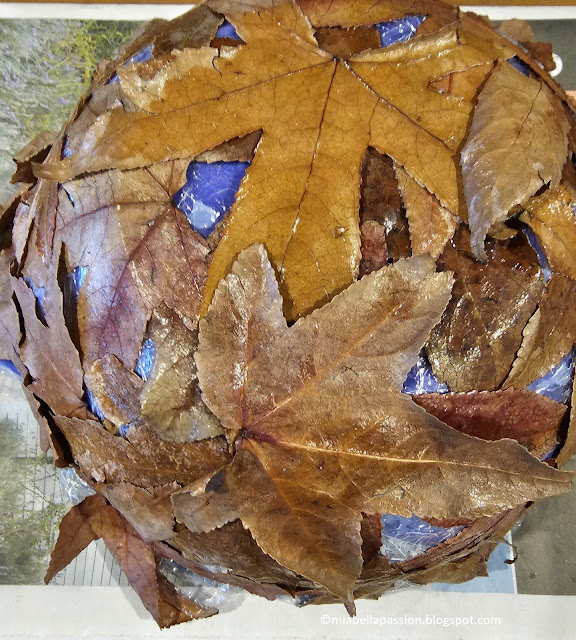
But I soldiered on with my natural leaf creation by applying a gloss ModPodge sealer for an extra coat of protection on the leaves.

Leaf Craft

Craft

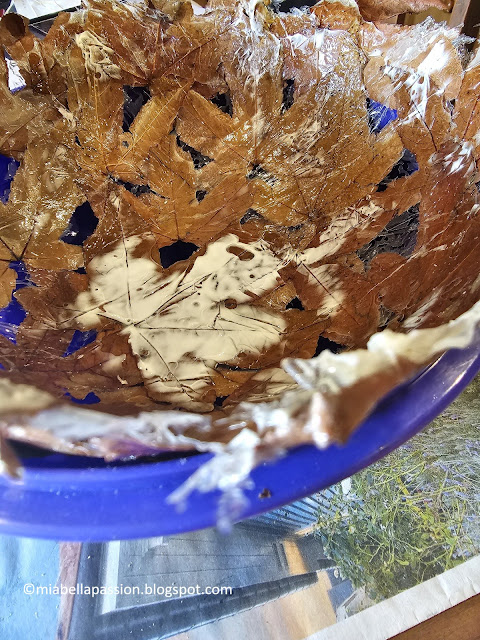
After another 24 hours of curing, I CAREFULLY removed the first two inner layers of plastic from the bowl and then CAREFULLY loosened the leaf shell to remove it.

(I certainly managed to create something very FRAGILE!)
Leaf Craft

All the plastic was removed, but the PVA wood glue hadn't fully dried under the plastic.

So I popped the leaf bowl back into the inside of the plastic bowl to support it while it finished drying.

All the while, I am thinking, 'Crikey, I hope the end effect will be worth all this effort!'

So let's see if it was...

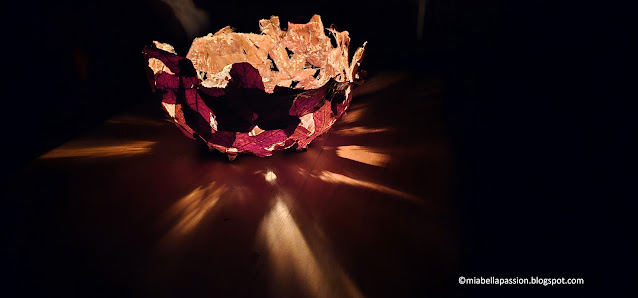
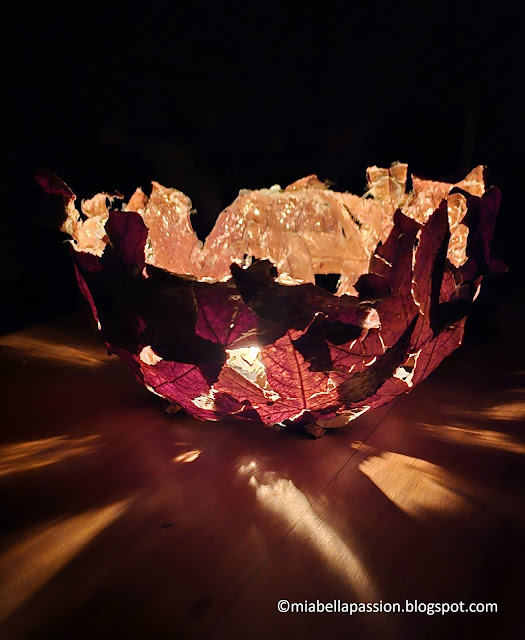
In daylight, this bowl looks brown and rustic.

The glue left lace-like patterns in places around the leaves.

Autumn Leaf Crafts

In went a squat votive candle

and on darkness this was the result.

Autumn Leaf Crafts

Stunning.

Autumn Leaf Crafts

Beautiful.

Autumn Leaf Crafts

Warning: a fabulous centrepiece for a romantic dinner table setting.

But definitely a fire risk and not to be left unattended.

So thinking of safety, I filled the leaf bowl with battery-powered fairy lights instead.

And here we have the final result.

Autumn Leaf Crafts

Would I create this fragile leaf craft again - No.

Am I glad I tried it once - Yes.

Is it absolutely beautiful - YES!

Autumn Leaf Crafts


Visit my 'Saatchi Art & Photography' store HERE

Free Scrapbooking Paper

Visit HERE for FREE Scrapbooking Paper Designs.
Home and garden blogs
For the latest posts JOIN :)

.

#blogfails #leafbowl #diyleafbowls #leafcraft


Pina Colada Pavola Log

 Let's take Pavlova to new heights!

Pavlova

 With a tropical twist and a unique shape.

Tart Tin

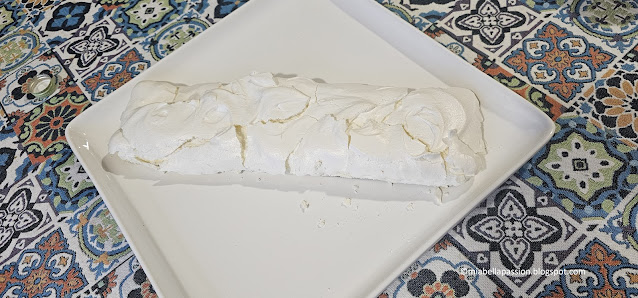
Classic pavlova is round, but this one is baked in a rectangle tart tin.

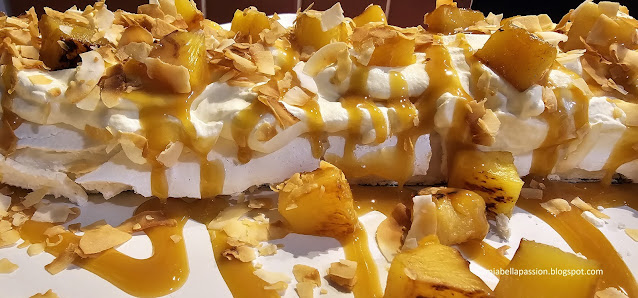
The pavlova has a soft marshmallow centre and a crisp top.
Pavlova

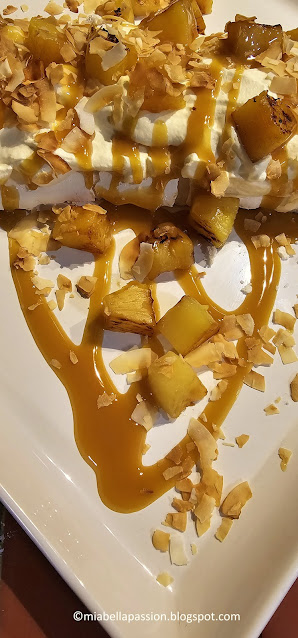
The Pina Colada twist comes from the topping flavours of the toasted coconut chips (flakes), charred pineapple pieces and coconut liquor caramel pouring sauce.

MeringueMeringue

You prepare the pavlova mix.

Pavlova

Place in the rectangle tin.

Bake then cool.

Remove from tin.

Pavlova

Place on a serving platter.

Coconut Dessert

While the pavlova is baking, toast the coconut in the oven.

Pineapple Dessert

And char grill, or as I did charred over hot heat, in a dry nonstick frying pan.

Tropical Pavlova

Top with whipped cream and then the prepared pineapple and toasted coconut.

Finally, dribble over as much bottled caramel sauce as you desire.

Tropical Dessert

The liqueur can be omitted if you want a non-alcoholic dessert.

But if you add it, just place the caramel sauce in a jug, add one or two tablespoons of the liqueur, and stir until blended.

Tropical Pavlova

With or without this dessert is sweet and just melts in your mouth.

It was a big hit with my taste testers.

And a dessert recipe I will definitely be creating again.


Printable recipe HERE


Pina Colada Pavlova Log

Ingredients:

3 Large eggs

1 cup of fine caster sugar

1 heaped teaspoon of cornflour

425-gram can of pineapple pieces 

4 Tablespoons of coconut chips (flakes)

Whipped cream 

Bottled caramel sauce

1 or 2 Tablespoons of Malibu Coconut liqueur (optional)


 Prepare the pavlova.

In a cake mixer place three large egg whites.

Beat until fluffy and firm.

Add the sugar.

Beat for two minutes on high speed until the sugar is dissolved and the mixture is thick and glossy.

Add the cornflour.

Beat until combined with the egg-white mixture.

Place this mixture into a greased rectangle tart tin.

I used one with a push-up bottom.

(easy to remove pavlova once baked)

Size 10 x 36 centimetres.

Bake in a preheated oven at 100 degrees Celsius.

Bake for 40 to 50 minutes.

The top should be crisp.

Open the oven door and leave it to cool.

Once cool, remove from tin and place on a platter.


While Pavlova is baking prepare:

Coconut:

Place on a tray that is lined with baking paper.

Bake at 150 degrees Celcius for 8 to 10 minutes until golden.

(keep an eye on it as it can overcook easily)

Pineapple:

Grill or dry cook in a nonstick frying pan until charred.

Set aside to cool.

Caramel Sauce:

If you are adding the liqueur to the sauce, place 1 cup of sauce in a jug and mix through 1 or 2 Tablespoons of the Malibu Coconut Liqueur.

Top The Dessert:

Top the plated pavlova log with whipped cream

Place the pineapple on top.

Then the caramel sauce.

Finally, sprinkle with the toasted coconut chips.


Serves 4 large servings

or 6 small servings.


Conversion Information HERE

Visit my Saatchi Art Print Store Here.

Home and garden Blogs
For the latest posts JOIN :)


#pineapple #pineappledessert #tropicaldessert #pavlova


Hello To The Stunning Calathea

Calatheas are a STUNNING foliage plant!

Calathea Alocasia

There are over 60 species now available.

The rarest and most difficult to grow is 'White Fusion' Calathea. This plant has bright green leaves with unpredictable white splashes on them. 

The beautiful leaves of all Calatheas look as if an artist has dipped a brush in paint and painted them.

Calathea Alocasia

I think that is what I loved most about the variety I bought.

Calathea Alocasia.

It has the most striking leaves of a rich dark green with uniform fine cream-white stripes with a pink tinge to them.

Calathea Alocasia

They are grown outside the tropical rainforests as pot plants.

But in the moist and humid rainforest, they grow under the canopy on the forest floor.

Calathea requires certain care to thrive.

They can withstand low light but prefer bright indirect light.

They need relatively consistent warmth and humidity.

The plant will turn its leaves to light, so you need to turn the pot frequently to keep the plant in a balanced shape.

Direct sunlight will burn the leaves.

Calathea Alocasia

Tips:

# You can increase humidity by spraying a light might of tepid water over the leaves.

Rainwater or pure water is best as it is free of chemicals.

# You can stand the pot on a gravel or small pebbles tray.

This creates a damp microclimate as the water evaporates and the humidity increases.

# Hot showers and baths create a steamy humidity that the plant will enjoy, therefore a bathroom is a great place for it to reside.

# If the leaves curl inwards, it is a sign of underwatering.

# Yellow or wilting leaves are a sign of overwatering.

# Red Spider Mite is a fan of Calathea. If you see fine webbing, and the upper surface of the leaf becomes mottled, you will see mites and eggs on the leaf underside using a magnifying glass. You can use an oil-based spray for house plants to eradicate the mites.

Tropical Art Prints

Visit my Saatchi Art print store HERE.


#calathea #potplants #plants


How To Make Quick Pickled Cucumber Ribbons With Onions

A simple Pickle...
Cucumber Pickle

This pickle keeps well for a few days in the refrigerator, and it is an easy 'whip it up in the morning' to use with the evening seafood meal. 

It's a great addition served in a bowl on a cheese board or platter with crusty bread and crackers.

Think wine and cheese.

Think party plate food.

It's an easy pickle to put together:

Cucumber Pickles

All you do is peel long ribbons from one cucumber.

Cucumber Pickles

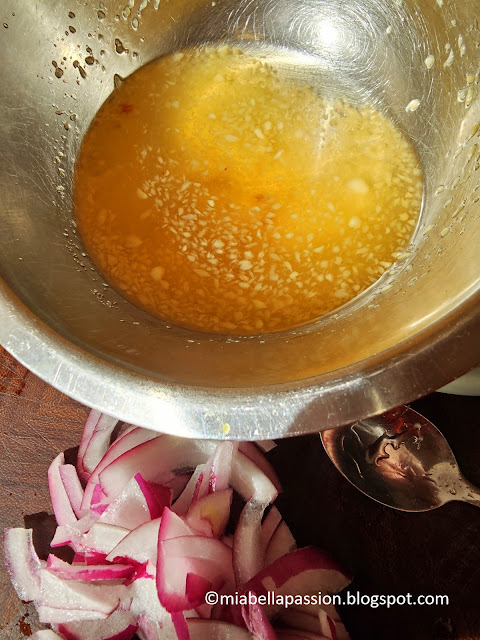
Add the vinegar, sugar, ginger and chilli mix, then the onion and the cucumber.

Refrigerate a few hours to pickle before using.

Cucumber Pickle

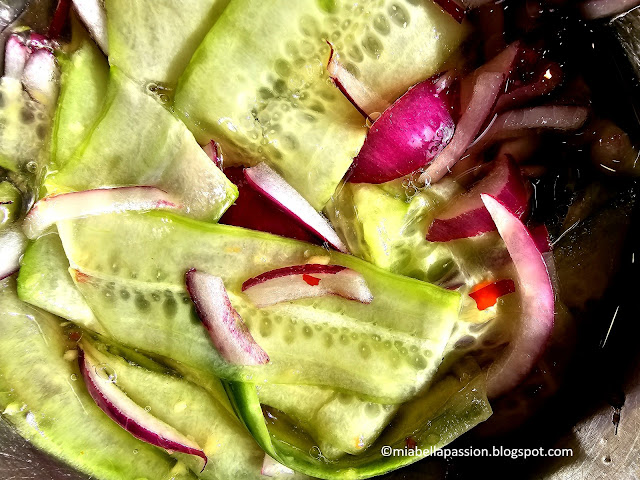
The result is a tasty combination of cucumber with red onion in a sweet chilli marinade with a hint of ginger. 

You can serve it as a side with fish.

It's delicious with salmon slices, oven-baked pieces or smoked salmon dips, and crusty bread or baguette slices.

Or as a side with pan-fried white fish crumbed and served with a green salad.

.

Printable recipe HERE.

.

Serving Idea:

Cucumber Pickle

Quick Pickled Cucumber Ribbons With Onions 

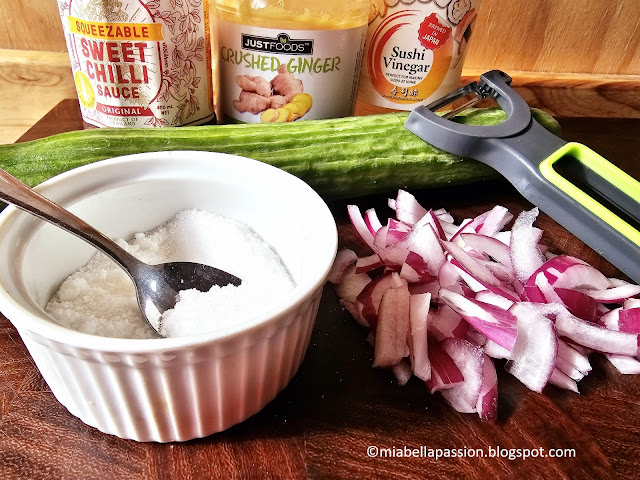
You Will Need:

Cucumber Pickle

One medium sized cucumber

Pinch of chilli flakes or 1/2 teaspoon of Chilli Sauce.

2 teaspoons of minced ginger paste.

1/2 cup of rice wine (or Sushi) vinegar

1/4 cup of fine white caster sugar

 1/2 a thinly sliced red onion


Method:

Peel long ribbons from the flesh of one medium size cucumber.

Place in a bowl with the red onion, ginger, and chilli.

In a small pot, heat the vinegar and the sugar.

Stir until the sugar is dissolved.

Add the ginger and chilli. Mix.

Add the onion and the cucumber.


Place in refrigerator for 2 hours before using, tossing to mix at least once during chilling time.

Makes about 1 cup.


#cucumberrecipes #pickles #quickpickles


Related Posts Plugin for WordPress, Blogger...