DIY Chunky Rope Pot Plant Hanger...

Let's create a cool chunky rope uptake on the macrame style pot plant hanger...
I am seriously I'm loving this look!
I used this rope, which is available at Bunnings.
I was difficult to decide what colour to choose...
It comes in red, blue, yellow or the green.
The Moda brand pot is lightweight so perfect for the hanger.
It is 18cm round.
You will need a large carabiner clip to hold the rope hanger.
Hang your carabiner up on the ceiling or as in my case deck roof using another strong hook.
Cut four lengths of rope at 3600mm each.
Thread each length halfway through carabiner so you have 8 lengths each at 1800mm.
This is when Arabella decided the rope was a new cat toy!
Make a large knot at the base of the Carabiner.
Trim ends to same length.
Take two ropes and knot together at about 250mm from the top knot...
Do this again but at about 150mm down from the first row of knots.
You now have two rows of knots at shown.
Split the rope as shown...
By taking one rope from each of two knots next to each other. 
Then at about 200mm make four knots.
This is where the pot will sit.
Check how your unplanted pot will sit, and tie a bottom knot under the pot.
I chose a Scaevola for this hanger, 
as they are VERY hardy.  
(I am hoping this means I will not kill it!)
The flowers are so pretty.
Scaevola almost has an interesting succulent like foliage...
I may have to make a few more Chunky Rope Pot Plant hangers,
 because it really looks fabulous!

DIY Ideas
For the latest posts CLICK  :)


#macrame #diy #planthanger


'Wings' - An Artistic Quote...


A quote for the artists and creatives...


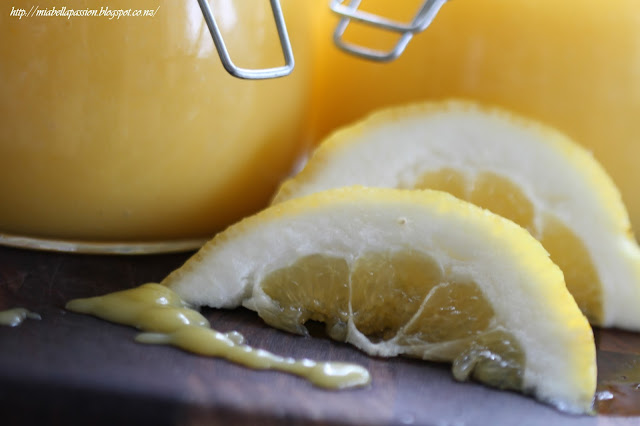
Microwave Lemon Honey...

What do you call it?
Lemon Butter?
Lemon Honey?
Or...
Lemon Curd?
These days the recipes are all very similar.
I call it Lemon Honey.
Some call it butter, others curd.
But did you know that Lemon curd originally dates back to England in the 1800's.
And it was NOTHING like our modern version.
In fact Lemon Curd was exactly that - a curd!
Lemon acid was added to cream and left to form curds.
The whey was then drained off through a cheesecloth.
EWWWWW....I bet that was so tart tasting.
Not at all tangy, creamy, sweet and delicious like this recipe is.
So matter what you call it,
(I'm calling it Lemon Honey, because that's what Grandma called it),
let's make an even more modern version of it by using a microwave to cook it.

This recipe makes about 4 cups of Lemon Honey. I used a 1100w microwave.
(Adjust the times to the power of your microwave.)

In a glass bowl, place:
1 cup lemon juice
150 grams cubed salted butter.
Microwave on high for 1 & 1/2 minutes.
Add 2 & 1/2 cups sugar.
Stir to dissolve sugar for a few minutes.
If desired - Add 2 teaspoons lemon rind that's finely grated.
Add 8 eggs that have been lightly beaten.  Whisk well.
Cook on high for 5 minutes.
Whisk for one minute.
Microwave on high again for 2 minutes.
Whisk for two or three minutes.
If you prefer a thicker consistency, microwave another 2 minutes.
Whisk again.
Place into sterilised jars and seal.

Lemon Honey
You'll find the printable recipe HERE.

Note: An ingredient conversion chart can be found HERE


GRAB A COFFEE AND POP OVER TO MY GIFT STORES AT

FINE ART AMERICA

REDBUBBLE

SAATCHI ART


#microwave #preserves #lemonhoney #homemade


Related Posts Plugin for WordPress, Blogger...