Showing posts with label For the kids.... Show all posts

Driftwood Ghost Halloween Banner....

The Halloween sideboard display is coming together nicely...
But I needed a banner for the background wall.
Just something small but a little spooky.
So I went to the beach and collected some flat ghost shaped pieces of driftwood.


Then got out my trusty chalk paint ...

 and gave the fronts a coat of white.

Next some ghostly eyes and mouth using a permanent marker pen.
I'm not sure these are very spooky as they are kinda cute!

To make the banner I hot glued the backside of the driftwood pieces along the string.

And hung it up.

How easy to create.
And a fun activity to do with the kids pre-Halloween.


#halloween #craft #driftwood #ghosts


Halloween 'Goodie' Jars - upcycled of course! ❥

I'm sure you must have some jars or glass containers hiding away in the back of the cupboard.


Just like the ones that were upcycled into these fab 'Goodie' jars for halloween.

These jars were part of my endless AQUA collection,
and they were destined for the goodwill store.
But then I came up with this cool idea to 'Halloween' them to use on my 'Halloween' sideboard vignette.

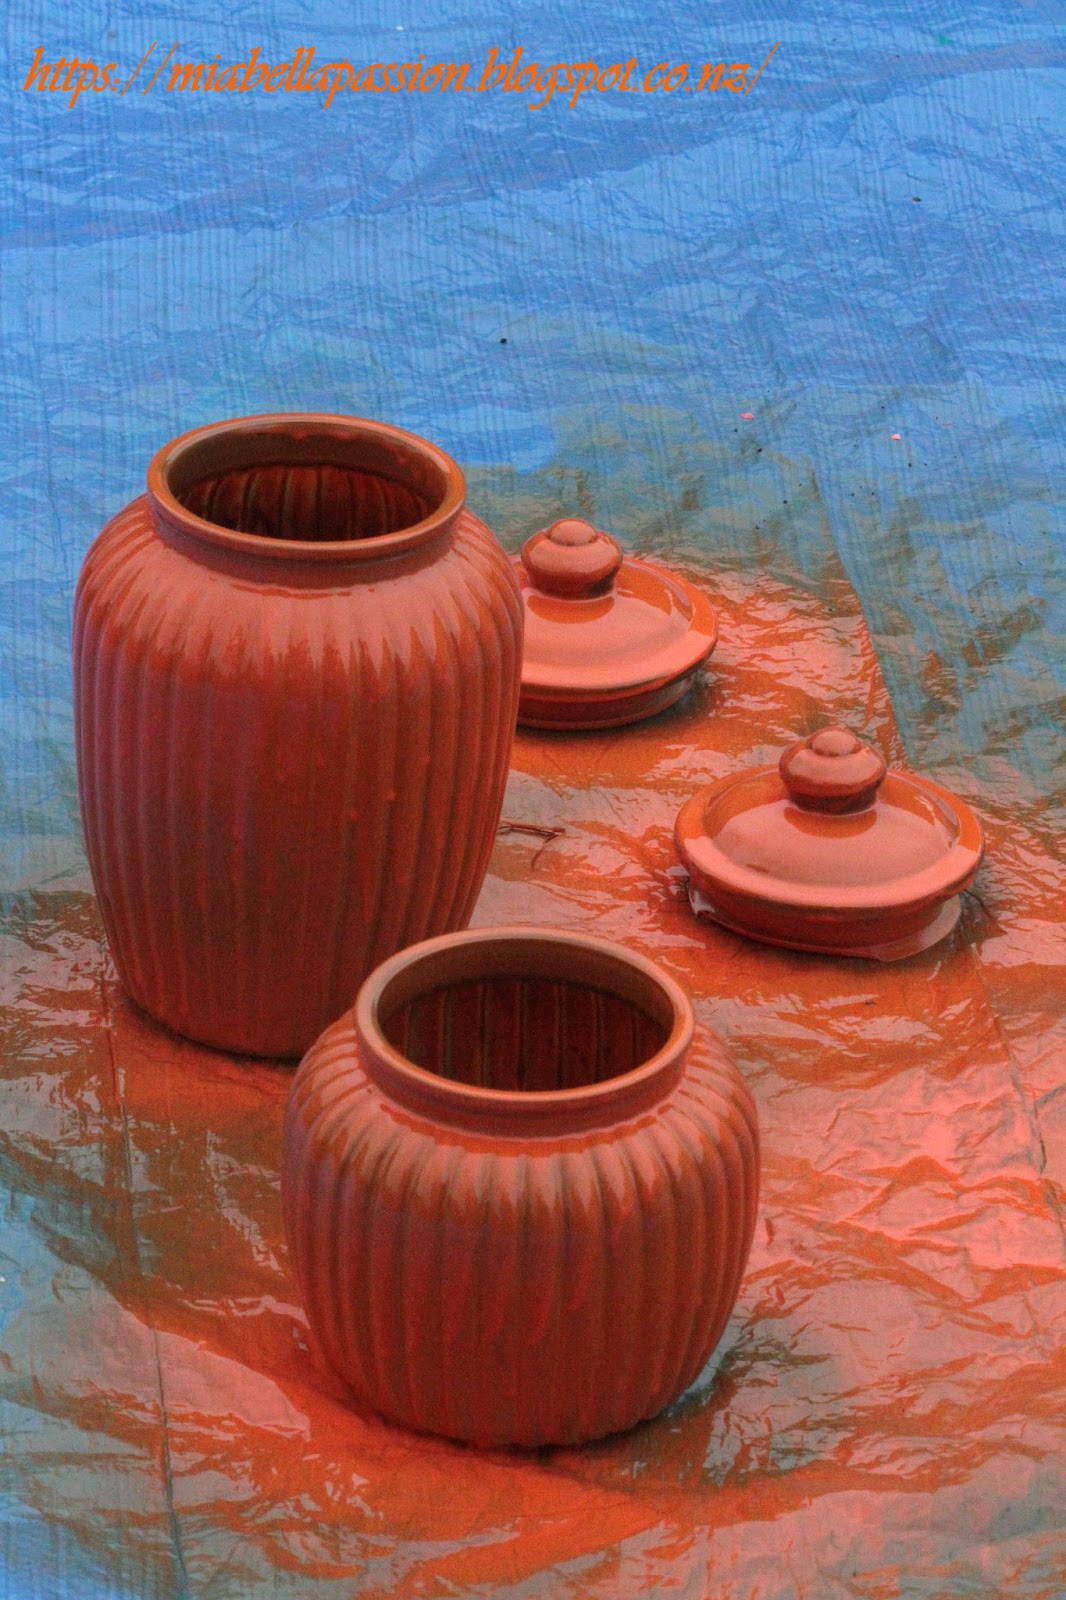
All I did was spray the glass jars with bright orange paint.
I let the paint drip down in places for effect.

And then I let them dry for a week...
Don't they look pretty?

 The next step was to make a label.
I used dollar store gift tag labels.

 Then painted them black on both sides.

 I'm not the best calligrapher so wanted an easy option for writing.
That was stick on letters in gold.

 I chose the words 'Boo' and 'Treat'...

Here are the jars all finished and ready to fill with treats.
Call back soon for the next creation I'll be making for the "Halloween' display.


#spraypaint #upcycling #orange #jars #makeover #diy #Halloween


DIY Bird Wall Decor...❥


This bird wall decor piece is a fun activity to create with the children.

We used a free swallow template from the internet, 
which you will find many bird templates in varied shapes and sizes.
I made a slight modification to this design as I wanted the tail to be a little thicker.

 
You will need airdry clay.
Airdry clay is available at most craft and art stores in New Zealand.

Press your paper cutout template onto the rolled clay.
Don't make it to thin.
Like any clay - the thinner it is the more fragile it will be when dry.


Use a bread and butter knife (safer for the kids) to cut around the outline of the template.
My grandson aged 5 managed to do this pretty well alone.

To make patterns, use any object you already have that will imprint.
This is a metal heart which was perfect for the task.


Then attach a hanger with more clay onto back side of bird - I used a metal bead label tag.
Carefully place onto a baking paper lined card.
Put aside to dry.

 After about four days the bird was dry.
You can keep it in its natural clay colour or paint it.
If you were to place on a covered porch I would seal it with clear sealer.

But because it was decided to put this into the bathroom, which is blue and grey, we decided to paint it with grey chalk paint. 

Once dry it was hung.
A wonderful 'Grandson and Nonna' craft memory.

And it looks wonderful with the other DIY art piece in this room too.
Faux solar leaf print


#airdryclay #birdcraft #claycraft #homedecor #diy


Easy 'Beach' Decor - DIY a Shell Jar...

Beach Style Decor
Bring the beach into your bathroom decor 
with a simple jar of shells or a ball of shells.
Both are very easy to make.
And also a great project for the kids to create for gifts.
Today I am showing you how to DIY the shell jar.
But I'll share how to create the ball further through the post.


Shell Craft
 You will need a selection of shells in various shapes sizes and colours.


 A jar with a lid.
I'll be recycling a coffee jar.
Scrub the jar clean and remove any printed writing with a steel pad and soapy water.

 While the jar is drying,
spread the shells onto newspaper outside in a well ventilated area.

 Spray with a gloss varnish.
This brings out the beautiful colours in the shells.
Leave to dry.

 Put shells of your choice into the jar.
Large first then smaller ones.

Place lid on Jar.

Beach Style Decor
  Tie a raw twine bow at neck of jar.

Beach Style Decor
 And place to display in your bathroom.

Beach Style Decor
Beachy beauty in an instant! 

Beach Style Decor
 To make the ball of shells like this one that is sitting on the French style urn,
all you need is lots of shells, a polystyrene ball in size of choice, a glue gun, and gloss spray varnish.
Step one: glue shells all over the poly ball.
Step two: Remove excess glue strings.
Step three: Spray with clear gloss.
And that is it...
you have created a shell ball.

Beach Style Decor
Which is a perfect decor partner for the Shell jar.


#beachdecor #decorideas #diy #shells #diygift


Waffle Cone S'mores...


This brings back many a campfire memory...
marshmallows toasted over the fire...
and s'mores camp style.
 For those who don't know what a s'more is - 
it is a toasted marshmallow squished between graham crackers with chocolate.
The earliest reference to s'mores is 1927 in USA,
 when they are referred to as 'Some Mores' in a book called 'Tramping and Trailing With the Girl Scouts'.
This modern indoor kitchen version of s'mores uses waffle cones and is oven baked.

You'll need marshmallows, waffle cones and chocolate melts in dark or milk.

Banana slices and tinned mango have also been added for a fruity twist.
Once you stuff the cone with all the goodies, you simply wrap each in tinfoil and place on a baking tray into a hot oven.

They are SWEET...
Marshmallow GOOEY...
and CHOCOLATEY.
(Not for the faint hearted, because they are a total sugar overload.)
The kids (big & small) will love them.
So next time you pitch a tent for the kids in the backyard for camp play or an overnight sleepover...

whip up some Waffle Cone Smores too.


#Smores #kidsparty #marshmallow #chocolate #sweets


Cute Scottie Dog Ornament...

This scottie dog ornament is 'OH SO CUTE'!

It's a simple hand stitched ornament that is basic enough for the older kids to create for the Christmas tree.
And a pretty neat gift for those little white dog lovers.
You will need:
A template printed
White felt
Thin wadding
embroidery cotton in the colour of your choice.
an embroidery needle
scissors.

Save as and print the template.
Choose the size you like.
Cut it out.

Place on felt that has been folded in half with the wadding as the middle layer.

Pin template onto the felt layers 

Cut it out.

Hand stitch around the outer edge...
 using embroidery cotton.

Stitch on a bead eye.

Add a little bell at the bottom of the neck.

Then stitch back up to top of the neck as shown.

Add a ribbon hanger.

And a nose -
I used a rose embellishment.

Now is this wee scottie cute? 
Or the cutest?


#felt #craft #handstitched #christmas #ornament #diy


Related Posts Plugin for WordPress, Blogger...