Now you all know how I adore upcycled furniture,
re-purposing of the tired and frumpy,
and just plain old boring wood pieces of bygone eras...
Now I don't do so much myself these days,
and I needed a bedside
to match the chest of drawers with Queen Anne legs.
to match the chest of drawers with Queen Anne legs.
had the perfect piece,
and here it is in all its divine glory...
Isn't it cute?
I have a love affair with Queen Anne legs!
I have a love affair with Queen Anne legs!
I love the gentle curves on the top of the cabinet...
Can you see them hiding just behind the pretties?
And the knob...
is a hint of bling (of course)...
is a hint of bling (of course)...
A furniture photo shoot is a plain ole good excuse to
share some pretty things too,
like
share some pretty things too,
like
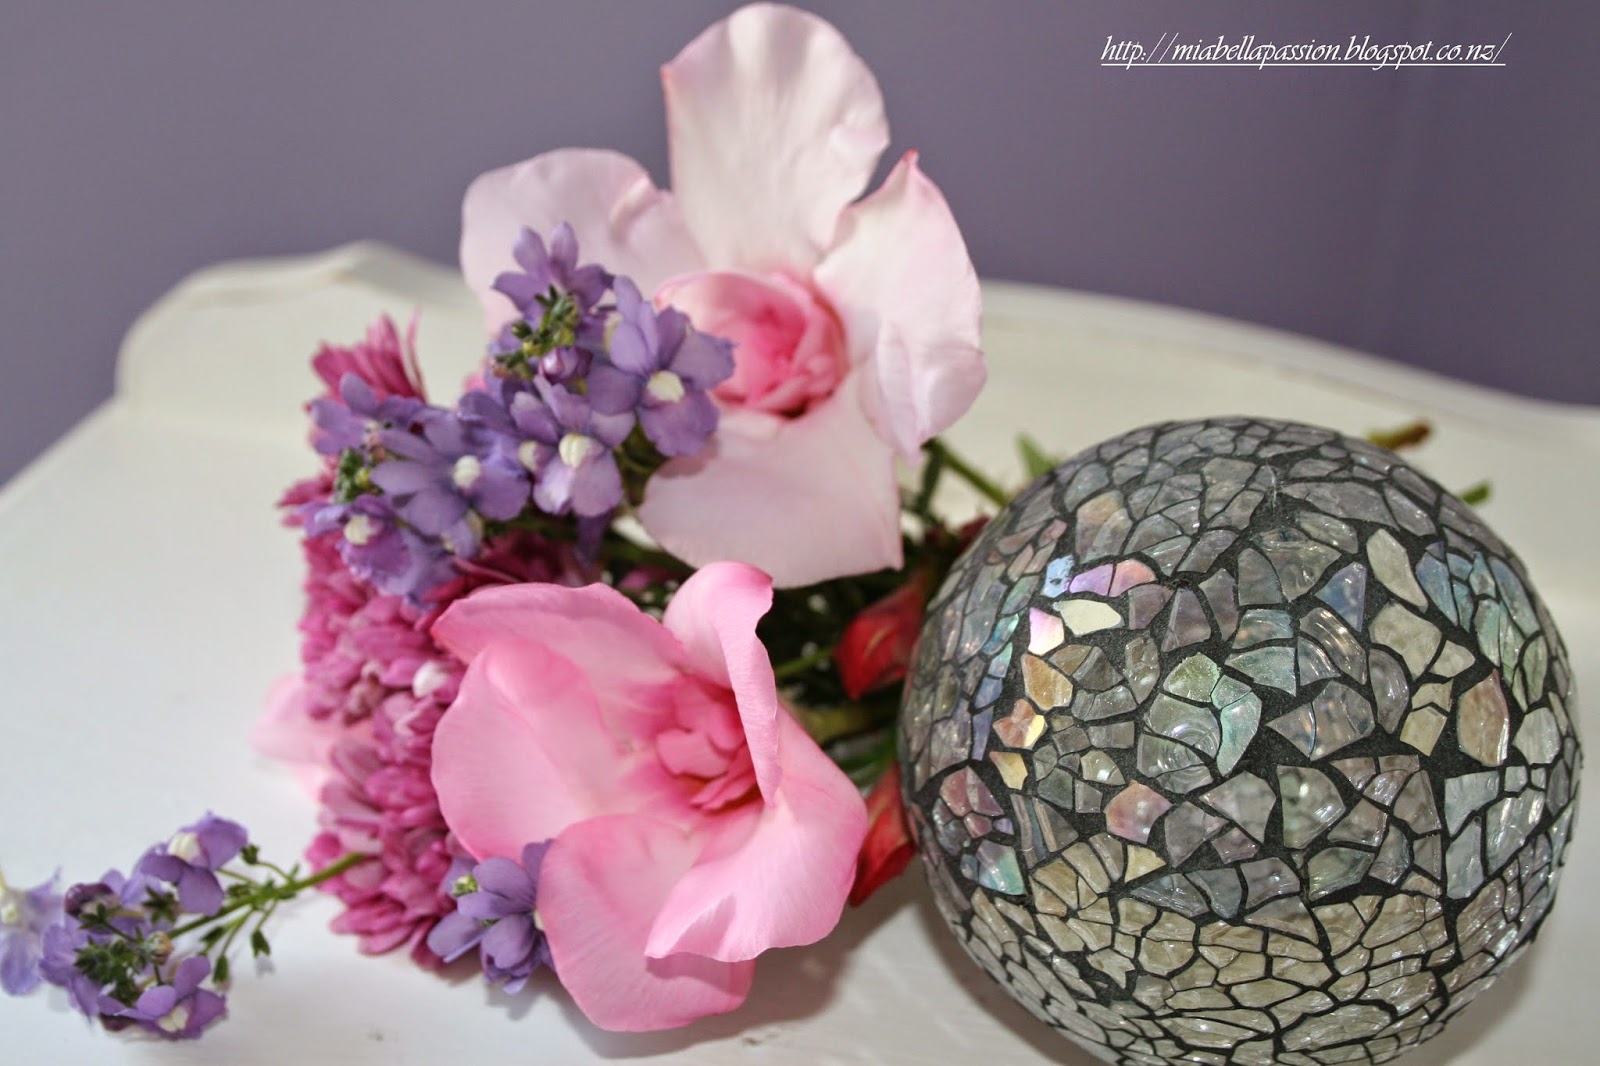
'Mia Bella Garden' flowers
and a light-catching mosaic glass ball.
and a light-catching mosaic glass ball.
The flowers are:
Chrysanthemums, purple linaria, and the glorious pink blooms of Mandevilla 'Parfait'.
Did you know that this vine flower lasts well in a vase!!
Perfect for little posies as they don't have a long stem.
Here's a quick update on the master bedroom upgrade...
Lime green accessories are gone!
French masculine theme decided upon with
Duvet, quilt, valance, and curtains are now purchased...
Dust and clean of the room complete...
Paint wall touch-ups &
Ensuite bathroom window repaint - next job on the list to conquer...
= PROGRESS HAS BEEN MADE!)
I can't wait to show you the end result!


