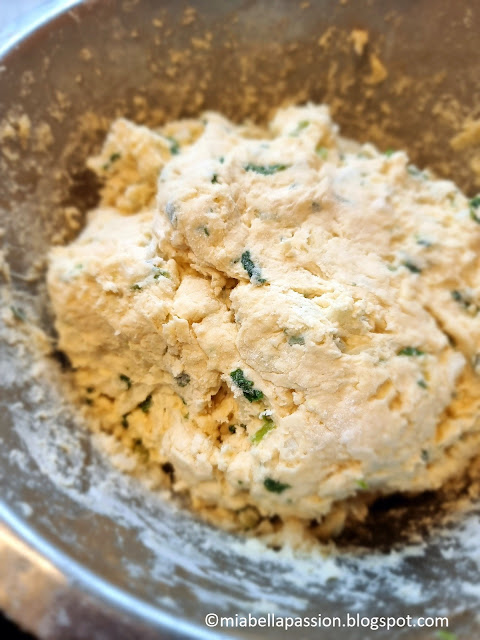
Pull-Apart Cheese, Onion and Spinach Scones

Savoury scones

Cheese!

And lots of it!

These cheesy scones are terrific for a special occasion brunch or lunch with freshly brewed coffee or a cup of your favourite tea.

They are rich and decadent.

A little costly to make, but so very worth it!

They are best eaten hot, straight from the oven.

Served simply with pure butter.

Savoury Scones

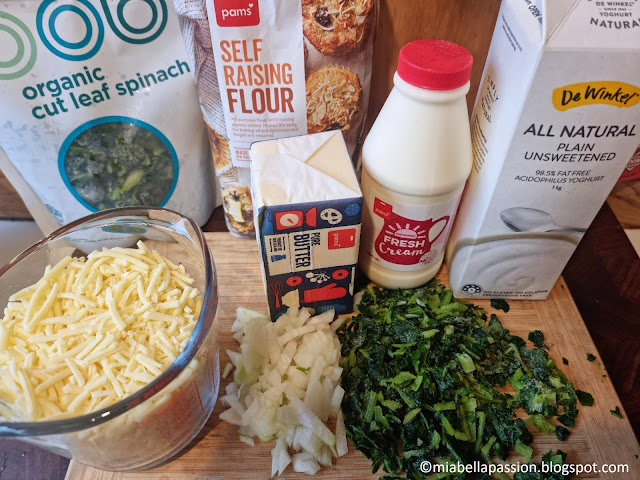
You will need:

1 cup of chopped frozen cut-leaf spinach

Half a white onion finely diced

2 cups of tasty grated cheese plus 1/2 a cup to garnish

4 cups of self-raising flour

1 teaspoon baking powder

1 teaspoon smoked paprika

1 and 3/4 cup cream

125g (4.40 ounces) melted butter

1 cup plain acidophilus yoghurt


To make:

Savoury Scones

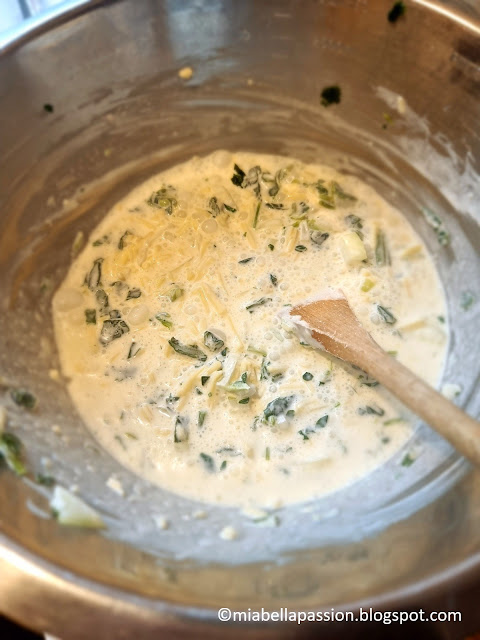
In a large mixing bowl, mix the cream and the yoghurt together.

Then the onion and the 2 cups of grated cheese.

Savoury Scones

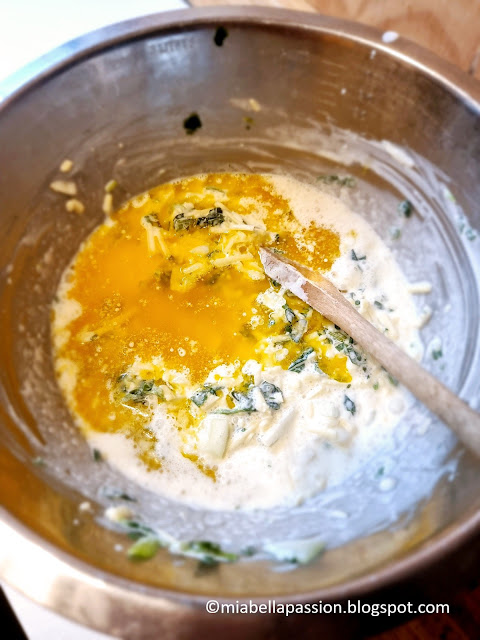
Add the melted butter.

Mix.

Savoury Scones

Fold in the sifted flour, baking powder and paprika and mix to a dough.

Savoury Scones 

Using clean floured hands, form 9 large scones

Savoury Scones

 and place them on a baking paper lining tray.

Leave a small gap between them.

Savoury Scones

Sprinkle the extra portion of cheese on top of all the scones.

Savoury Scones

Bake at 190 Celsius (374 Fahrenheit) for 30 to 40 minutes until golden.

Savoury Scones

Pull scones apart.

Savoury Scones

Serve hot with butter.


The yield is nine large scones.

For the printable recipe visit HERE.


Grab a cuppa, and visit

 my Fine Art America gift store

:)


#scones #savouryscones 


Japanese Kanji Symbol LOVE Painted Rock

At the moment I am working on my biggest creative project yet. 

It includes art, photography, and poetry.

Painted Rock

All intertwined with the Japanese Geisha.

As a child, my mother had an adoration for all things Japanese, so this is the inspiration for this art rock.

It features the word LOVE but is presented using the Japanese Kanji symbol.

A simple technique anyone can recreate.

But note it is not a quick process.

You need a few days to create it if you are not freestyling the image.

And please do note the image I'm sharing is in the reverse aspect for the process I'm sharing here.

You can use whatever size rock you want by simply resizing the mirrored image to fit the face of the rock.

The rock size I have used for this tutorial is 16 x 13 centimetres (6 1/2 x 5 inches).  

The idea of the reverse stencil is to create a guide for those who don't have the confidence to freehand sketch in pencil first.

It gives an excellent guideline to then paint or sharpie pen in the colour of your choice, the detail of the image once the stencil process is completed.

To Create:

Print the image to the size required.

Clean your rock.

If you wet wash it, leave it for 24 hours to fully dry.

How to paint Rocks

Using masking tape (or painter's tape) tape the front face to create a clean edge when you paint it.
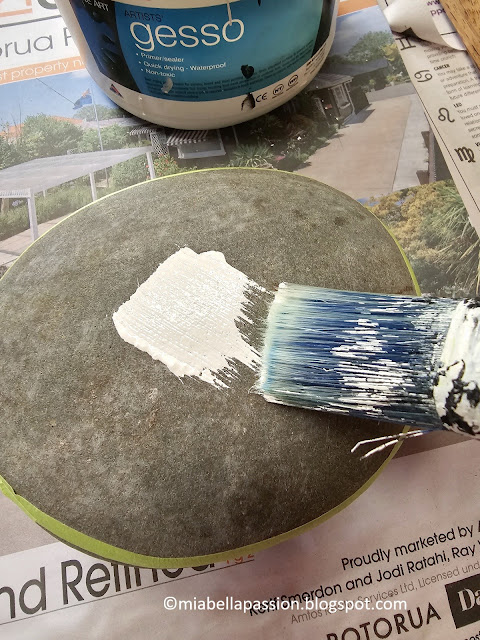
Painted Rocks

Apply one coat of quality primer.

Leave 24 hours to dry or (tip) use a hair dryer to quicken the drying process.
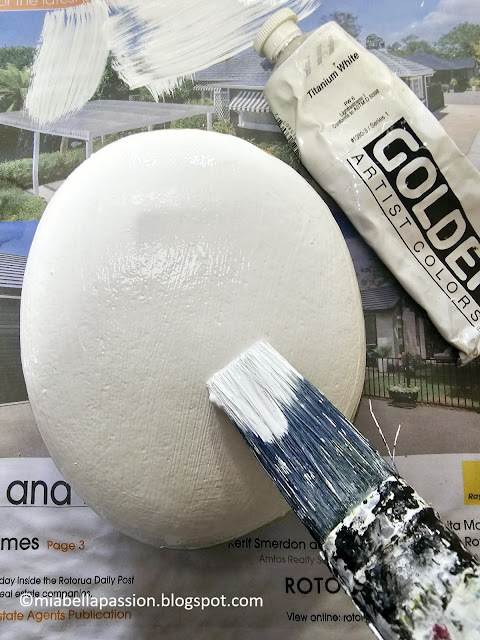
Painted Rocks

Apply one coat of white paint.

 Dry.

Now you are ready to transfer the image to the rock.

Print the image to the correct size for your chosen rock.
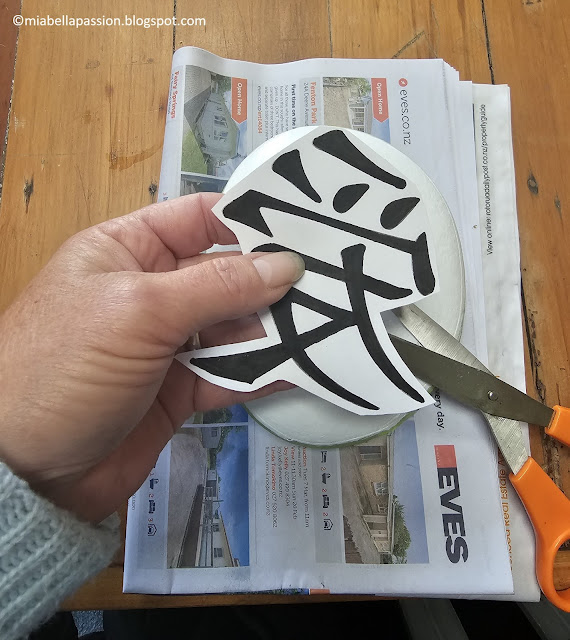
Stencil Technique

Cut the image out.

Stencil Technique

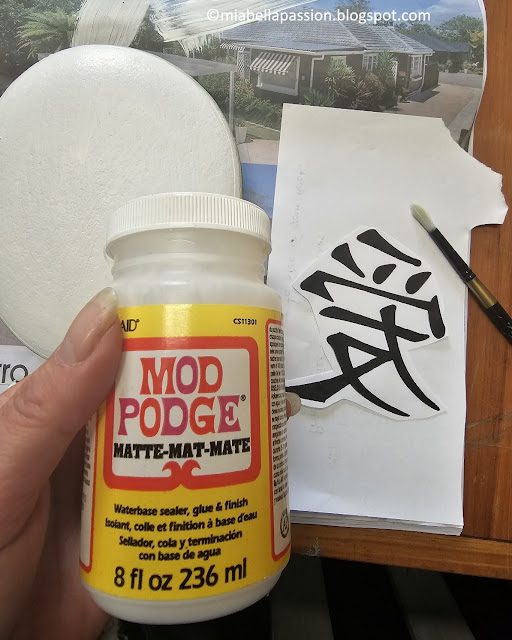
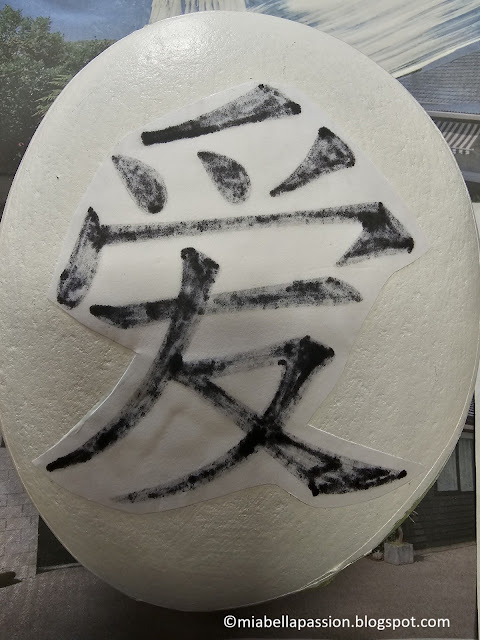
Coat the image side quickly with Modpodge (available in craft stores) then 

position the image face down on the face of the rock.
Stencil Technique

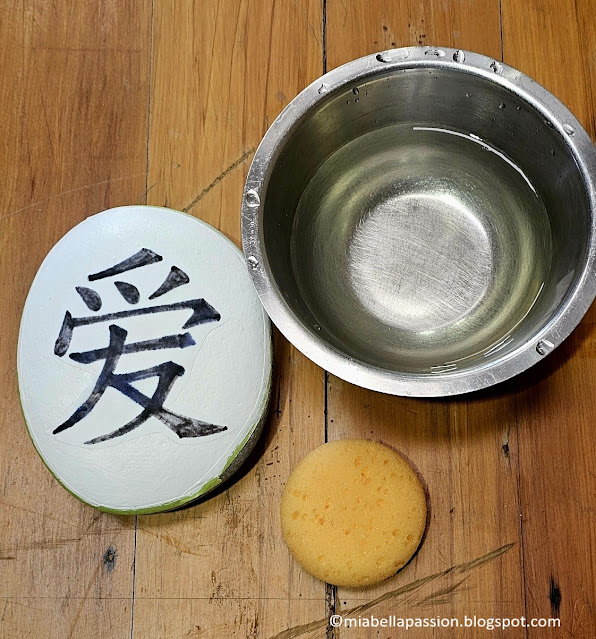
Press into place, while gently smoothing and pressing out air pockets.

Leave 24 hours to dry.
Painted Rocks

Then wet the image with a sponge in warm water.
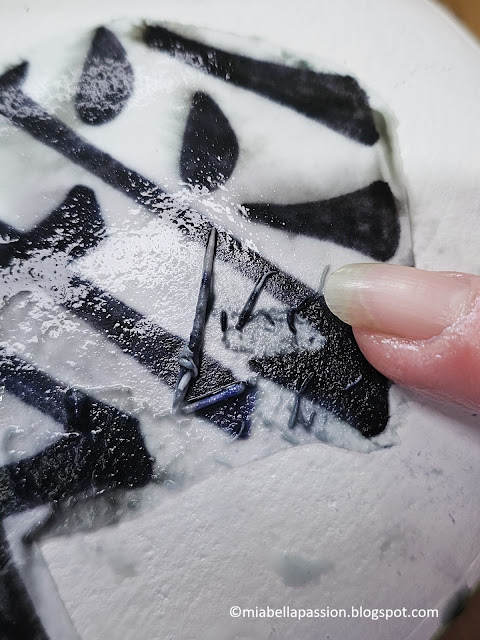
Stencil Technique

Carefully rub the wet paper away as shown.
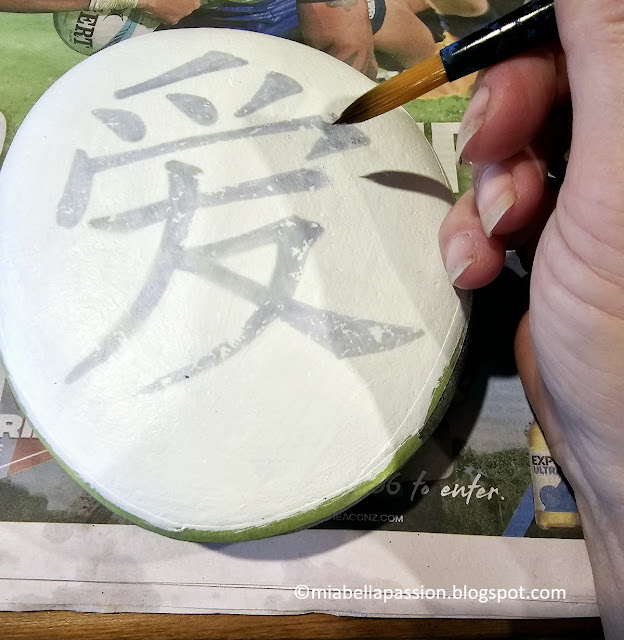
Stencil on Rock

Continue until no paper shows and you are left with the image on the rock. Touch up with white paint any defects on the white part of the rock.

Dry with a hairdryer or leave for 24 hours.
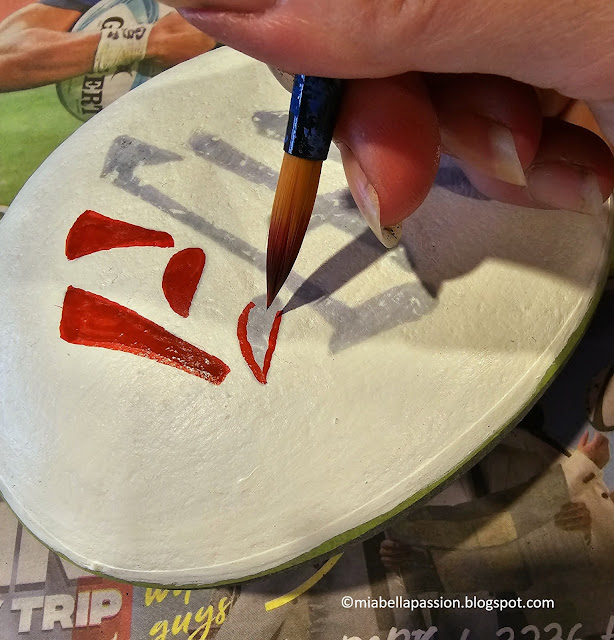
Painted Rocks

Now you can use a fine point sharpie pen or liquid acrylic paint to define the stencilled image outline.
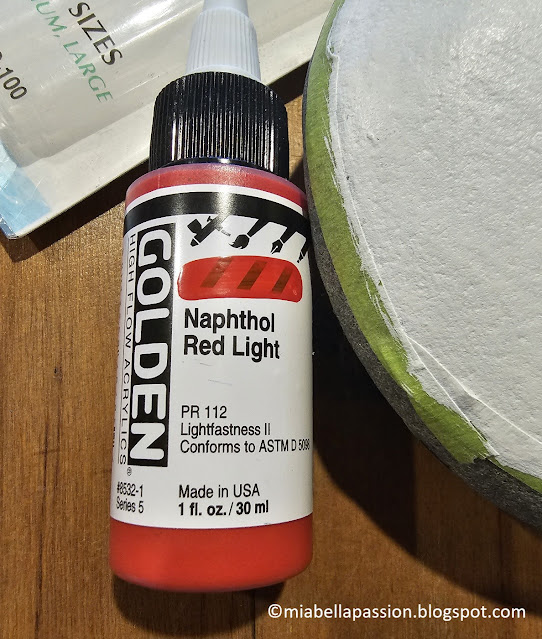
High Flow Acrylics

I used 'Golden High Flow Acrylic' in Naphthol Red Light.
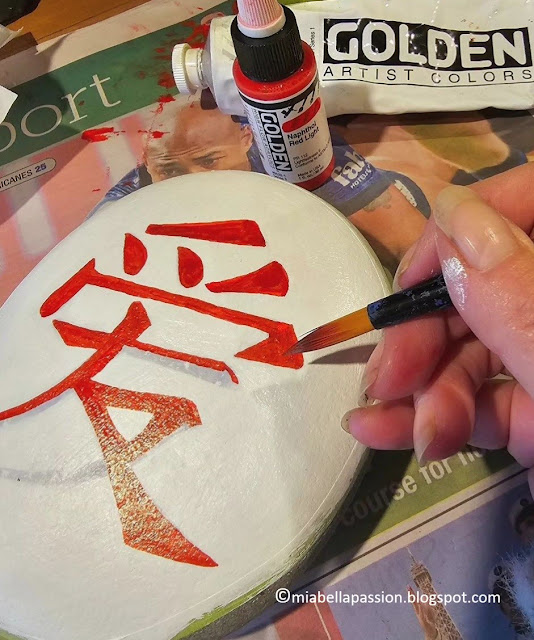
Painted Rocks

(Flow acrylics are available from your art supply stockist)

Dry with a hairdryer once detailed.

Painted Rocks

Spray coat with a sealer if going outdoors, or as I have done,  Mod Podge for indoors.

Dry with a hairdryer.
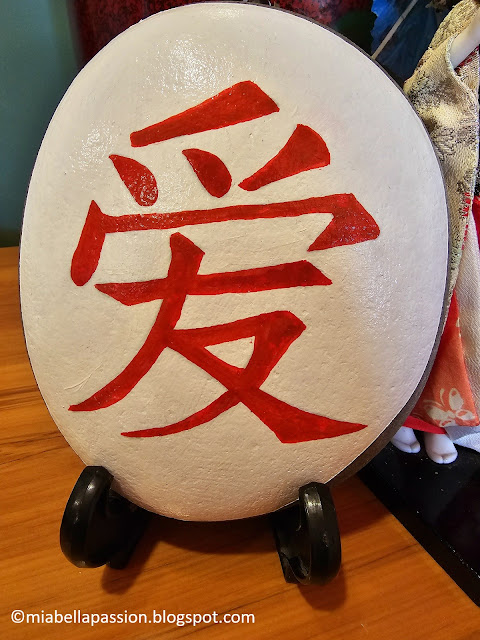
Painted Rock

Put the painted rock on a plate stand for indoors and add it to your vignette.

Geisha Doll

Display in your inside decor or outside in a protected position as on a covered deck, or if sealed with a spray sealer outside in the garden. 

.

Visit my 'Saatchi Art & Photography' store HERE

Original art store HERE

DIY Art


#paintedrocks #rockcraft #japaneseart


Learn About: Anthuriums As House Plants

 Anthuriums are native to the tropical rainforests of Central and South America.

Anthuriums As House Plants
Here they grow in warm, humid environments, where the rainforest canopy protects them from direct sunlight.

Anthuriums As House Plants

They have existed outside of the rainforest for many years as popular exotic-looking house plants and florist shop potted gifts.

This was where I first saw them, as a florist, 35 years ago now!

The colour available then was usually a deep shiny red and we called it the 'Flamingo Flower'.

Forward to 2023, there are now around 1000 varieties and cultivars, flower bract (spathe) colours, and hybrids, including miniatures, readily available to the houseplant collector.

Some are leaf-only varieties that offer interesting variegations, and foilage shapes.

Anthuriums As House Plants

What I have today to show you is a miniature form.

It has smaller glossy dark green heart shaped tropical leaves.

With the smaller pink waxy flower bracts also in the classic heart shape. 

Anthuriums As House Plants

Meet 'Pink Emma'.

A lovely pink bubblegum shade.

(There are many other shades of pink available in anthuriums).


Care:

*Position anthuriums in a situation that offers bright indirect light, but not direct sunlight. 

*You will get more flowers if the light is bright.

*Direct sunlight will cause the leaves to develop brown patches.

*They enjoy having a room temperature of 65 to 86 degrees F 

(18 to 32 degrees C)

*If positioned in a place in the home with not enough bright light, the plant leaves will become yellow, this will also happen if the soil does not have enough nutrients in it.

*Remove old dry leaves by pulling them off at the base of the plant.

*On hot dry days, mist with water as they love humidity.

*Spray in the first instance with insecticide at the first sign of mites, mealy bugs or scale.

* Cut off the dead flowers to encourage new blooms.

*Repot the plant in Spring if the roots have come out of the bottom of the pot. Use a quality free-draining potting mix for indoor plants.

Don't use one with added water retention crystals as they don't like wet feet or sitting in a saucer of water.

*Watering requirements are that they stay evenly moist (not wet).  They dislike drying out and them being soaked with water.

*Gently wipe dust settled on leaves and flowers with a soft damp cloth.

*Fertilize with a liquid fertilizer every two weeks when in full bloom.

Anthuriums As House Plants

Note:

ALL anthurium varieties are toxic to pets and humans if ingested!

The flowers last many weeks in a floral arrangement.

Indoor flowering anthuriums bloom throughout the year if in ideal conditions.

Flowers can sometimes change colour as genetics kick in and cause them to revert back to their original form.


#anthuriumcare #anthuriums #anthuriumpotplants #houseplants #potplants


Related Posts Plugin for WordPress, Blogger...