DIY Paint Drip Planter Pot

 Did you melt colourful crayons over a candle flame and drip it onto pots, candles, jars and bottles as a child?

Crayon Melt Candle Holder
(To make this project, click HERE)

DIY Painted Pot

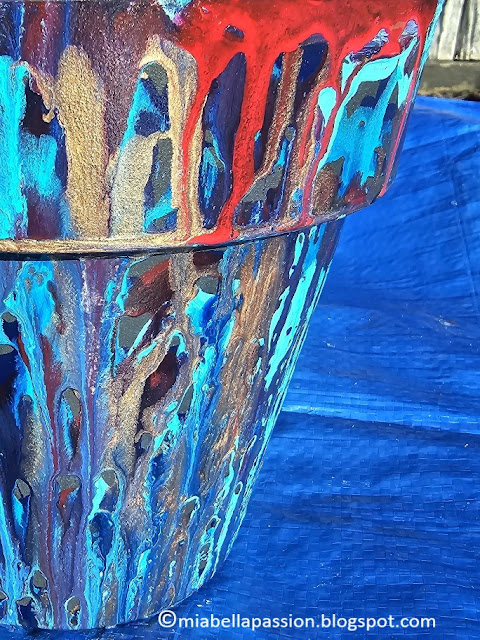
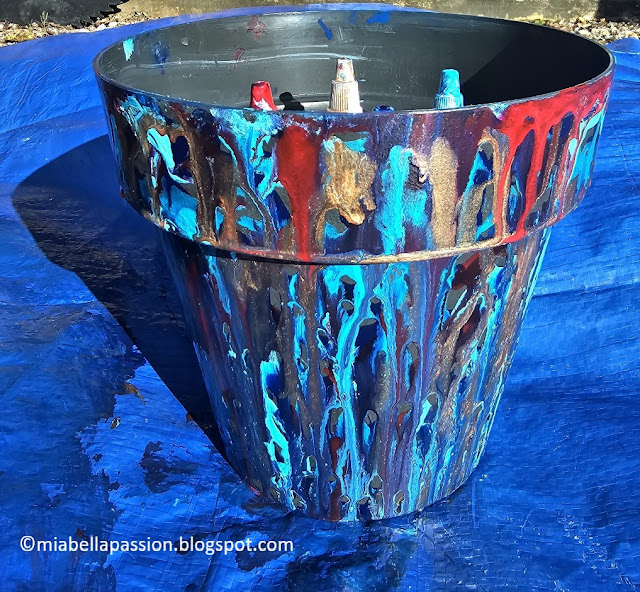
Well, this 'Paint Drip Planter Pot' is reminiscent of that, except we are using acrylic liquid paints for the project.

DIY Painted Pot

The visual outcome is similar without the 3D crayon texture. 

It has a flat colourful surface.

.

 You Will Need:

Protective gloves

An apron or old clothes.

A plastic pot that has a matt texture (not shiny) in whatever size you choose

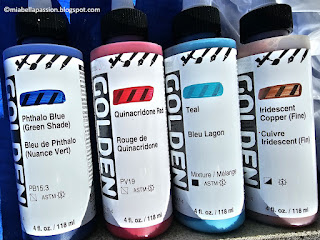
Golden Liquid Acrylic Paint

Bottled Golden Liquid acrylic paints in your choice of colours

A tarpaulin

Spray sealer in clear gloss

DIY Painted Pot

A plant to place in your completed pot

DIY Painted Pot

To Make:

Set up your work area with the tarpaulin to protect the ground or tabletop.

Put on your gloves and apron.

(You'll need them as this is a very messy paint project).

DIY Painted Pot

Begin running one colour of the paint in drips and patterns on the pot.

I used the nib on the paint bottle to move the paint around.

DIY Painted Pot

I left small areas of the matt black pot showing through the paint.

You can blow onto the paint gently to move it around if you wish.

DIY Painted Pot

Keep adding layers of different coloured paint, turning as you go by carefully holding the pot rim.

(HINT: This is the point where I thought 'Darn should have had a drip tray or moveable plastic sheet under the drips so I could have also created a paint drip mini canvas with the leftover paint!')

DIY Painted Pot

When you are happy with the effect, set aside to dry overnight.

The next day, spray with two coats, allowing dry time in between as per paint can instructions.

DIY Painted Pot

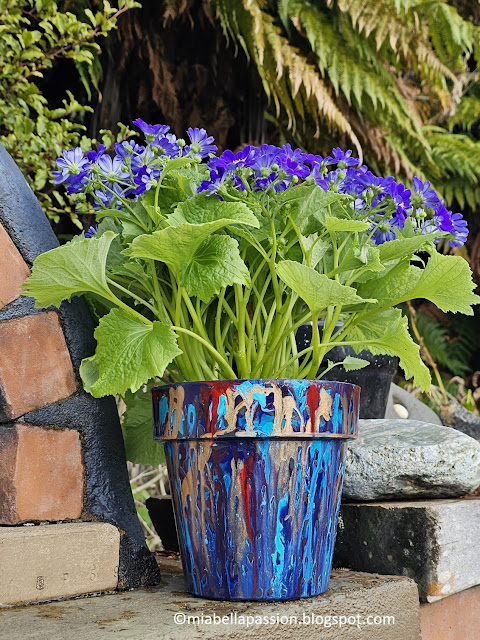
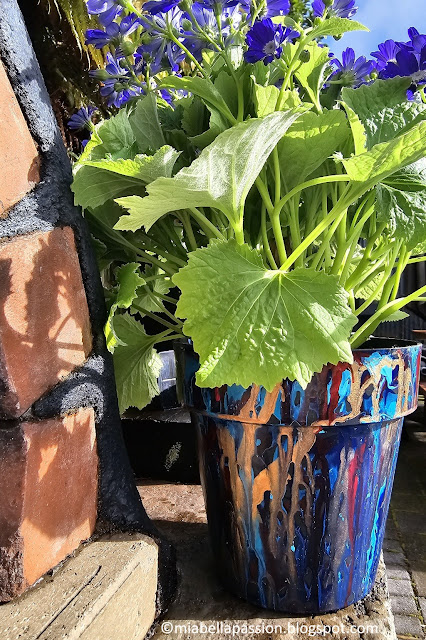
Place your plant inside the pot.

DIY Painted Pot

And put it in your garden or on your deck or patio.

(I eventually put mine inside on the office window sill so I would enjoy it while I was working).

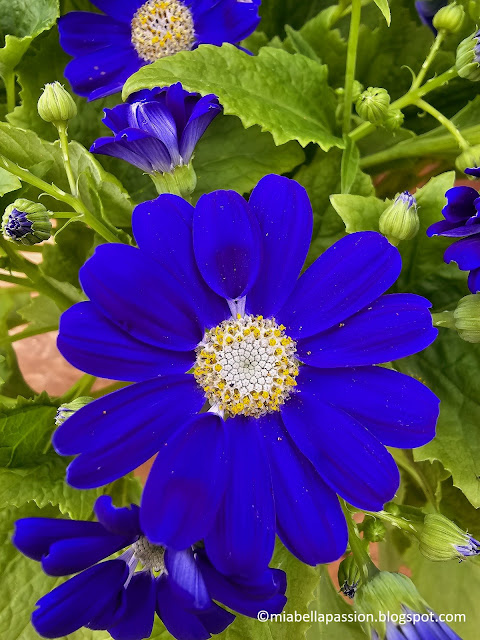
Cineraria Plant

        For the latest posts JOIN :) 

#paintedpots #paintdrippot #diyplanters #diygardenideas

#paintcraft

How To DIY A Birdcage Planter

I know!

This is a 'been there done that - everyone has blogged about it before' kinda thing.

But alas I have always wanted to make one of my own.

So here it is.

DIY Birdcage Planter

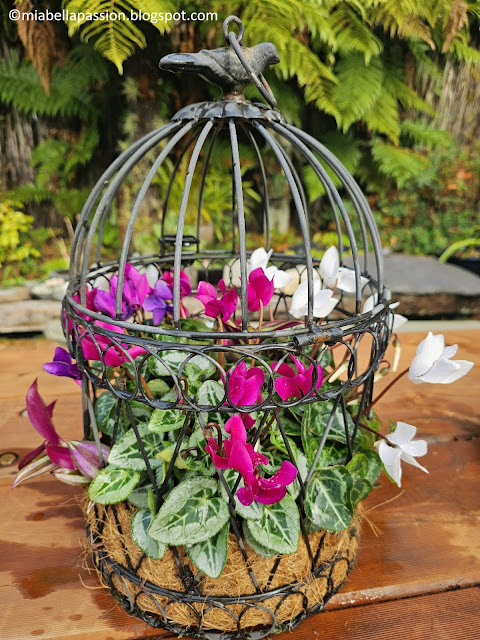
My version of a 'Birdcage Planter'.

DIY Birdcage Planter

I have had this ornamental birdcage for years, but it was always used to display a large candle inside.

Then it ended up in the garden with a pretty aqua pot inside that never got planted with anything.

It's currently mid-winter in New Zealand, so it's tricky to find a lot of colour in the form of annuals.

And also something that will withstand colder temperatures.

Cyclamen Plants

But the Garden Centre had beautiful miniature cyclamens flowering in all sorts of gorgeous colours.

Variegated Trandescandia

And I already had some Variegated Trandescandia plants (also known as Inch plants) ready to pot.

So I selected cyclamens that would compliment the burgundy-purple tones.

Tradescantia is a trailing, soft, hairless ground cover.

I remember my mother had a potplant of this variegated form when I was a child.  

The green form is considered a noxious weed now in New Zealand, as it grows a root from the smallest of nodes touching the ground, and it is found in a lot of the native bush here.

To Make:

DIY Birdcage Planter

The first thing to do is put a hanging basket liner into the bottom of the birdcage.

DIY Birdcage Planter

The bonus of this cage is it has a flip top with a catch, which made the task of placing the coconut fibre liner inside very easy.

DIY Birdcage Planter

Fill the liner with a quality potting mix.

DIY Birdcage Planter

Arrange and plant the plants inside.

DIY Birdcage Planter

I placed the cyclamens on a slight angle

DIY Birdcage Planter

 so the flowers and leaves peeped out the cage sides.

DIY Birdcage Planter

Place it in the garden or hang it if preferred.

DIY Birdcage Planter

I love it!

What a pretty upcycle of the birdcage.

Plus it is a big tick off the 'I want to do that list'!

.

Visit my 'Saatchi Art & Photography' store HERE

Original art store HERE


#birdcageplanter #diygardenplanters #trandescantia #cyclamens


Pull-Apart Cheese, Onion and Spinach Scones

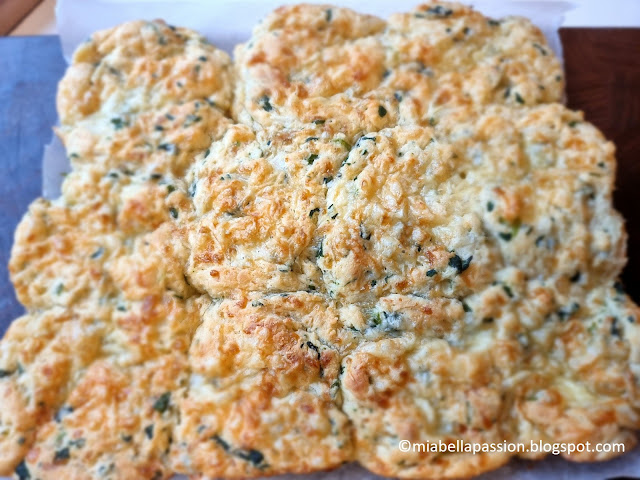
Savoury scones

Cheese!

And lots of it!

These cheesy scones are terrific for a special occasion brunch or lunch with freshly brewed coffee or a cup of your favourite tea.

They are rich and decadent.

A little costly to make, but so very worth it!

They are best eaten hot, straight from the oven.

Served simply with pure butter.

Savoury Scones

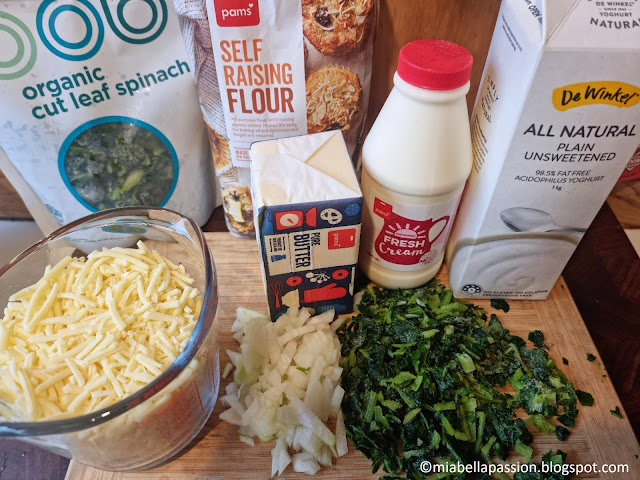
You will need:

1 cup of chopped frozen cut-leaf spinach

Half a white onion finely diced

2 cups of tasty grated cheese plus 1/2 a cup to garnish

4 cups of self-raising flour

1 teaspoon baking powder

1 teaspoon smoked paprika

1 and 3/4 cup cream

125g (4.40 ounces) melted butter

1 cup plain acidophilus yoghurt


To make:

Savoury Scones

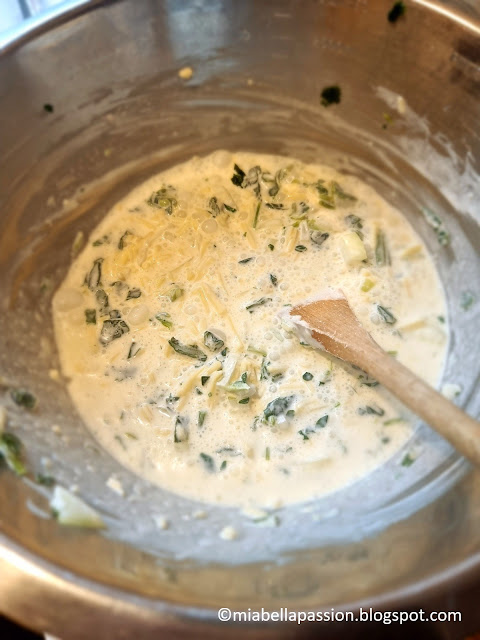
In a large mixing bowl, mix the cream and the yoghurt together.

Then the onion and the 2 cups of grated cheese.

Savoury Scones

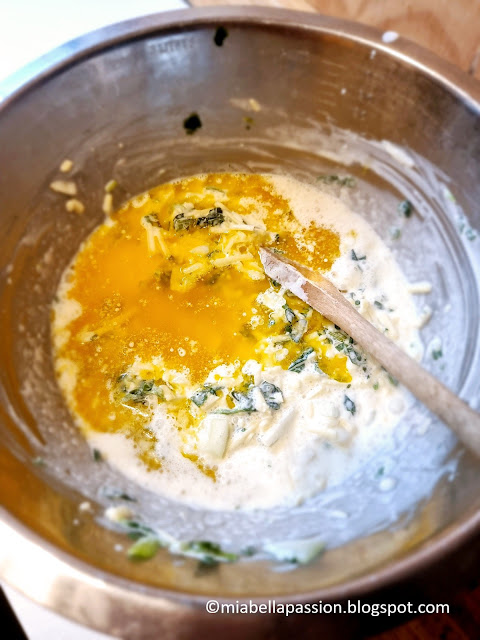
Add the melted butter.

Mix.

Savoury Scones

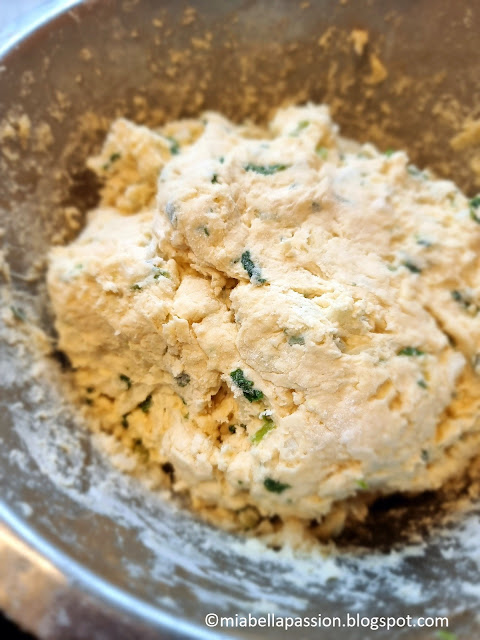
Fold in the sifted flour, baking powder and paprika and mix to a dough.

Savoury Scones 

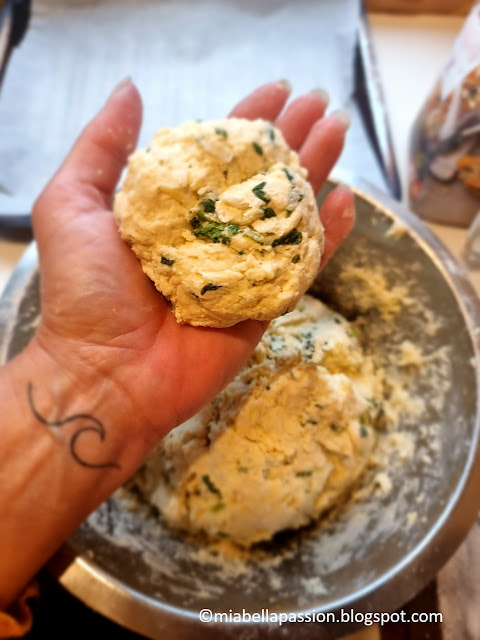
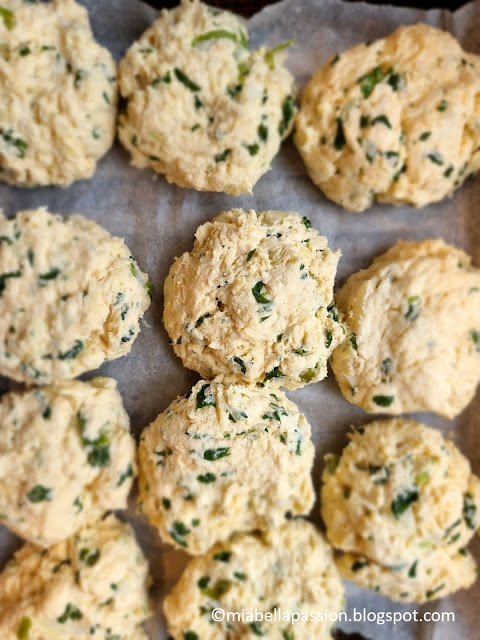
Using clean floured hands, form 9 large scones

Savoury Scones

 and place them on a baking paper lining tray.

Leave a small gap between them.

Savoury Scones

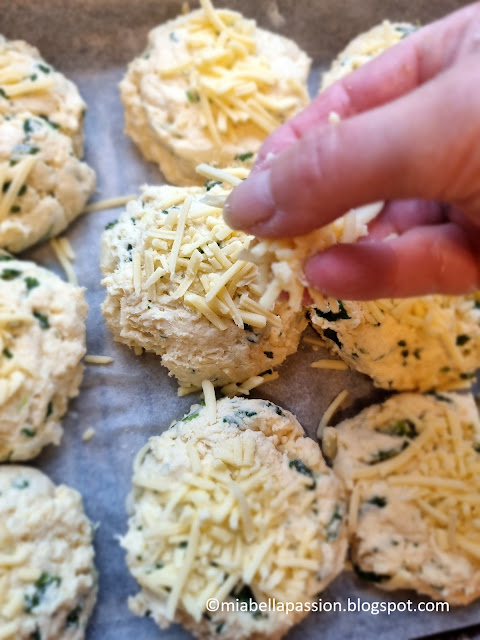
Sprinkle the extra portion of cheese on top of all the scones.

Savoury Scones

Bake at 190 Celsius (374 Fahrenheit) for 30 to 40 minutes until golden.

Savoury Scones

Pull scones apart.

Savoury Scones

Serve hot with butter.


The yield is nine large scones.

For the printable recipe visit HERE.


Grab a cuppa, and visit

 my Fine Art America gift store

:)


#scones #savouryscones 


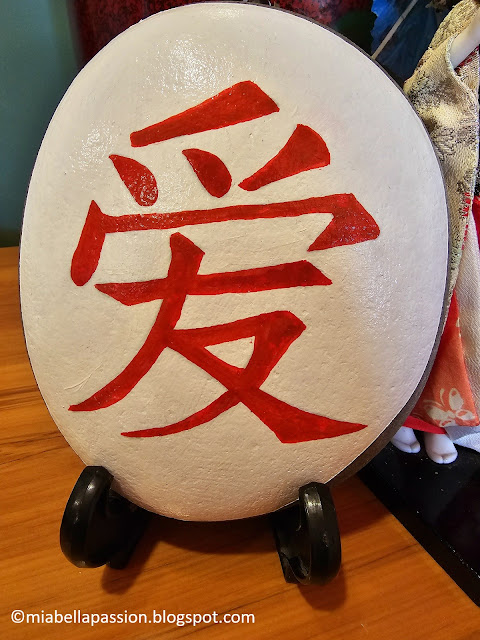
Japanese Kanji Symbol LOVE Painted Rock

At the moment I am working on my biggest creative project yet. 

It includes art, photography, and poetry.

Painted Rock

All intertwined with the Japanese Geisha.

As a child, my mother had an adoration for all things Japanese, so this is the inspiration for this art rock.

It features the word LOVE but is presented using the Japanese Kanji symbol.

A simple technique anyone can recreate.

But note it is not a quick process.

You need a few days to create it if you are not freestyling the image.

And please do note the image I'm sharing is in the reverse aspect for the process I'm sharing here.

You can use whatever size rock you want by simply resizing the mirrored image to fit the face of the rock.

The rock size I have used for this tutorial is 16 x 13 centimetres (6 1/2 x 5 inches).  

The idea of the reverse stencil is to create a guide for those who don't have the confidence to freehand sketch in pencil first.

It gives an excellent guideline to then paint or sharpie pen in the colour of your choice, the detail of the image once the stencil process is completed.

To Create:

Print the image to the size required.

Clean your rock.

If you wet wash it, leave it for 24 hours to fully dry.

How to paint Rocks

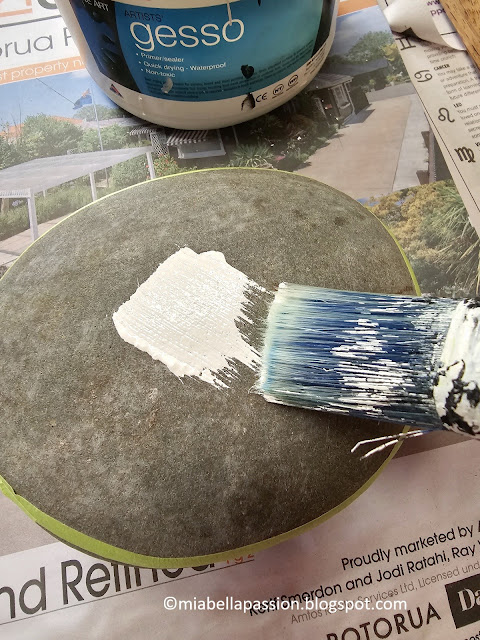
Using masking tape (or painter's tape) tape the front face to create a clean edge when you paint it.

Painted Rocks

Apply one coat of quality primer.

Leave 24 hours to dry or (tip) use a hair dryer to quicken the drying process.

Painted Rocks

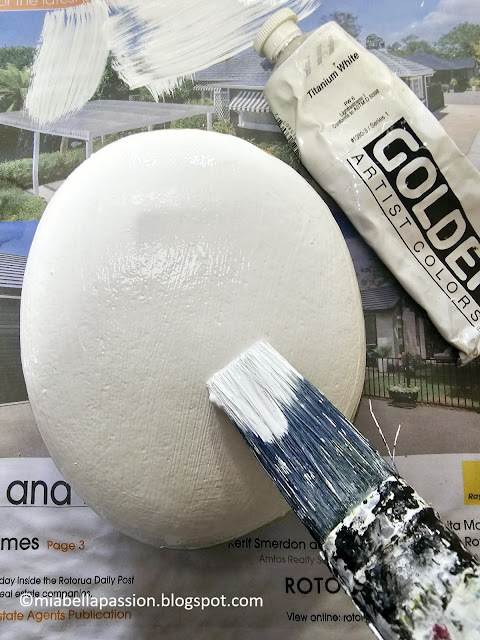
Apply one coat of white paint.

 Dry.

Now you are ready to transfer the image to the rock.

Print the image to the correct size for your chosen rock.

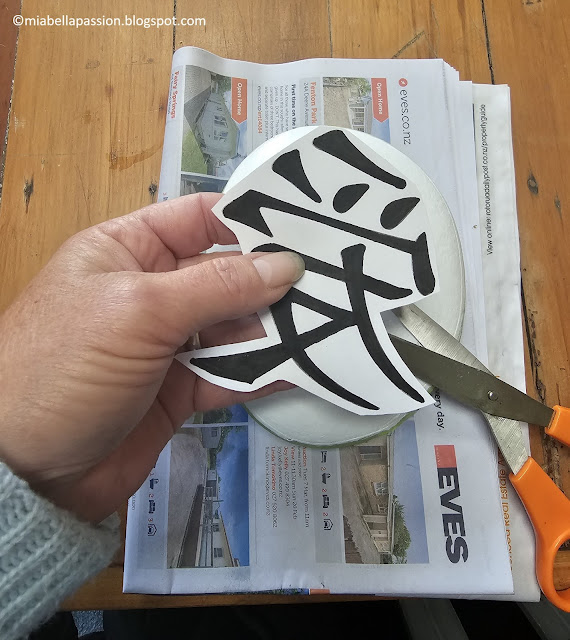
Stencil Technique

Cut the image out.

Stencil Technique

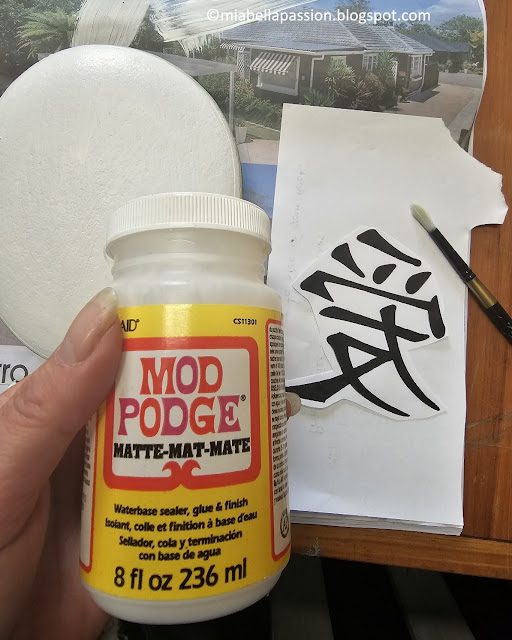
Coat the image side quickly with Modpodge (available in craft stores) then 
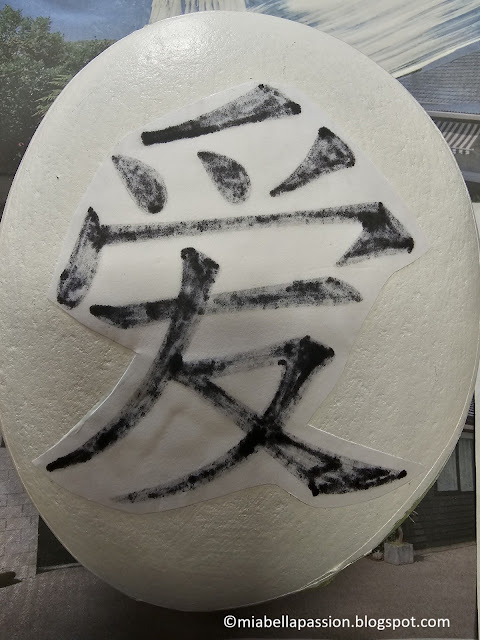
position the image face down on the face of the rock.

Stencil Technique

Press into place, while gently smoothing and pressing out air pockets.

Leave 24 hours to dry.

Painted Rocks

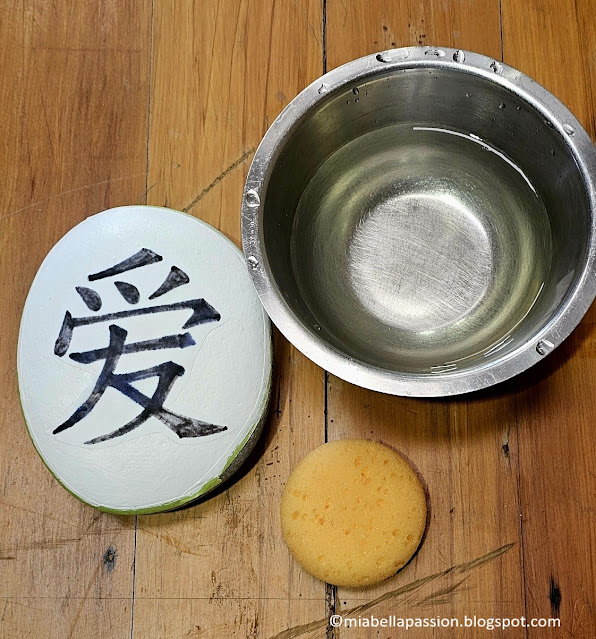
Then wet the image with a sponge in warm water.

Stencil Technique

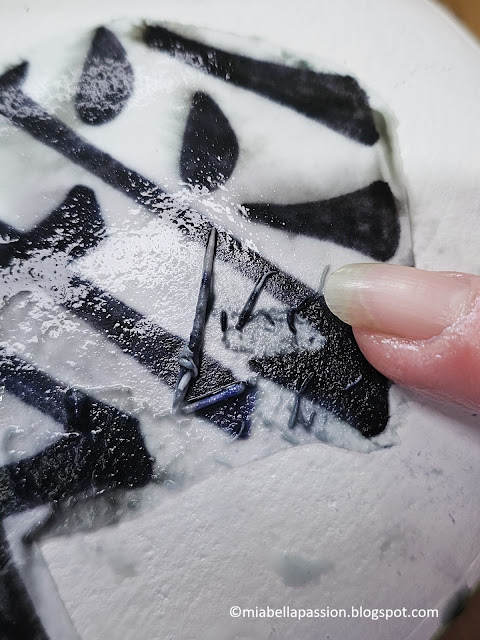
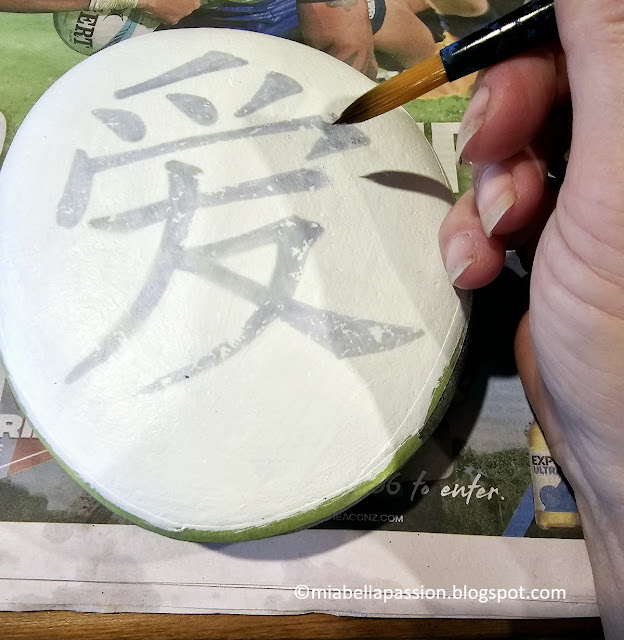
Carefully rub the wet paper away as shown.

Stencil on Rock

Continue until no paper shows and you are left with the image on the rock. Touch up with white paint any defects on the white part of the rock.

Dry with a hairdryer or leave for 24 hours.

Painted Rocks

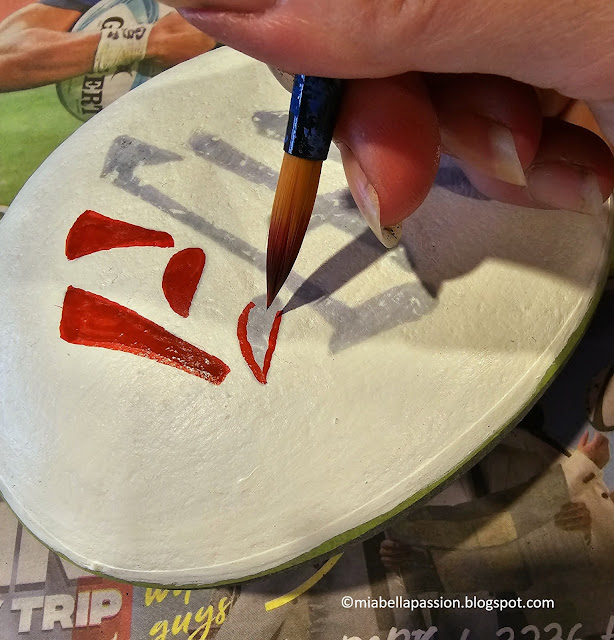
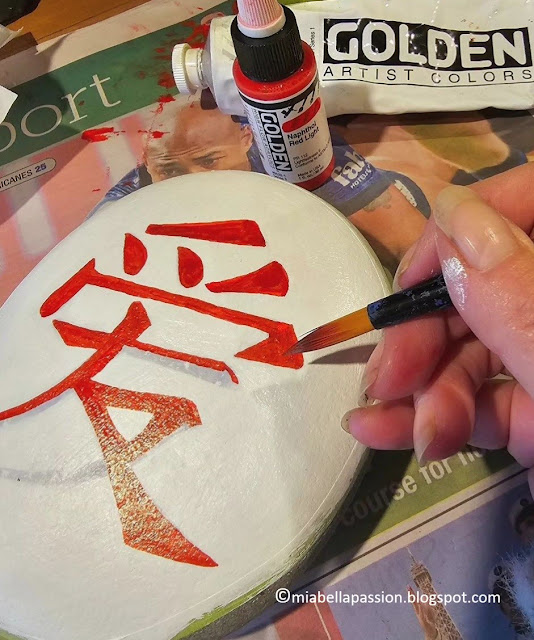
Now you can use a fine point sharpie pen or liquid acrylic paint to define the stencilled image outline.

High Flow Acrylics

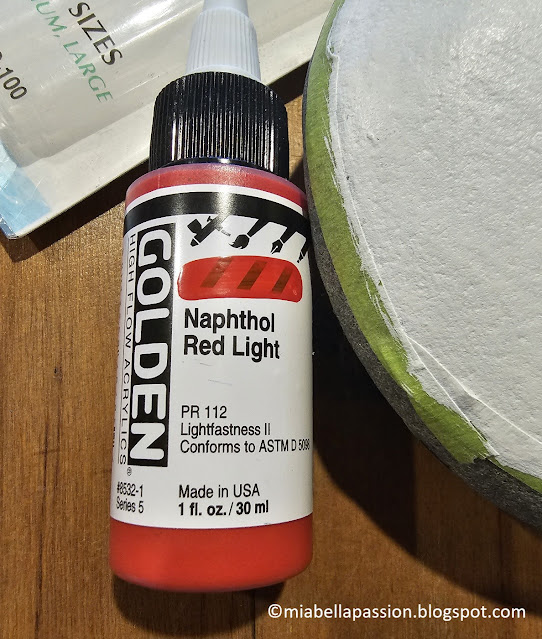
I used 'Golden High Flow Acrylic' in Naphthol Red Light.

Painted Rocks

(Flow acrylics are available from your art supply stockist)

Dry with a hairdryer once detailed.

Painted Rocks

Spray coat with a sealer if going outdoors, or as I have done,  Mod Podge for indoors.

Dry with a hairdryer.

Painted Rock

Put the painted rock on a plate stand for indoors and add it to your vignette.

Geisha Doll

Display in your inside decor or outside in a protected position as on a covered deck, or if sealed with a spray sealer outside in the garden. 

.

Visit my 'Saatchi Art & Photography' store HERE

Original art store HERE

DIY Art
For the latest posts JOIN :)

#paintedrocks #rockcraft #japaneseart

Related Posts Plugin for WordPress, Blogger...